


Little girls love to twirl when they wear dresses with frills, and it doesn’t change much once we get older either. I chose this beautiful Cobalt Blue/Black/Alabaster Polyester/Lycra Stretch Twill Blouse Weight fabric (#SZC3940d) that was perfect for my DIY dress with frills. For this project you can use any bodice you like and then follow this easy DIY design to make the layered bottom potion or even turn it into a skirt if you like. I used 4 yards of this fabric to create this dress.

You will need lining fabric for this project, so luckily I found some blue fabric in my stash. The illustration shows that you can use your measurements right on the fabric to create the under lining to attached the frills to. You want to measure your waist divided by 4, measure down to your hips and use that measurement divided by 4, and then down to the length of your skirt (my lining piece is 24 inches long) and measure out 3 additional inches from the width of your hips to create an A-Line skirt for the bottom portion. Don’t forget to add ½ inch for seam allowance. You can also use the front to create your back with an additional ½ inch for the center back where you will have the first 6 inches of the back open for the insertion of the zipper. Once you have you front and back pieces, sew then together at side seams. Measure each lining piece at 8 inches, number each pieces from top to bottom to easily keep track of which is first, and then cut. The length of your lining piece should allow you to measure in 8 inch increments. Once you complete these steps your cut pieces should look like the piece in the top right corner of the illustration.

(1) The length of your frills from your main fabric should be 9 ½ inches and the width is the length of the bottom portion of each lining piece multiplied by 3. (2) Serge the bottom portion of the frill. (3) Baste the top portion of your frill and gather evenly, then pin to the bottom of the lining piece with right side together. Sew together at your ½ inch seam. (4) When done this is what it should look like and don’t forget to hem ½ inch.

(1) Sew the top portion of lining piece #2 to the same area (bottom portion of lining #1) to connect underneath. (2) And now you should have 2 lining pieces and 1 frill attached ready for your second frill to be sewn on to complete your first 2 layers.
Continue to your desired number of layers. I used 3 lining pieces and 3 frills to attach to each bottom piece of the lining. To make the forth frill at the top, I then measured the very top pieces and cut another frill with that measurement multiplied by 3, then attached with wrong side of the frill to right side of the lining. After the skirt portion was complete, then I attached to bodice.
This fabric was very easy to sew up and the drape of it made it perfect for the frills and how easy the fabric allows the dress to flow and move while wearing it. It has a slight stretch to it making the fit of the bodice turn out great but not to stretchy for creating the layers.
I absolutely love the diagonal floral framework of the print which made this fabric so beautiful and unique. And what’s not to love about these colors. Normally with this dress it would probably be best to use a solid color fabric because of how the length of the frills need to be cut. But I was able to cut the bodice with the grain of the fabric and because of the length of each frill needed, I had to cut each frill the width of the fabric but with this unique print it went perfect no matter which way I chose to cut it. Now that’s a seamstress dream for cutting fabric.
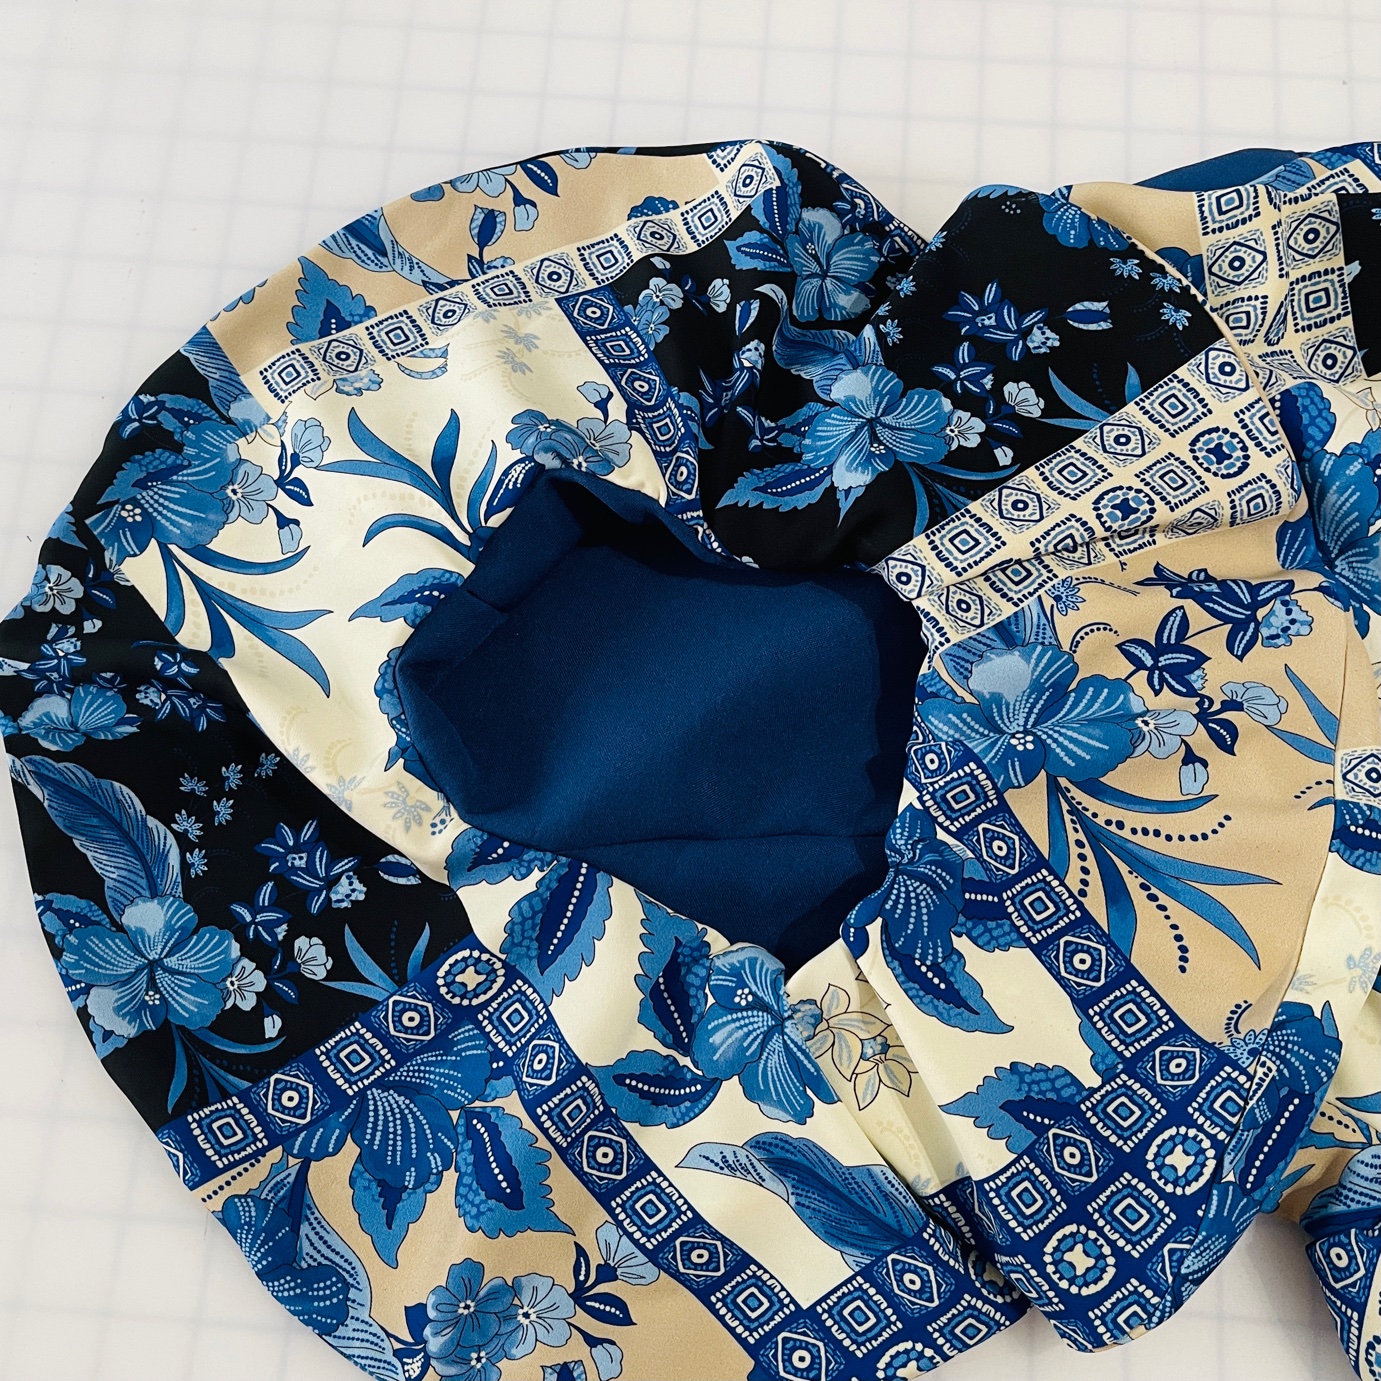
I actually used the bodice from the McCall’s 7714 pattern (view D) and lined the bodice with the same fabric I used for the skirt lining. After attaching the bodice to the skirt portion I inserted my invisible zipper. I decided to create a different sleeve by using the same method of making a circle skirt to make my circle sleeves. I made 4 pieces so that the sleeve would be lined as well.

Not only was this dress so much fun to make, Can you tell how much fun it was for me to wear it?

Until next time,
ANGIE | @angiedenise_boutique
www.angiedenise.com
Unfortunately Fabric Mart Fabrics sell out quickly!
You can find similar fabrics by shopping the following category, SHIRTING & BLOUSE WEIGHTS.
This is such a lovely creation and looks fantastic on you. Thank you for the details about how you created it.
ReplyDeleteThank you so much
DeleteThat dress is fantastic. You look fabulous in it. So inspiring! I don’t wear dresses, lol, so I will let y’all have at it, just had to tell you, great dress, fabric choices and styling, etc., etc! Thank you for the detailed tutorial too.
ReplyDeleteThank you. I really appreciate that
DeleteThe style and print seem a perfect match and you modelled it so well. As soon as I decide on a top, I'm making one.
ReplyDeleteAww, thank you so much
Delete