
Have you ever made a garment that you concluded was a skill builder? The pattern, the fabric, the technique all taught you something? Well this post is all about the skills I learned or improved on with this dress.
First let’s start with the fabric. We got stripes. Stripes can be used in fun ways to create a lot of visual effects. When I got this rayon challis from Fabric Mart I didn’t really know what exactly I was going to do with it. I ran through a list of patterns I already had and none of them quite fit. I knew going in I was going to have to match up the stripes at least on the sides of whatever I made but I did quite know what was in store for me with the pattern I ended up picking out. Now let's get to the pattern.

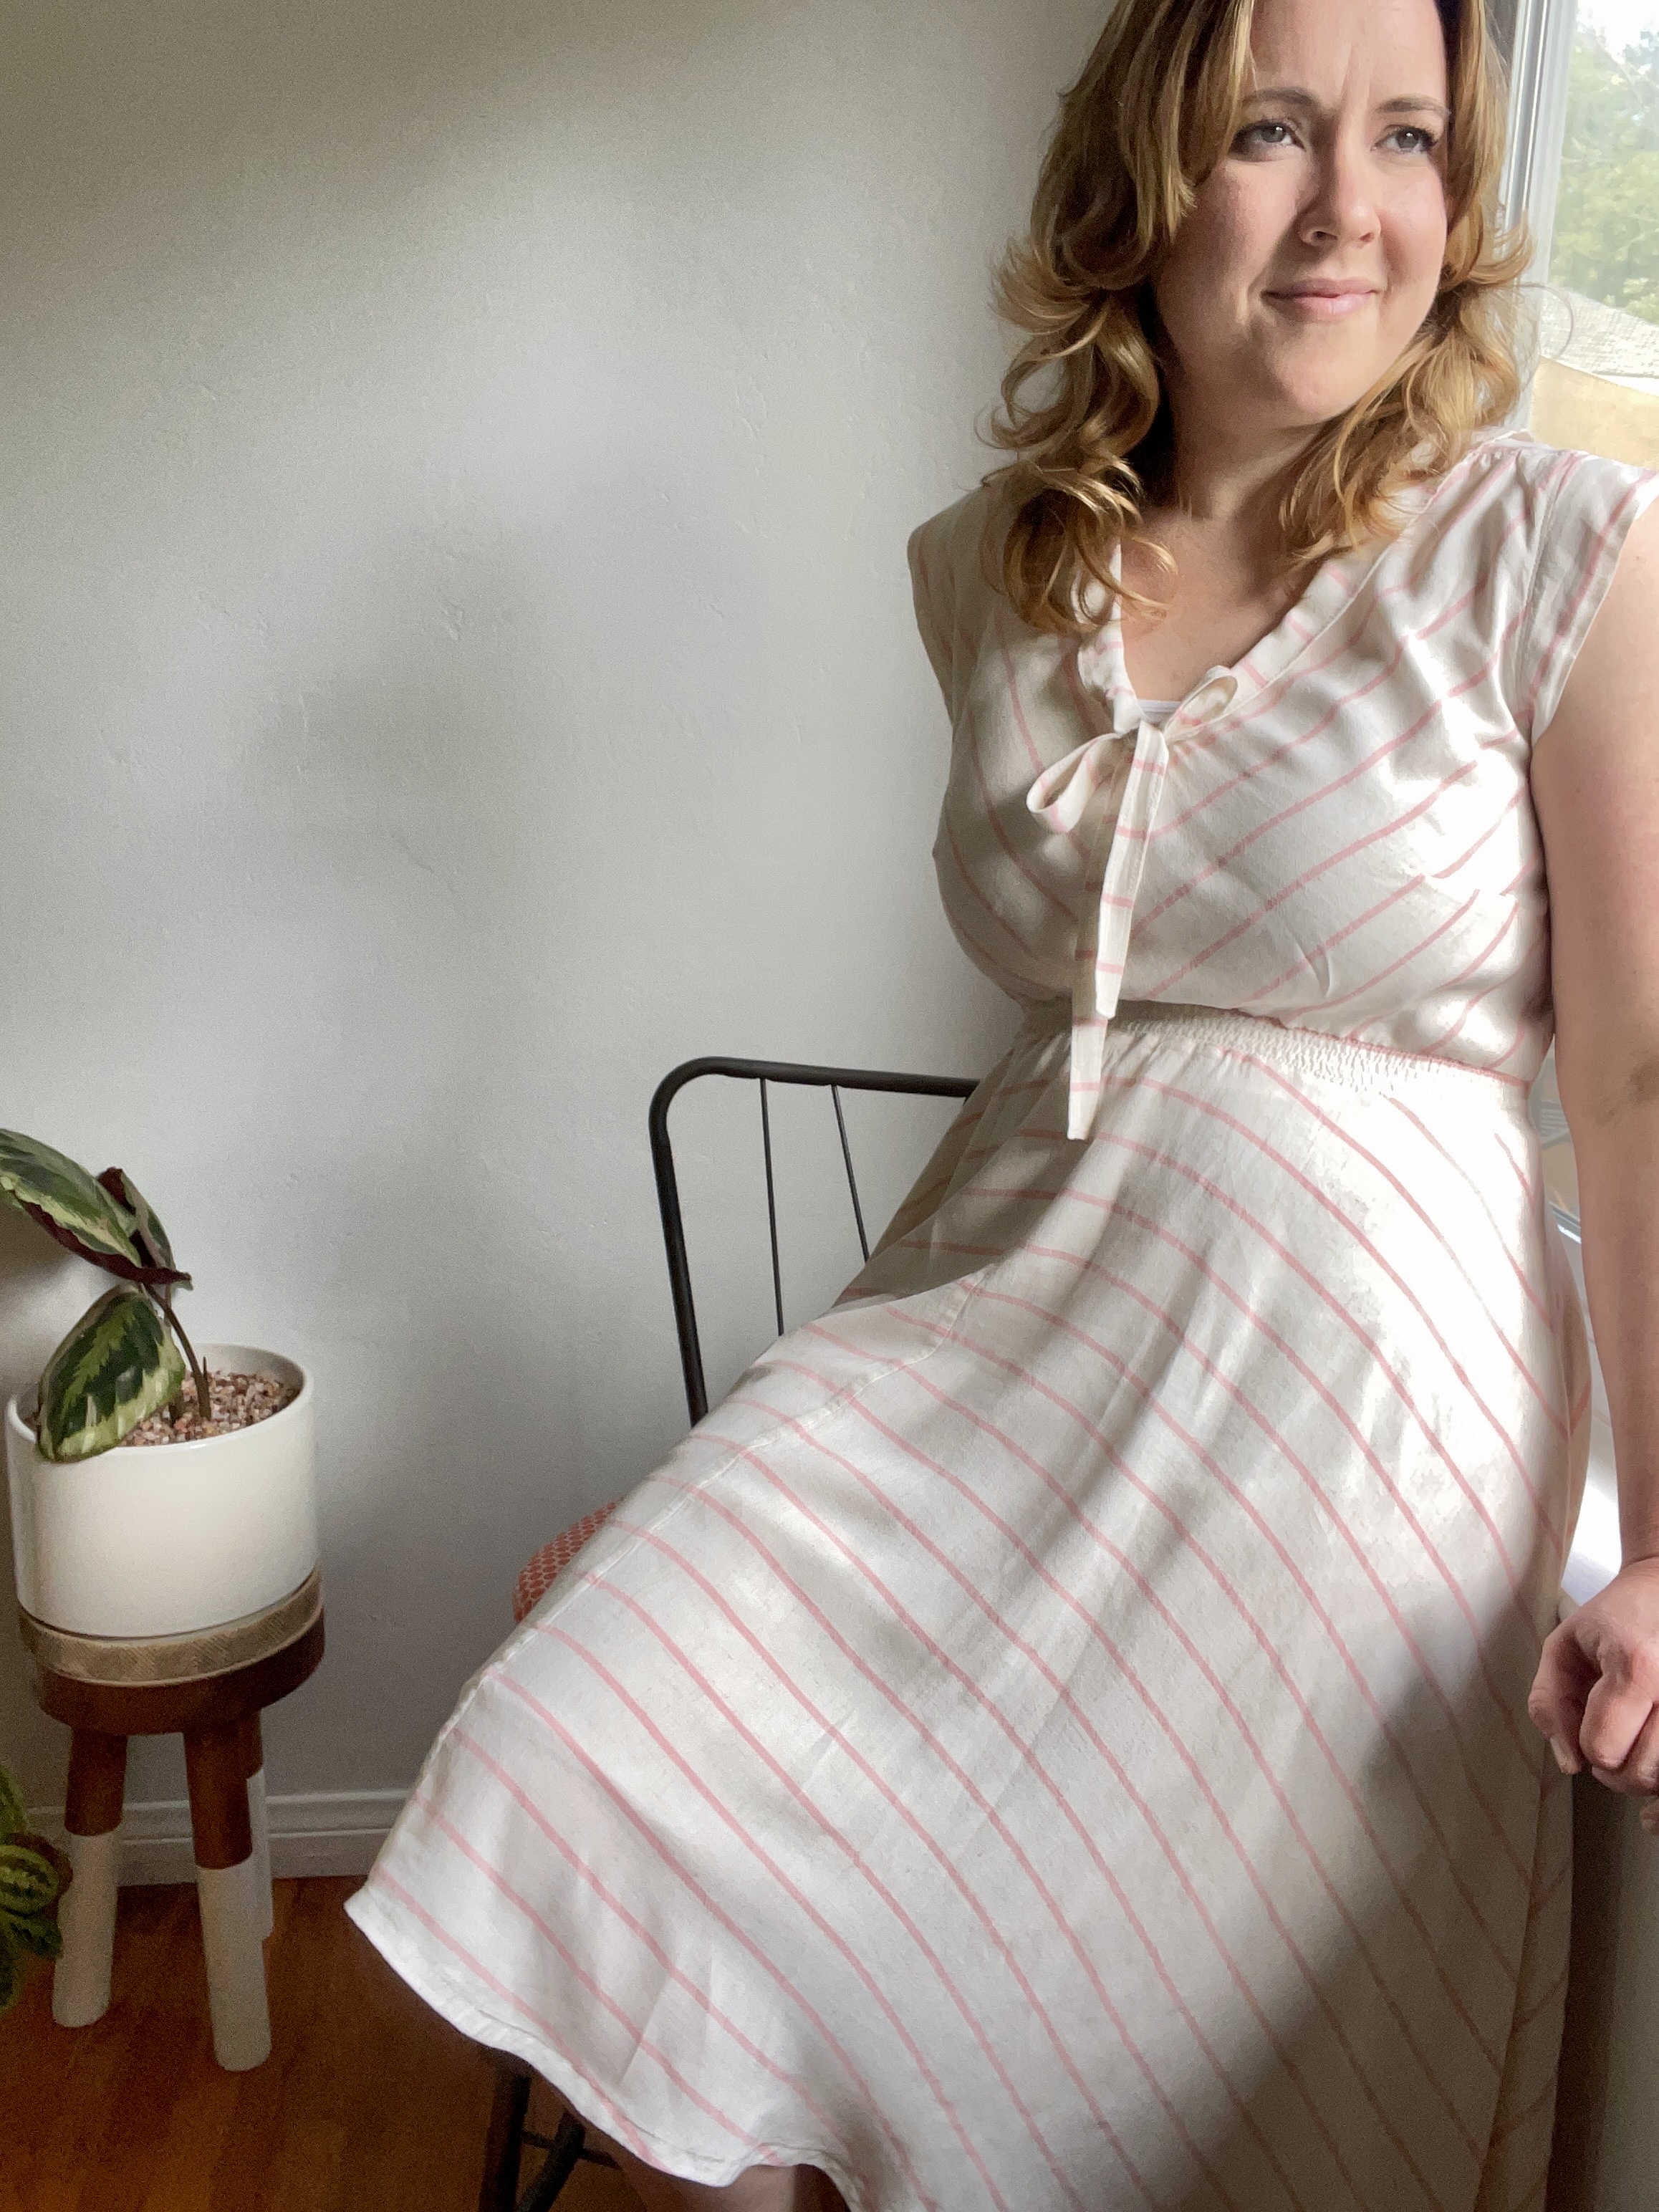
Deer and Doe is one of my favorite pattern companies. They have nice classic silhouettes that I feel work well with my body and frame. I wanted a new pattern though so I went on the hunt for what I thought would be a simple design. Boy was I surprised. I chose the Reglisse dress version A with the tie front. It looked so simple from the line drawing. I did not realize the bodice was cut on the bias, also the skirt was a circle skirt. This posed a challenge for me because I chose a striped fabric! However I was going to make this work and by some miracle I had enough fabric to make AND modify some of the dress. Also there was the shirred waist band, I had experience with that but if you are looking to build your skills this dress has a lot of options for learning something new!

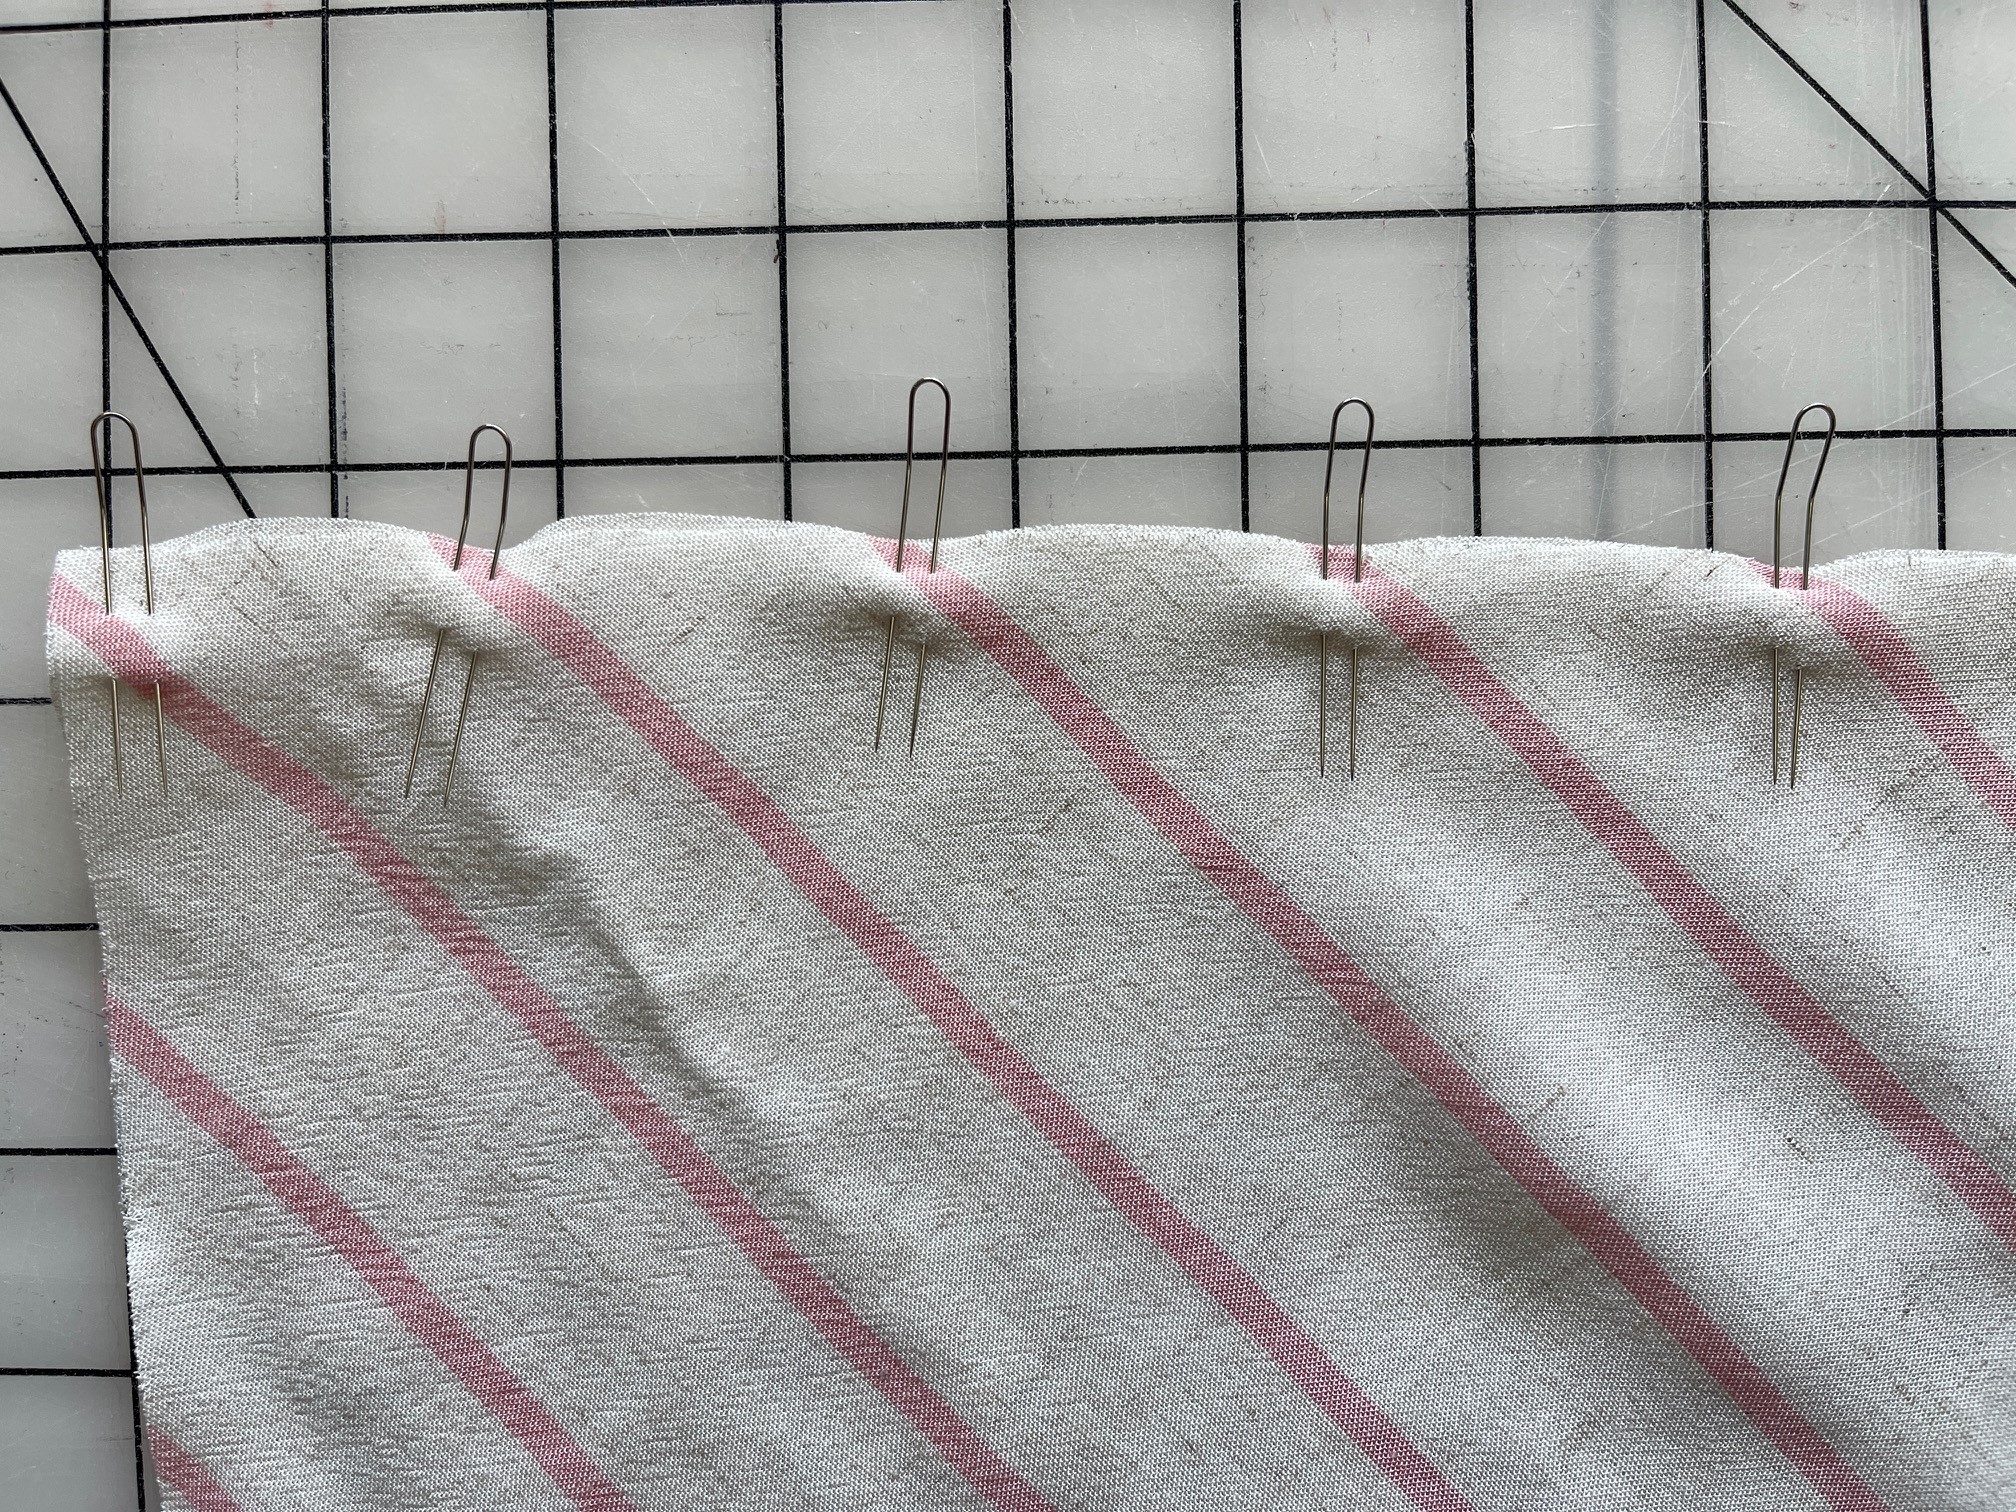
So I had to match up the stripe in the bodice to create this V look. I did have to change the grainline to get the stripes to matching in a downward motion. When I got to the skirt there was another challenge, cutting the skirt the way the pattern instruction said would make the skirt too short for me. So I had to modify how I cut it out so that I could add the length I needed. I added seam allowance to the fold edge and I cut four separate pieces. Then I had to stitch them together right down the front and back of the skirt. In order to get really matched stripes I did two things. 1) I marked where the stripes hit on the first pattern piece I cut. Then when I had to cut a mirror image I used those lines to make sure I was cutting the next piece in a way that would match when sown. 2) I used fork pins to help keep everything lined up when I started sewing everything. I am so glad I discovered fork pins. They really help when you want to get anything precisely matched up. You can see in the photo what they look like and how I used them to match up the stripes. Over all I am really happy with all my stripe placements. I do think I will take a break from stripes though for a while. It was a lot of mental energy!

I will say the neckline on this dress was somewhat confusing and I did have a hard time getting the bias tape into place. Also the pattern does not specify the width of bias tape you need. So I think that was the biggest challenge. For the skirt one inch wide bias tape worked but for the neckline I had to enlarge it to get enough room to fold it. Once I got it in I was fine with how it looked on the inside because well I just didn’t have it in me again to seam rip it again.

Overall this is a pretty flirty little dress perfect for summer. It has an old time feel that is popular right now. It’s worth trying if you want to work on some new skills to try. Also the circle skirt makes its a great twirling dress!! I have a feeling I will get a lot of wear for this dress this summer.

HANNAH | @modistrasews
Unfortunately Fabric Mart Fabrics sell out quickly!
You can find similar fabrics by shopping the following category CHALLIS.
You are a brave little cutie. I agree the trouble was worth it. Very lovely dress and you look lovely in it. Well done.
ReplyDeleteI’m going to have to check out Deer &Doe...that’s so cute! Nice stripes matching!😎
ReplyDeleteYou did a beautiful job!!! Love the dress on you, the fabric is light and airy..Well done! 😊
ReplyDelete