
One of the reasons I wanted to make the Minoru Jacket was because it had a hood. Plus I thought it was pretty cool to hide the hood in the collar! The idea to line the hood happened by accident. As I was cutting out all the pieces for the jacket, I could have sworn the pattern called for a hood to be cut out of the lining fabric. But as I was sewing, I did not see directions on how to insert it. It is super easy and adds just another RTW finish to your look!
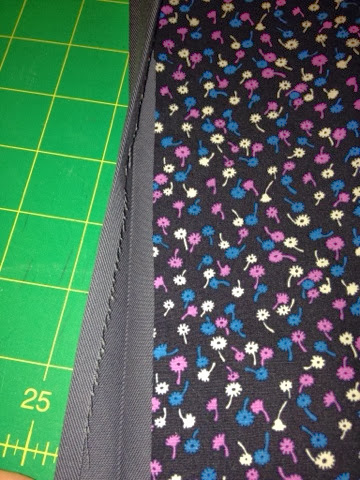
Cut out the hood in the good fabric and the lining fabric. Trim off about 1/2" around the front of the hood.
Sew the hood pieces right sides together, adding top-stitching to the seam. Repeat for the lining.
Press about 1 1/4" inches on the front of the hood and 1/4" of that in so you have a folded edge.

Insert the lining into the hood, wrong sides together. Overlap the flap you created when pressing the 1 1/4" piece over.
Top-stitch around the front of the hood and baste along the bottom of the hood. Follow the directions as stated!

Stay tuned, the jacket is almost done and I will share the results! Have you made the Minoru Jacket? I'd love to see your version of this jacket! Post a link to your blog below, or email me (fabricmartblog [at] gmail dot com) a picture of your finished Minoru Jacket. You and your jacket will be featured on the blog!
Cut out the hood in the good fabric and the lining fabric. Trim off about 1/2" around the front of the hood.
Sew the hood pieces right sides together, adding top-stitching to the seam. Repeat for the lining.
Press about 1 1/4" inches on the front of the hood and 1/4" of that in so you have a folded edge.
Insert the lining into the hood, wrong sides together. Overlap the flap you created when pressing the 1 1/4" piece over.
Top-stitch around the front of the hood and baste along the bottom of the hood. Follow the directions as stated!
How easy was that? As mentioned in the previous Minoru Jacket post, I used an organic cotton twill from Fabric Mart. We have it available in a few colors, but limited quantities! Get them while you can...
Organic Cotton Twills:
Stay tuned, the jacket is almost done and I will share the results! Have you made the Minoru Jacket? I'd love to see your version of this jacket! Post a link to your blog below, or email me (fabricmartblog [at] gmail dot com) a picture of your finished Minoru Jacket. You and your jacket will be featured on the blog!
I love the Minoru! I lined my hood as well, added a drawstring, zippered pockets for phone and wallet, and side seam pockets for my hands! Here is the link to my post: http://www.lolitapatterns.com/we-heart-indies-sewaholic-minoru/ I wear it all the time!
ReplyDeleteI love this lining fabric. Not sure why, but I do. I have never made anything with a hood, but it does indeed look easy. And Amity's jacket is fabulous. Thank you both for sharing!
ReplyDelete