During summer I am able to sew much more than I can sew in the rest of the year. Since I teach full time (middle school!), I find I am so busy that I can only sew a project (or two) a month during the school year. But summer? I get all my sewing mojo back and really get into gear. This last make for the Fabric Mart blog for this summer is probably one of my all time favorite makes, ever. I knew I would be heading to Mexico on a cruise with my aunt, and I knew I would want to bring this
Burda dress I made for this blog in July, so I asked the folks at Fabric Mart if they would send me some yellow green
Nanette Lepore fabric with red, green, and white accents along with a
Charlie Caftan pattern (by Closet Case Files), as the two pieces would serve together well as a base for the rest of my travel wardrobe.
I wore the dress/coverup in Mexico as a coverup, but I ended up wearing it last Sunday as a dress, and it does serve both purposes quite well. As a coverup, it looks nice and put together enough that you could run into a store or two and not look too much like you had just been at the pool or beach, with the added bonus of the fabric itself not wrinkling too badly. I really love this fabric. It looks like a linen, but in reality is a thick cotton with a soft structure. Very easy to work with, very easy to wear, and very easy to wash and dry. Good stuff. (
Here is how the designer used the fabric as a sleek sheath dress. Here is a jacket made from a similar weight/design fabric. And here is the collection so you can see the whole lot--Fabric Mart carried quite a bit of her fabric from this collection--Spring 2009.)
I want to point out that I did not make the dress the length meant for the sizes I cut (a 6 at the shoulders, bust and waist, and a 10/12 at the hips/low hip). I ended up using the largest size's length, as I knew the drafted size 12 would hit too high on my leg (I am 5'8.5"). I may make this again, possibly in a smaller set of sizes for a sleeker winter over-dress (worn with a turtleneck and tights), and I would definitely draft that to have an even longer hemline.
 |
| Left to Right, Top to Bottom: 1. Carefully marked and staystitched corners with corner snipping. 2. Detail of corner snip. 3. Welt pieces lined up and ready to sew (I used two rows of gathering stitches). 4. Inset interfaced panel piece lined up with gathering stitched portion. 5. Stitched first line. 6. Pressed up and done! |
Everyone and their sister and cousin and uncle have made this caftan this summer. It is pretty much a universally loved pattern. The only tiny issue people have with it is the same exact issue I have with it...the inset center panel. It seems easy enough at first, but when you actually start the construction, you realize very quickly that you are basically making a welt pocket without a pocket. The effect of the piece that is made with this construction is just beautiful, but it is time consuming and precise and fiddly. If you don't use time and care with it, it may all be off and end up being more of a frustration. Even with all my very carefully executed steps and markings, I STILL ended up off at one of the corners and had to topstitch there to ensure the panel laid flat.
The folks at Closet Case Files had a very well written sewalong on this Caftan, but I am going to direct straight to the
inset panel instructions as the rest of the caftan is fairly straight forward.
 |
| Left to Right, Top to Bottom: 1. Lining up triangular piece from side portion of welt with side of inset. 2. Double checking markings for these two pieces lining up on the other side. 3. Once sewn, checking for proper 90 degree angle on right side. 4. All seams are sewn, so press up raw edges so facing piece can be placed over it. 5. From right side, this is what the inset piece will look like once sewn up. 6. After raw edges are pressed up, the facing piece is placed over them...I hand sewed this over the raw edges, but Closet Case has instructions for machine sewing it, as well. |
The second set of photos shows the continued care you must take with this inset piece. I keep thinking there must be some way of doing this so you can get the same effect without all the fiddling, but I haven't been educated in pattern drafting, so I can't speak to what possibilities are out there to take the place of this way. The effort is worth it...the inset piece looks so pretty right above the gathering. Some of the reviews I read said the gathering was too voluminous for them, but I really like the volume. The rest of the dress is fairly sleek, so this gives the garment a bit of whimsy.
Here you can see the pockets in use. The pockets are rather large, which I just love, but some of the reviewers of this pattern out there in the large world of the web are not as pleased with their size. They seem easy enough to make smaller, so do that. I wouldn't leave off the pockets, they really are just that fab.
 |
| Left to Right, Top to Bottom: 1. Apply the tape with paper backing UP. Then press with a dry, hot iron. 2. Lift up paper backing and discard. 3. Carefully press hem up (I only did a half-inch, so the sticky tape bit came together here). 4. Press to ensure it stays put. Again, hot and dry iron. I then stitched the hem. |
I knew I wanted a 1/2" hem on both my skirt hem and my sleeve hem, so I went ahead and used
SewkeysE double-sided knit stay tape. The instructions are ridiculously simple, but I am a visual person, and I figure some of you must be as well, so I photographed four of the steps.
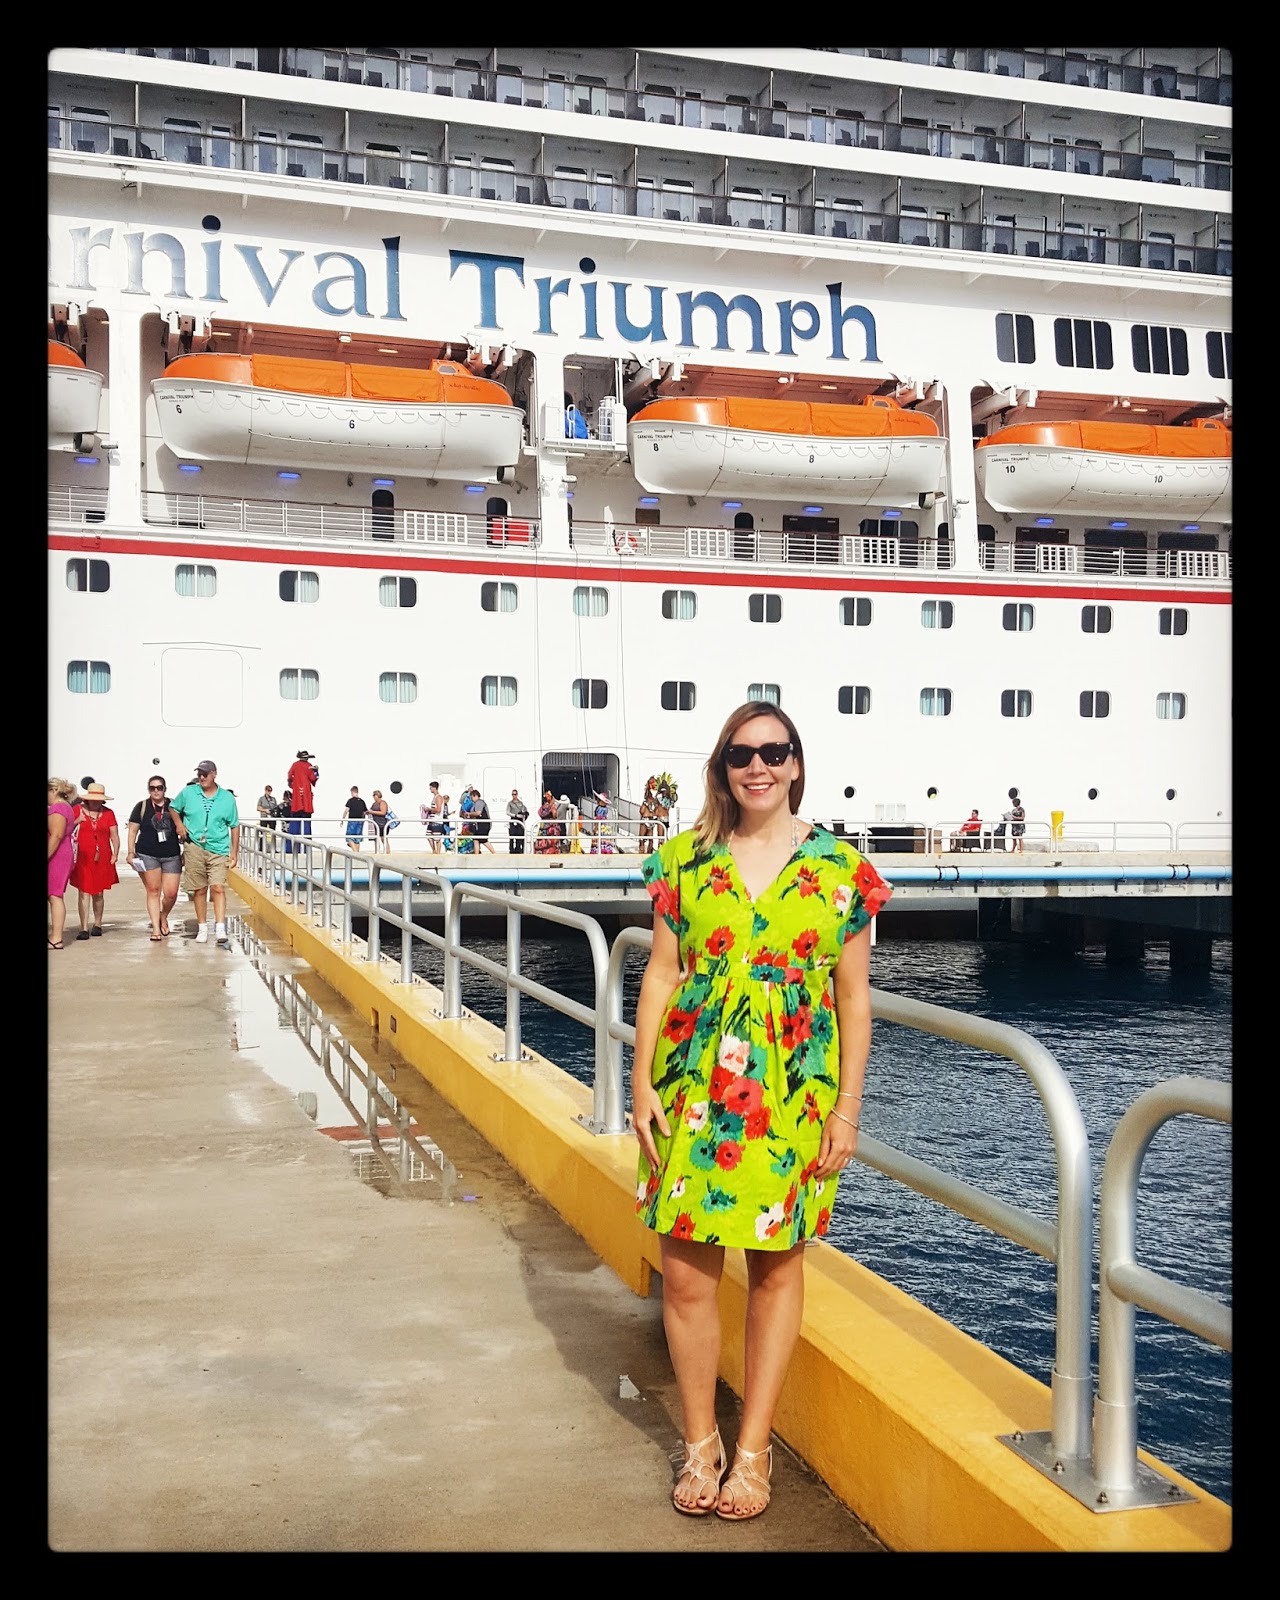
Two photos of me from Mexico, the top is of me at a resort where we purchased a day pass (it was stunning there, and even though it rained part of the time, it never felt so bad that we didn't stay in the water at the beach or in the pools). The bottom is of me at the ship. This is an older ship, and it was at full capacity so it was cramped, but I love people watching, and there were ample opportunities to do so.
I hope all of you had a wonderful summer! I really look forward to seeing what others do with this pattern, or with the Nanette Lepore fabric. See you in a few months!
Dina,
My Superfluities.


Great looking garment. Love your choice of fabric also.
ReplyDeleteThat is so beautiful! Your dress fits perfectly with the sea view.
ReplyDeleteNice.
ReplyDelete