
Made by a Fabricista: Fun with Stripes


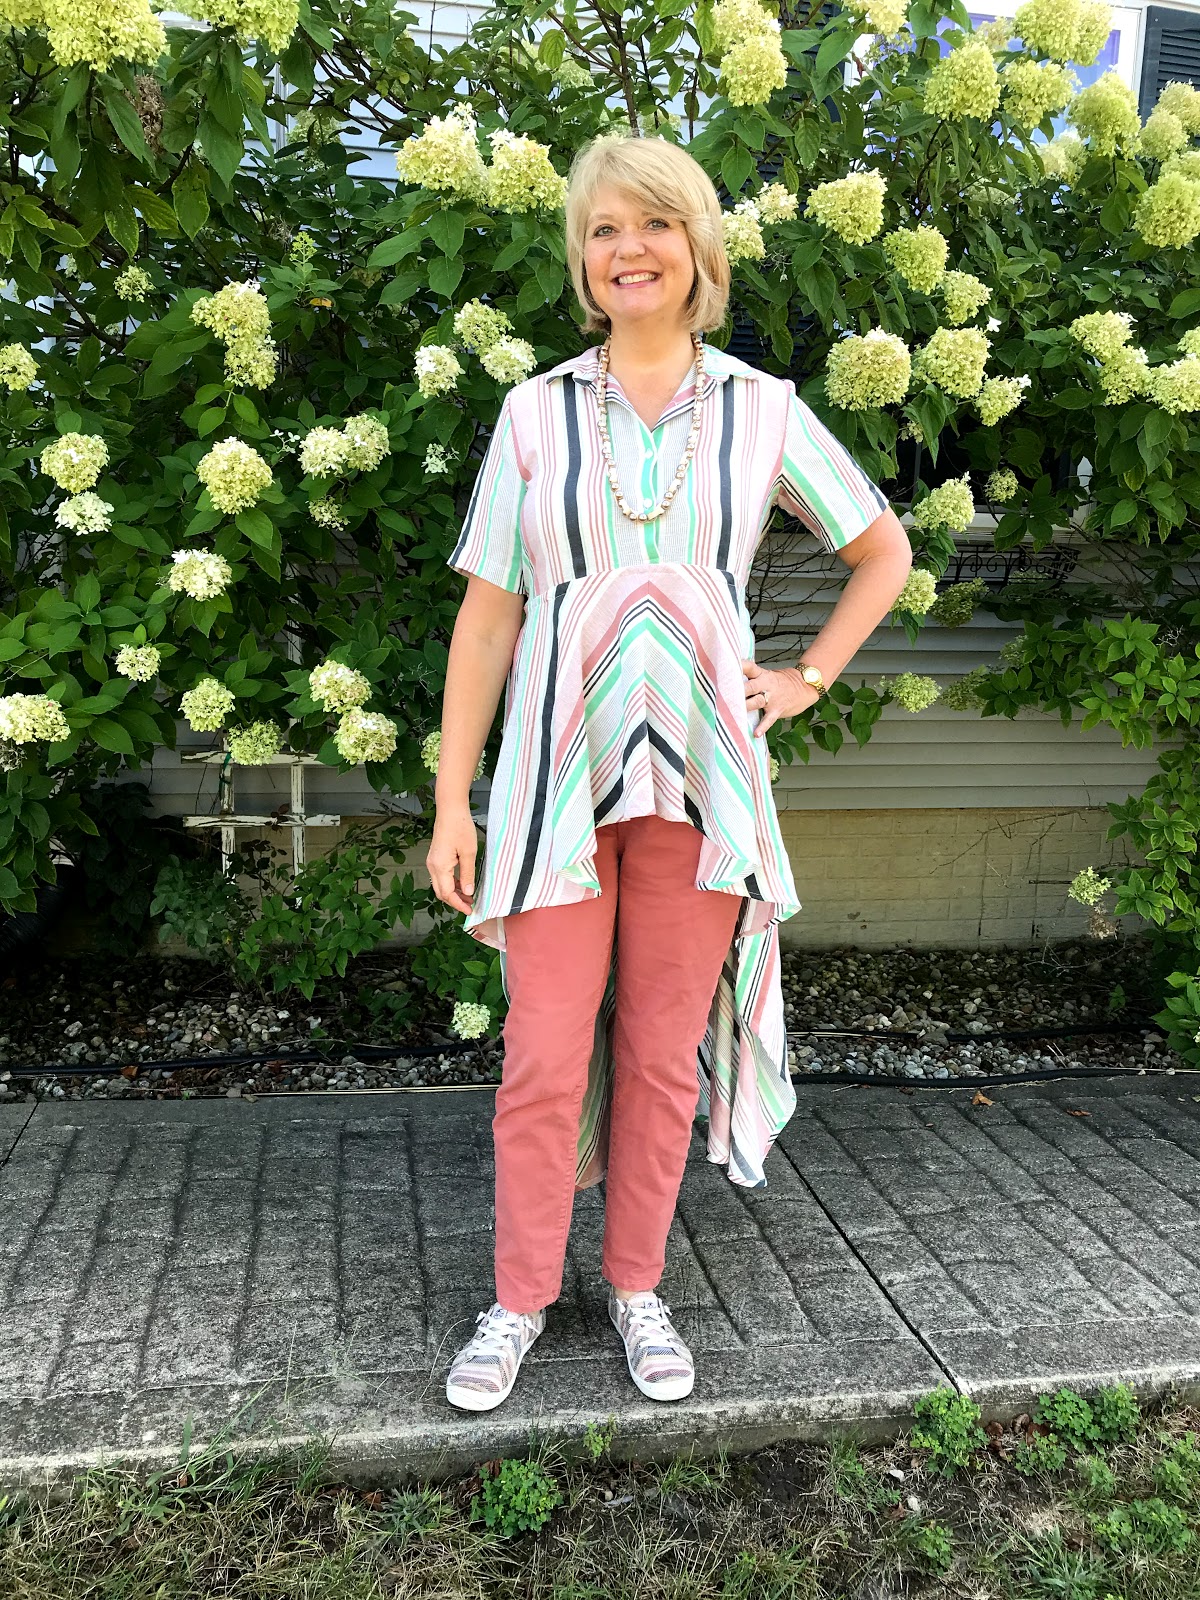
Happy September! I'm definitely ready for cooler weather and I am starting my fall sewing with this little striped top in an unusual color combo of black, cream, clay and mint green.  I used this Milly fabric.


I really love working with stripes.  There are so many fun things that you can do.  For example, I decided to put the lower back on the bias, the yoke on the straight grain, and the collar on the cross grain for this top.   Because this is an uneven stripe, it was a little tricky to get this bias chevron effect.  How I did it was this:
1.  Cut my yardage into two pieces.
2.  Lay one piece right side up, single layer.
3.  Turn the other piece 180 degrees and wrong side down, so that the stripes match when you put them together.  Check your stripes all the way across- they can be together at the selvedges, but shift on you in the middle! 
4.  Place the grainline on the pattern piece at a 45 degree angle and pin to your fabric.

 Here's the back- I love how it moves:


Apparently Milly likes having fun with stripes too- take a look at some of the images I found online of Milly's designs:


Pretty awesome, right?  I couldn't find this particular fabric made up into apparel online.  Let me know if you can find it anywhere.  I'd love to see what Milly made with it.

For my pattern, I chose McCall's 7985- I believe it came out in the summer releases. It's a Khaliah Ali pattern, and I always love her styles- very dramatic and great for us tall gals.  I did do a slight full bust adjustment- I should have done my regular, but the finished bust measurements on the envelope indicated that it had plenty of ease.  That ease must have all been in the back, as the front ended up a little on the snug side!  The other thing about it was the neckband ended up way too big for my neck.  That might have been the fabric, as it is pretty loosely woven, but I will definitely check that against a neckband that fits before I make it again.   I did not add any length (I'm 5'9" for reference), and wouldn't have wanted it any longer.  So, if you are average height or shorter than average, you will need to shorten it.

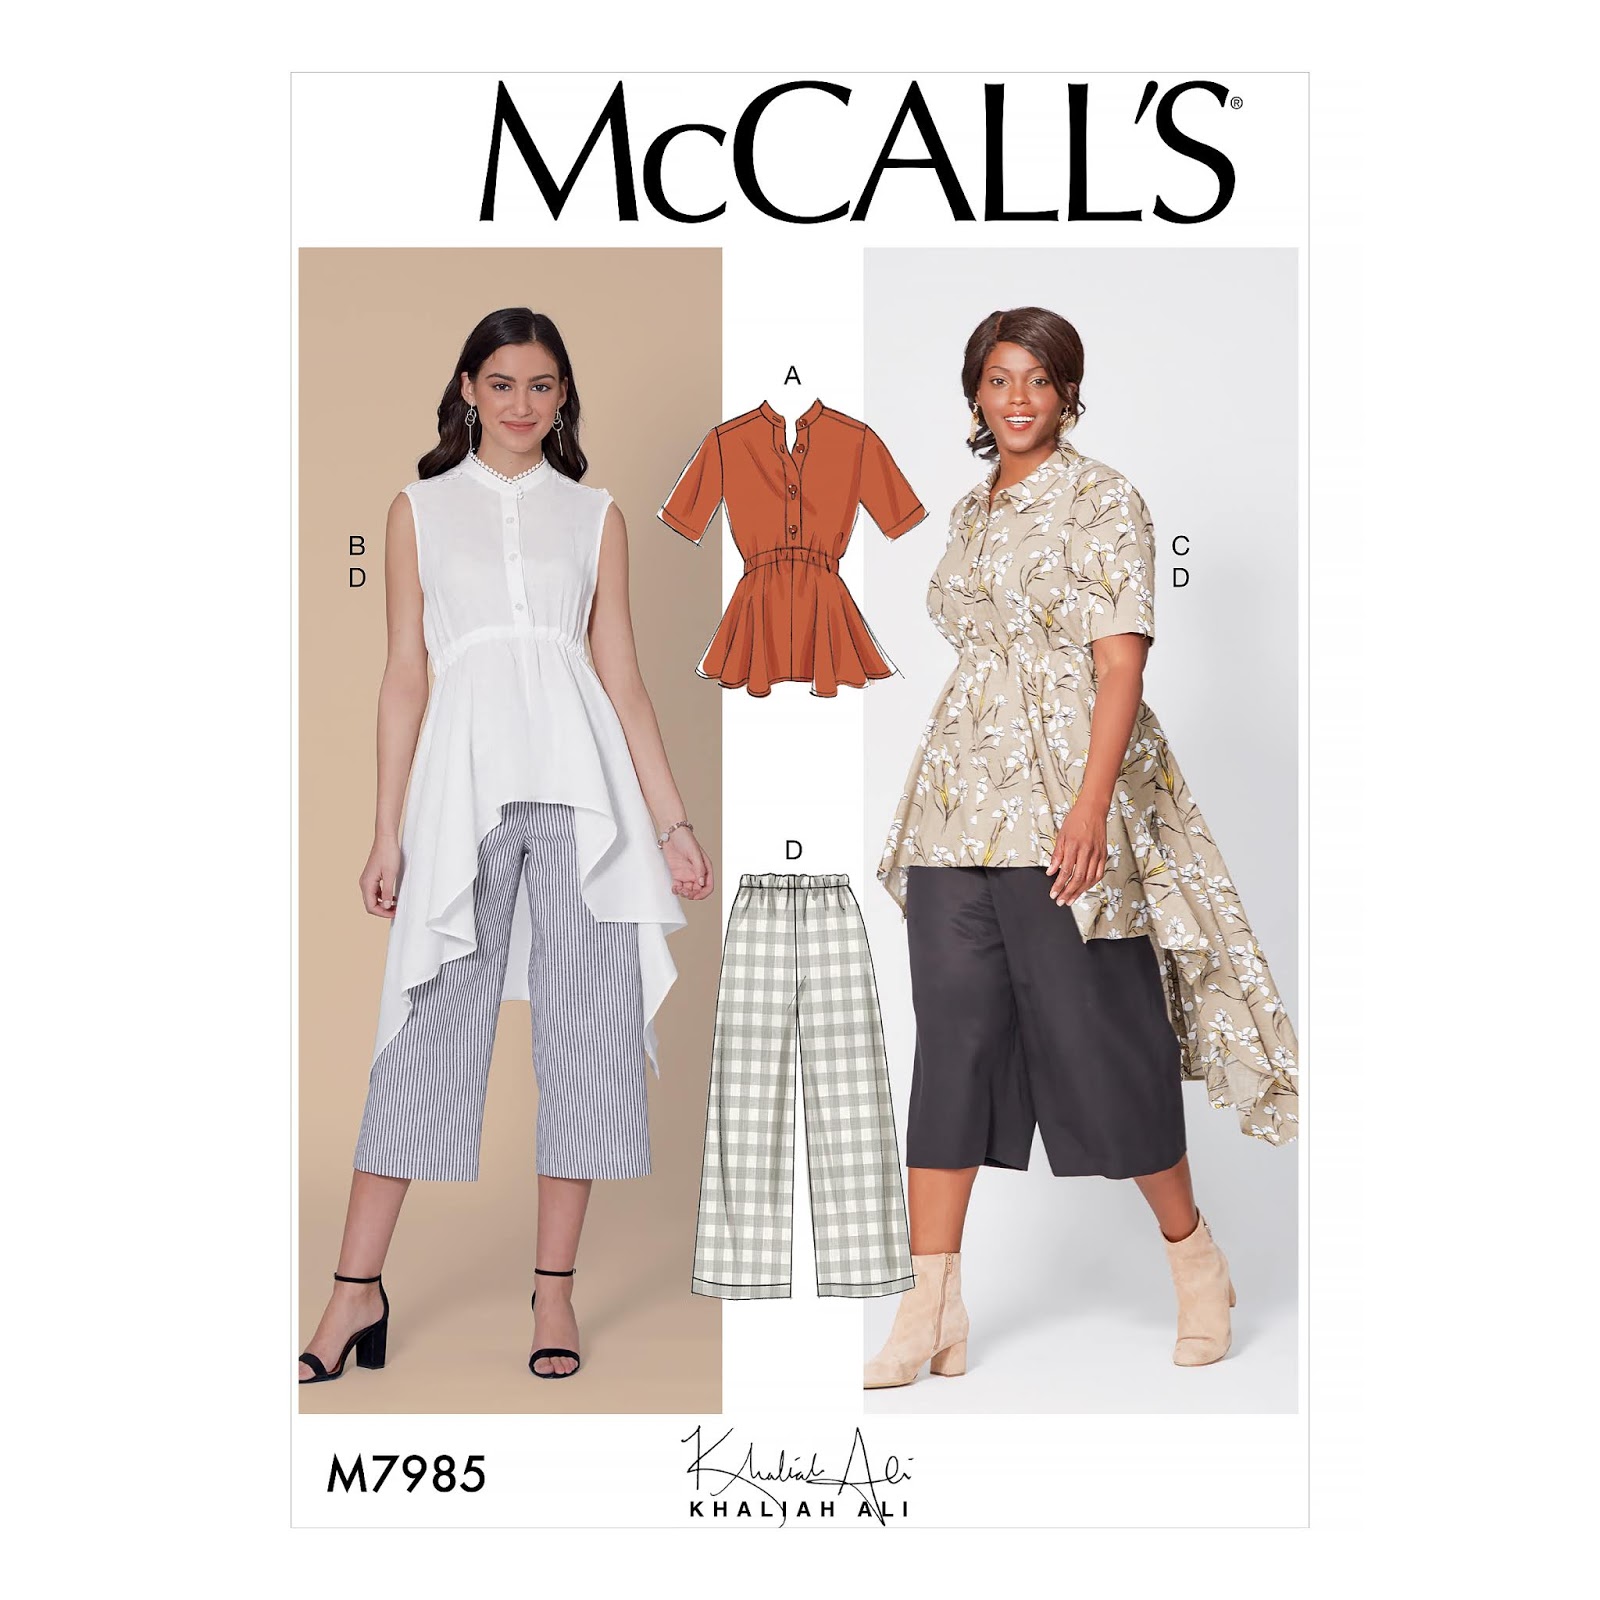
I had enough fabric to make the longest version, so I went for it.  The high low hemline contrast is quite pronounced, which won't be everyone's cup of tea.  But I really enjoy wearing something that's out of the ordinary, and don't mind it at all.


I had saved some of my favorite clothes from my youth, in case I ever had daughters that would get a kick out of them, and my all time favorite top when I was a teenager was this one with the mint green, peach and beige stripes.  Surprisingly, none of my daughters found this old, pilly sweatshirt attractive!  But, look how similar the stripes are to my new top-  no wonder I couldn't resist this fabric!


You can see here that the front and back skirt sections are open at the sides, so you can put your hands in your pockets, and sit down without the skirt pulling down, which is great.  I dyed cording instead of making a fabric drawstring for the waist tie.


After taking these photos, I experimented with taking the drawstring out of the underbust seam, and I think it looks better- less poufy in the front.  I will probably just wear the drawstring inserted through the side openings and around the back, not the front.  It gives less of a ruffle effect and de-emphasizes the bust.  I'm not sure- which way do you think looks best?  Without the drawstring under the bust:


Or with the drawstring under the bust?


The fabric was really lovely to work with, as I've come to expect from the Milly fabrics!  I wish that they had it in some different colorways!  How about you?  Do you enjoy working with stripes?  Do you notice that you still like color combinations that were your favorites as a child?

Happy Sewing!

Ann

Comments

  1. You did a great job with the stripes. Too funny about the identical colors appearing in your past! I prefer the drawstring, as I think it adds structure and an almost architectural detail.

    ReplyDelete
    Replies
    1. Thank you- I think I agree too! I maybe need to pull it a little less tight in the front, but still have it there.

      Delete
  2. Very nice job on this and very flattering. The fabric choice is good, too, in that it appears almost if not identical on both right and wrong sides. The wrong side of a fabric (without lining) is a design consideration too often ignored with high-low elements, and a bland underside is not very attractive, so again, good choice. I love stripes, too. Really cute!

    ReplyDelete
    Replies
    1. Very good point! I hadn't thought about that. This fabric is pretty identical on both sides- one side is just a little fainter in color. Thanks!

      Delete
  3. Oh thanks for showing the other usage of stripes by Milly! I love your tunic!

    ReplyDelete
    Replies
    1. Thank you! If you look closely, you'll see that they don't worry about matching the stripes, either, which is refreshing. It would take a lot of the worry away from working with stripes.

      Delete

Post a Comment

Thanks for leaving a comment! All comments are reviewed before posting to help us eliminate spam. Your comment will be posted within 24 hours.

Popular Posts You Might Like

Week 4: Jeansmaking- What They Made

This is it, the final round! And we certainly did not go easy on our three remaining contestants this time. This round they had to make their own pair of well fitting jeans. I think they all did an absolutely outstanding job! Take a look what these ladies accomplished & be sure to vote for your favorite! (Link at bottom of post.) And, don't forget to show us your me-made jeans on Facebook or Instagram. Details at the bottom of this post. Danesha from  Classyfied Life So first I must say that this entire challenge has been just that...a challenge! Two weeks ago there was hurricane Irma and I was blessed enough to not lose power and then I went out into the aftermath to capture some photos of my submission. Then two weeks ago I had a big trip planned so I had to do EVERYTHING  in two days . Then the BIGGEST challenge of all...THIS week! I got the challenge and I was super excited to have an extra few days and then before I could even get started I ended up in the eme

Made By A Fabricista: A great tee shirt pattern – or three!

Hi fellow sewists! It’s Andrea  @happy.things.here and I’m here today to talk tee shirts!  I love a good tee pattern…or two…or four. Despite having more than enough of them in my pattern collection, I’m always up for trying a new one. And I also have my favorites and tried and trues (TNTs). I love the versatility of a good tee pattern – dress it up with fancy fabrics to make a work wardrobe piece, use a high quality solid to add some basics, or anything in between. Today I’m sharing three patterns I’ve used multiple times and with many different kinds of fabrics - all a little different and all great beginner patterns too. First up is the newest addition to my pattern collection – the Upland tee and crop top by Rivet Patterns. They are a newer designer who I recently discovered when this tee pattern caught my eye. I love that it has multiple bodice options including a classic design tee and also a crop version with different separate and uniquely shaped bodice pieces. I first made the

Made By A Fabricista: Dreamy Florals | A DIY Dress Inspired by Son de Flor's Spring Collection

Hi everyone!  When I saw this floral print linen/cotton blend make it’s way onto the to-be-described table I knew I had to make a dress from it.  I’d been staring dreamily at all the dresses from the brand Son de Flor who had just put out their spring collection and thought, maybe I can throw together something inspired by them!  I grabbed three yards of that floral shirting and a yard of SWC5682w to line the bodice with.  I used Simplicity’s S8946 for its simple bodice block.  This pattern has a gathered rectangle for the skirt, but I’m a sucker for a circle skirt so that’s where I decided to start.  I folded the fabric twice and cut out the longest circle the fabric would allow.  Then got to work on the bodice, sewing up the darts and attaching everything. Now, I don’t love installing zippers.  I ha d a lot of trouble getting them to sit right, and no matter how much mental gymnastics I do when first pinning one side is always put in the wrong way.  So while I did have to unpick and