


Hello, all! I find it positively lovely to be back on the Fabric Mart blog in 2023 sharing more sewing projects.
This round I wanted to create an outfit to ease me back into spring. As I shiver and type this, imagining nicer weather is a very uplifting thought! But for now I’m stuck with chilly (and gusty!) weather that makes taking photographs more of a challenge. When I began working on this project, I was still swirling with holiday sewing, and while I usually have my sewing projects planned down to the T in advance, this time I was much more up in the air and just had the most cursory of ideas, so I kind of put together a little kit for myself to work with. If nothing else, seeing a beautiful little stack of fabrics and notions is very motivating.
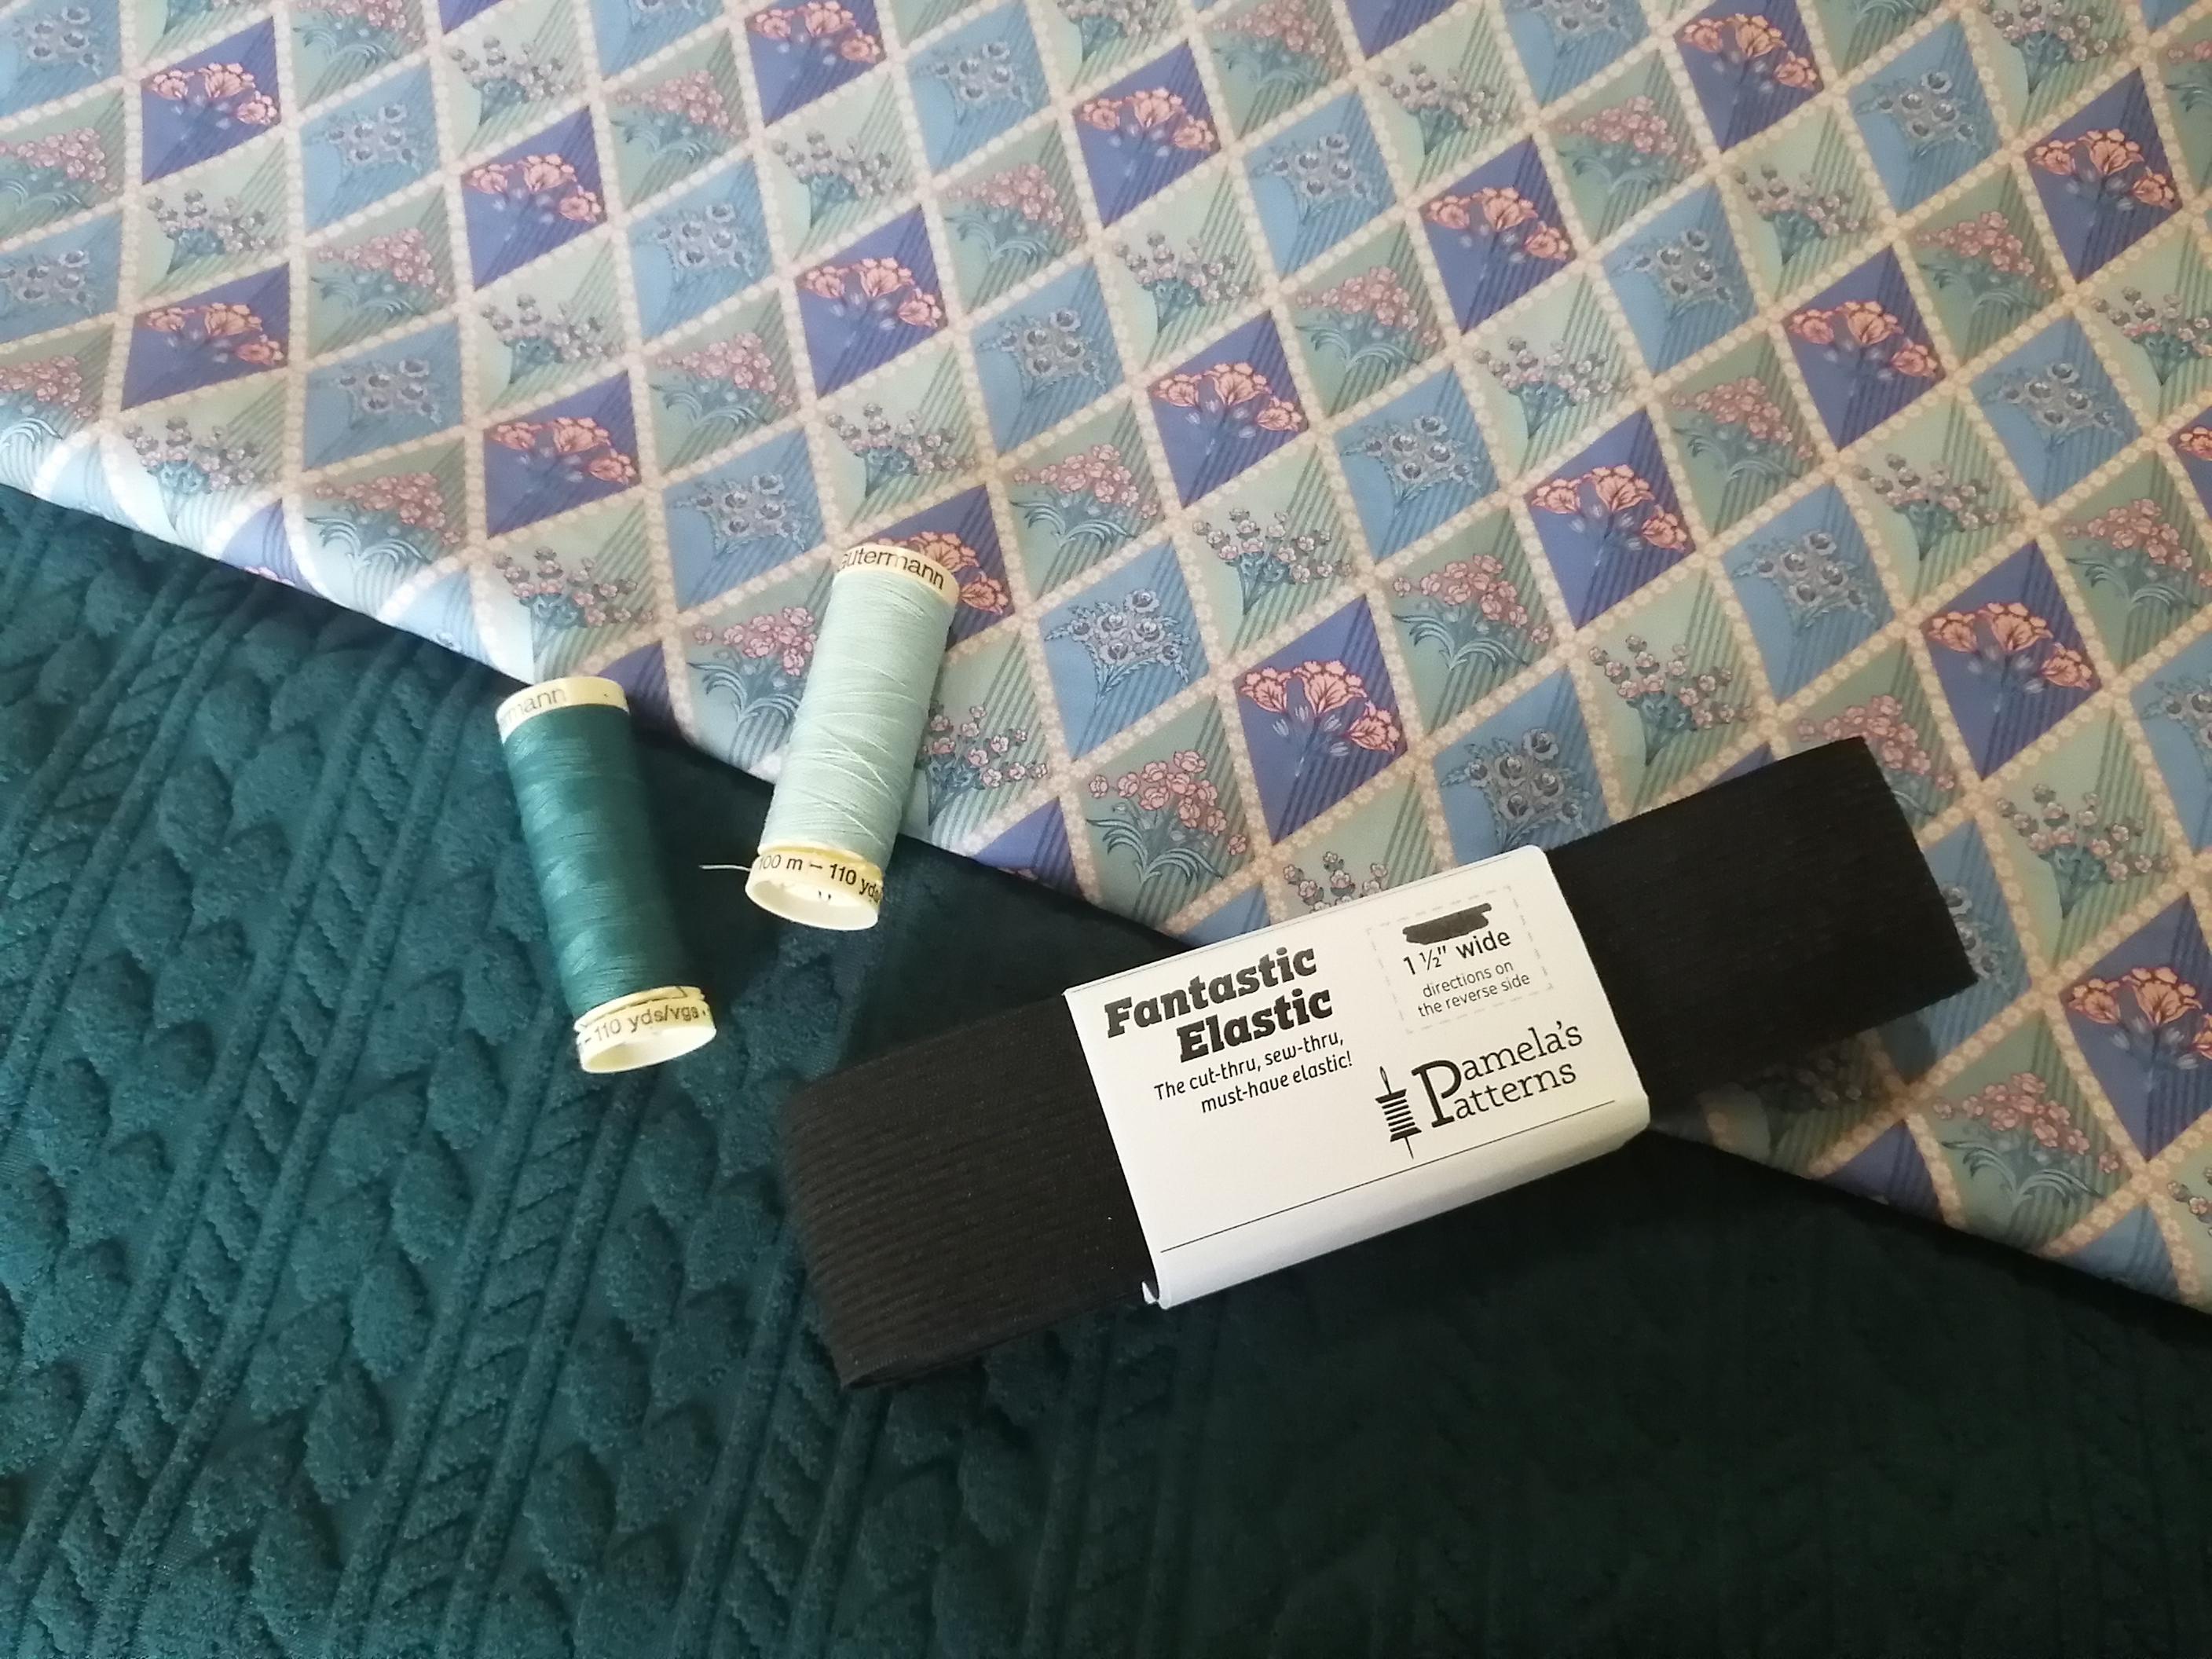
Have you been in a constant swooning state over all the incredible Liberty of London wovens that have swept through the New Arrivals? I've, for one, have felt practically breathless poring through the huge assortment and adding a few precious prints to my personal fabric library. I'm so looking forward to sewing them into clothing! The tossed florals are absolutely exceptional and since I'd picked up a handful of those already, I branched out and chose one of the more orderly geometric prints for this post. I didn't have an exact pattern in mind initially, but the glimmer of an idea that the rows of diamond shapes would look great gathered stuck with me, and I knew I wanted a skirt. This Tana Lawn Floral Harlequin print also checks all the boxes for me with muted cool-toned blues and wee pops of demure pink that I look best wearing.
The final skirt design came to me as I was laying out pattern pieces and sort of checking out the lay of the land on my cutting mat. I started with a plan for a very simple gathered skirt just cut from rectangles and a separate waistband, but then I remembered that Fibre Mood has a very straightforward skirt called Bloom with a grown-on waistband AND I'd already altered it to include my favorite 1.5" wide elastic for the waistband.
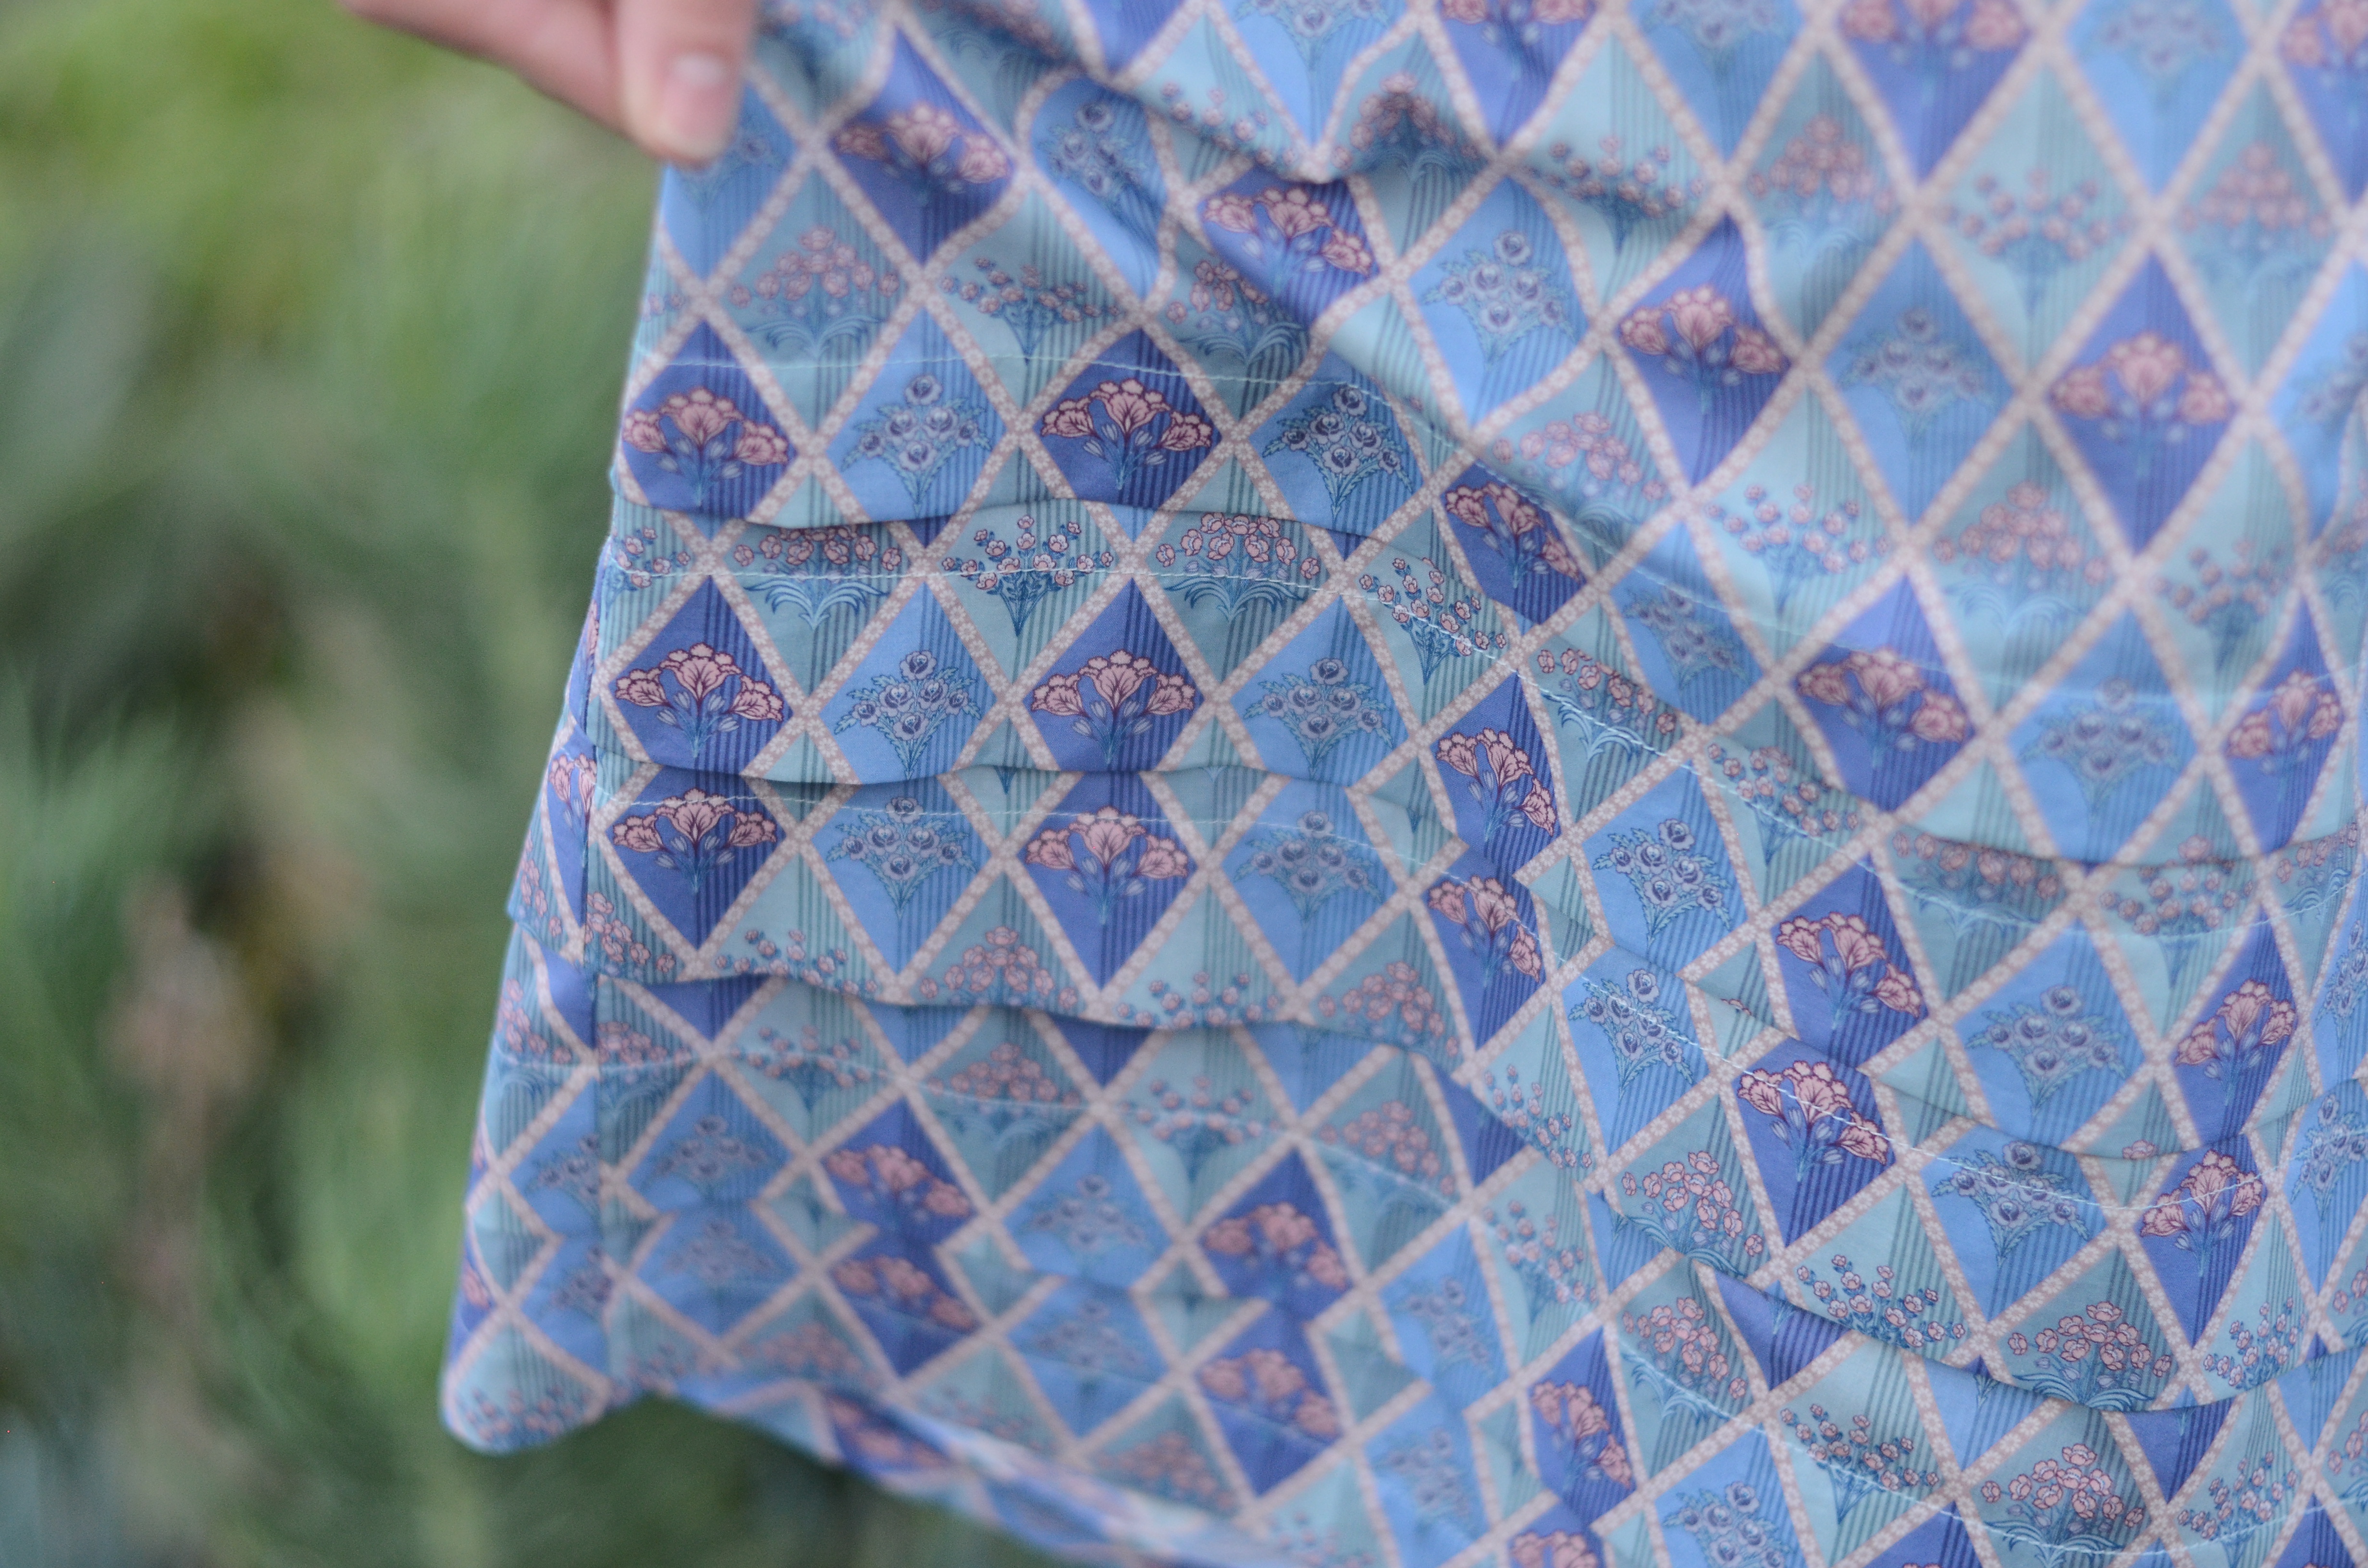
I couldn't bear to cut my skirt shorter than my oh-so-precious yardage, so I left it long while I pondered how to elevate this simple design without losing too much print detail. Oh friends, then I remembered another Fibre Mood pattern I've been eager to sew for ages and haven't gotten around to yet, the Hope Dress. I love the design specifically for the multiple gorgeous horizontal pleats across the bottom of the skirt. I don't really own anything else with that neat style detail, and although I've always planned to sew the dress in a solid color to highlight the lines, I thought they'd look equally impressive in an organized print like this one. Plus, lining up those diamonds was highly satisfying! I just kept folding and stitching pleats until I liked where the hemline fell on me.

Over the years and sewing more waistbands than I can count, I've come to realize that my very favorite bands are made from this elastic width; it's just right. Two inch elastic is quite wide and tends to fold in half on my waist and one inch generally does not supply the security I crave. This happy medium is where it's at.

I have two points to address on a foldover waistband such as this. One, stick a tag of some sort on the back since the front and back of the skirt are identical (or nearly so). (This one is by Kylie and the Machine.) Two, remember to add said tag to the waistband facing before you slide in the elastic and stitch down the band's edge! Otherwise your tag-securing stitches will show on the outside of the skirt and might not cooperate while sewing through the elastic, either.


I found the Pamela's Patterns Fantastic Elastic a great addition to my notions! I failed to realize that this specific elastic can be cut to any width without shredding, so this will come in handy for a variety of uses, got to love a multi-tasker! The stretch has very nice recovery and the feel isn't too firm. The band sits very comfortably at my waistline, and with its really incredible stretch, I recommend giving the elastic a full arms-reach stretch out before cutting it to fit your own waist. Likewise, I would also shorten the length an additional inch or two if I were to use it on a waistband featuring topstitched rows since that extra stitching will cause it to sit permanently looser.
For my top, I had more of a solid idea from the get-go. I chose Peacock Poly/Lycra Vertical Cable Weave Burnout Terry Sweater Knit because this bold, deep color is one of my very favorites, and it brings out the dusky turquoise in the skirt print, too. I'm always attracted to sweater knit fabrics that actually appear to have knitting involved, and this cable weave is a marvelous example. Fabrics such as these are also really easy to cut since you can line up a row of the knit design on the fold before laying out a pattern piece and know everything will come out evenly on both sides.

The top pattern is the Sheridan Sweater from Hey June. I love the easy-wearing funnel neck and how it allows the cable knit pattern to shine all the way to the edge of the neckline instead of being interrupted with a neck band.

Similarly, the sleeves have the option to gather with elastic or with a cuff, but I love the open drama of a big sleeve hem. They do swipe across counters and try to knock things over, though, as my youngest was annoyed to find when we played Bananagrams, haha.


My worry that the burnout aspect would make this top too transparent was unfounded. When held up to the light, the mesh areas between the cable knit columns are very visible, but not at all when wearing and the top appears totally opaque.
I wanted to be able to wear this top loose or tucked, so I chose the unbanded option and added an inch for a shorter-but-not-quite cropped length. I find this looks nice proportionately with the high waisted skirt, and there’s not so much extra volume at the hem that I can’t tuck it in smoothly, too.


This was a fun exercise in a more organic approach to a project for me. Combining a bold solid with a muted print, not to mention the big knit texture paired with a smooth woven finish was not wholly in my usual comfort zone, and I really like the eclectic combination.


Thanks for joining me and happy sewing!
Unfortunately Fabric Mart Fabrics sell out quickly!
You can find similar fabrics by shopping the following categories LUXURY BRITISH BRAND, LAWN, KNITS, TERRY, & SWEATER KNITS.
Beautiful Outfit and Beautiful Sewing!
ReplyDeleteThank you!
Deletelove the shirt
ReplyDeleteThanks! ❤️
DeleteThe color and funnel neckline of your top is wonderful. Reminds me of the deep green-blue of evergreen trees. The LOL fabric you chose is magical. The color and pattern and the ease of the pattern make is extra special.
ReplyDeleteThank you! Hard to go wrong with LoL, they are all pretty spectacular!
Delete