

This week's blog post is by Sue from I Love to Sew and one of our Fabricistas!
I was so excited to participate in this post as pattern hacking is something I don't do a lot of, but when I do, I am just (usually) stoked when I see the overall results. Since I didn't want a wadder, and who does, I searched Pinterest for an idea that I could use with one of my favorite tee patterns: Sewaholic's Renfrew.
I was so excited to participate in this post as pattern hacking is something I don't do a lot of, but when I do, I am just (usually) stoked when I see the overall results. Since I didn't want a wadder, and who does, I searched Pinterest for an idea that I could use with one of my favorite tee patterns: Sewaholic's Renfrew.
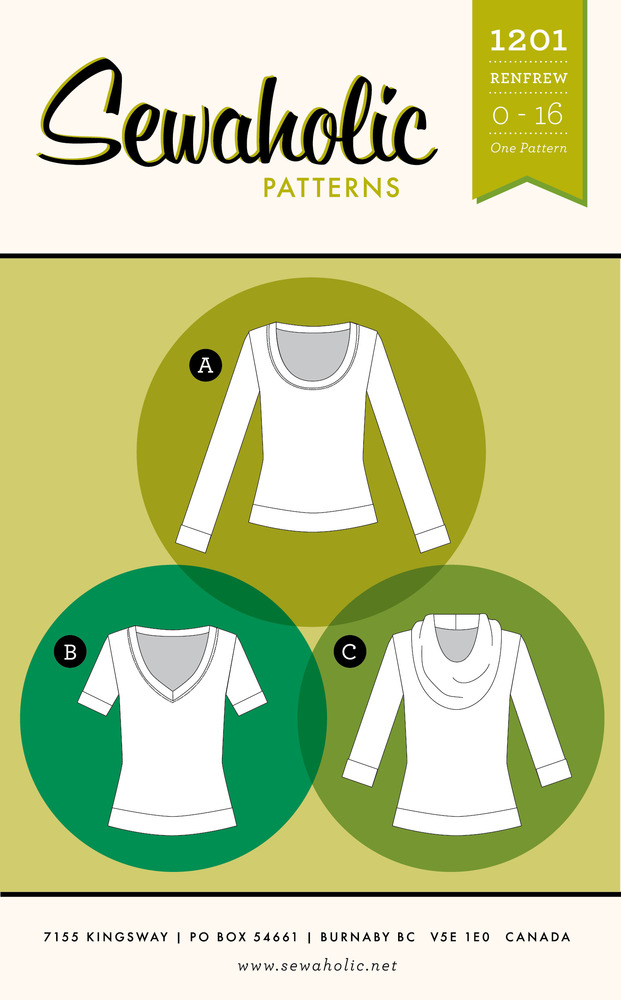
In case you aren't familiar with the Renfrew, here is a picture of the pattern envelope. Just think of the possibilities with this pattern!
When I was looking at all the pins I have on Pinterest, here is the look I was hoping to recreate:

But I wanted only to recreate the back color-blocking portion and of course use my beloved Renfrew, which doesn't have raglan sleeves.
Here is what I did for drafting the back pattern piece.

I use plain tissue paper when I copy off my pattern pieces. It is easy to see through to copy and lightweight and I can refold it back into the pattern package easily.
And yes, I do lightly iron the tissue before I lay it out on the fabric to cut it out.

Here is a closer-up of the drawing along with the reminder to add the 5/8" seam allowances, just like the rest of the pattern calls for.

Here is what the back pieces looked like after I cut out my fabrics. I really love the contrast of the blue perforated scuba knit and the ITY floral print.

That inverted 'V' I had made so pronounced on the pattern tissue and in the cut fabric is my less so when sewn together--this is more of the look I was going for!

I really loved the sleeves that were in the contrasting fabric, just like the inspiration photo.

I just love using a pattern to 'hack' that you've used before, fits well, and is simple to sew.

You get a hint of some fun when you see the front but with this top, the party is mainly in the back!

I love the look of this from all angles!

Sewing with two very different fabrics wasn't difficult at all. Just use the right needles, notions, and take your time to think through the steps.

I am very pleased with how my 'hack' turned out, or should I say redesign?
Thanks for reading!
Did you miss our previous posts on t-shirt pattern hacks? Check out our Summer of T-shirts Event Page.
We've also put together a t-shirt inspiration board on Pinterest. Check it out HERE.
Don't forget you can sew along with us at home. Share you t-shirt pattern hacks (new ideas you have and ideas that we have shared with you) on Facebook and Instagram using #FMSummerofTshirts. At the end of the summer, we will compile all the people that used the hashtag and you will be entered into a random drawing for $75 gift certificate to Fabric Mart!
Fantastic, each week I say "This is my favorite!", and of course, this is no exception. I honestly think that I could do this, and to all of the posters, I say a very heartfelt thanks for showing, and sewing, your creativity. You have inspired me to try new things, and Fabric Mart, thank you for incredibly priced fabric so that I will, and have, tried sewing up my creations and been successful! I give you all credit for making this one of my best sewing summers. Now if I could just over my hesitation to show what I sew! Thank again to all of you. Headed over to the scuba fabric page right now to make this shirt
ReplyDeleteGreat hack, that cut out scuba works so well, I love the contrast and that the sleeves are scuba too
ReplyDeleteThis looks awesome, I really like how you redesigned the back with the inverted "v", a great look! I'm inspired to give this a try myself.
ReplyDeleteOoh I like this very much. Nice design Sue.
ReplyDeleteGreat combination of fabrics! I have the Bethioua pattern in my inspiration file for the color blocking, but raglan sleeves are not a good look for me. So I was thrilled to see the same seam styling applied to a non raglan sleeve T.
ReplyDeleteThat looks fabulous! Fantastic work!
ReplyDeleteThanks everyone!!! You made my day!
ReplyDelete