


Linen season is upon us.
[YAY!!!!!!] With my trio of boys in soccer right now and the sweat of baseball season around
the corner, I want to wear all the linen.
My project this month is a pair of Burdastyle 5-2017-102 wide legged
pants in this emerald designer linen.
Lately I've gotten to this point where I want everything I
make to work with what else is in my closet.
If I can pair a given garment with at least 3 other things I already
own, I know it's a keeper. Paired with 3
tops, these are sure to be a summer favorite.
Burdastyle 5-2017-102 Wide Legged Linen Pants
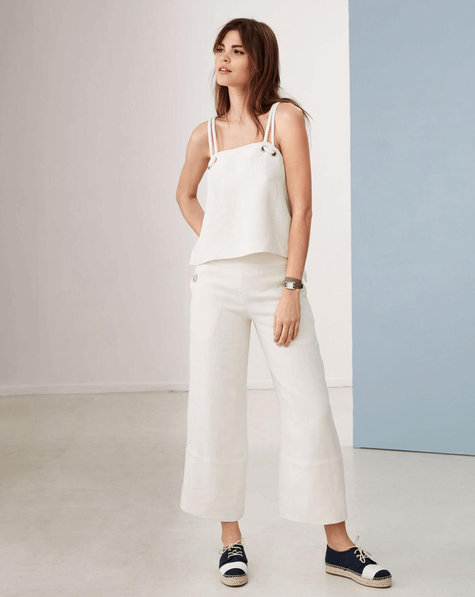 |
| image from Burdastyle |
Before I get into the styling, let's talk about the
pattern. It's a pretty basic wide-legged
pants pattern with a single patch pocket and wide hem bands. There's a side zip which is different for
me. I almost always put in fly fronts in
my pants. I don't know that I'm a side
zipper convert, but I like this one!
I took the liberty of lining the slant pockets with a linen
print from my stash.

The only real change I made to the pattern was to shorten
the legs by 4". I have another pair
of cropped pants with a similar total inseam length. I knew without the shortening that I'd be
somewhere in the neighborhood of that high-water look! Cropped is good, high water, not so much!
The sewing itself was pretty easy. Linen is so forgiving to work with. You would think that it's airy weave would make it a little fussy to handle, but it's not so! In fact, I got to use my favorite pinless methods for handling the seams, so it was a quick sew.
Look 1: Sewing machine tee + coral wedge espadrilles

This tee is one of my favorites. It was a birthday gift from my husband a couple
years back. Since I altered it by fitting
the side seams, it's been a summer staple in my wardrobe.
The fitted tee with the more relaxed pants is definitely my
m.o. Being a pear-shaped lady, it's good
to play with that balance.
Look 2: Asymmetric stripe tank + coral wedge espadrilles

This second look features a refashioned tank I made a couple
years ago. It started life as a twin set,
and I cut it up to make a angled colorblocked section.
Unlike the sewing machine tee, this tank is not at all
fitted. I was postpartum when I made it,
and it definitely could be more fitted.
That being said, sometimes it's nice to have some looser fit clothes
too.

When the heat of baseball season hits and I'm sitting
through all the practices and games, I'm going to be glad for this combo! Linen is like wearing air!
Look 3: back cowl bodysuit + crazy bowling shoes

I always forget about this back cowl bodysuit! Maybe it's because I still have yet to figure
out how to really wear a bodysuit.
Definitely, I need to experiment more with this.
This is a Kommatia Patterns back cowl bodysuit. The pattern doesn't call for a lining on the
cowl, but I found the style was too much for me. So I added a fitted lining on the cowl. My sun-sensitive skin thanks me for the extra
coverage!

Next I added my crazy bowling shoes. These shoes actually were sapphire blue. They looked really nice to begin with, but
truth is that I have zero true blue in my wardrobe. I've been playing around with Angelus leather paints
for a while. The best example of how
great these paints work is on this faux leather
jacket I made for a cosplay. For
these shoes, I mixed up my favorite sea green and a solid turquoise for an
accent. Painting takes a little
patience, but then you have a totally different shoe.

I love how the cropped length gets to show off the bonkers
shoes. I've always loved non-neutral
shoes, and these totally fit the bill!
Linen + wrinkles
=not at all sad face
Linen is really a special fiber. There's so many things that we make that just
look wrong when they're all wrinkled, but for linen, I think it's
different. Yes, of course press as
you're going along.
*Quick tip*:
press your linen over a ham or with strips of brown paper under the
seams to avoid overpressing the linen and making it all shiny. Shiny linen is sad linen. You can't fix that easily.
But in the wearing, I think it's okay to relax about the way
linen wrinkles. It's a natural thing and
linen is relaxed to the max. There's a
beauty in that.
I for one will never pass up the chance to add more linen in
my wardrobe. Sewing with linen is the
gift you make for yourself for hot weather!
How
about you? What linen projects are in
your future?
~Sew something creative
I love these pants so much! I've been lusting after the emerald linen for like two years now and still haven't bought it. It looks lighter, though, more of an aqua/teal, in these photos.
ReplyDeleteThanks Masha! It is indeed more a true emerald--a little bluer than Kelly green I'd say but *green*! You can't go wrong with any of the designer linen--it's awesome stuff to work with.
DeleteI love the emerald linen! Such great looks you put together!
ReplyDeleteThanks Carrie--it's always fun to go raiding my closet to see how to combine old with new!
Delete