
Oh how heavenly it is to sew up a gorgeous dress in a few hours!
December is tough for everyone. Most of us have our regular jobs, plus all the extra stuff around the holidays to bear with. In my case, I have to write high school recommendations, prepare students for their parts in the Christmas play (eighth grade gets to play the parts while the other grades provide the beautiful music), teach my usual classes, and get ourselves ready for all the feteing we do (Christmas parties, saying hi to Santa, etc.). I even manage to do most of my shopping online, but this year I had to at least go one time to the mall. My choice as it fit my timeline best? A Sunday night at 8 pm! (Yikes!)

Knowing this, I asked Fabric Mart to send me some festive fabric along with the True/Bias Lodo dress. I figured out of all items in their catalog of wonderful patterns, this one looked to be the biggest bang for the buck. And I truly think it is, especially if you choose a very pretty fabric to use with it.

I loved the look of this crinkle foiled knit. It seemed that it would have just enough stretch to work with the dress, and though it says online that it is a mechanical stretch (so not much), it was actually exactly the stretchiness needed by the pattern. This means it is also a stable knit, which I feel is important in a semi-fitted party dress.

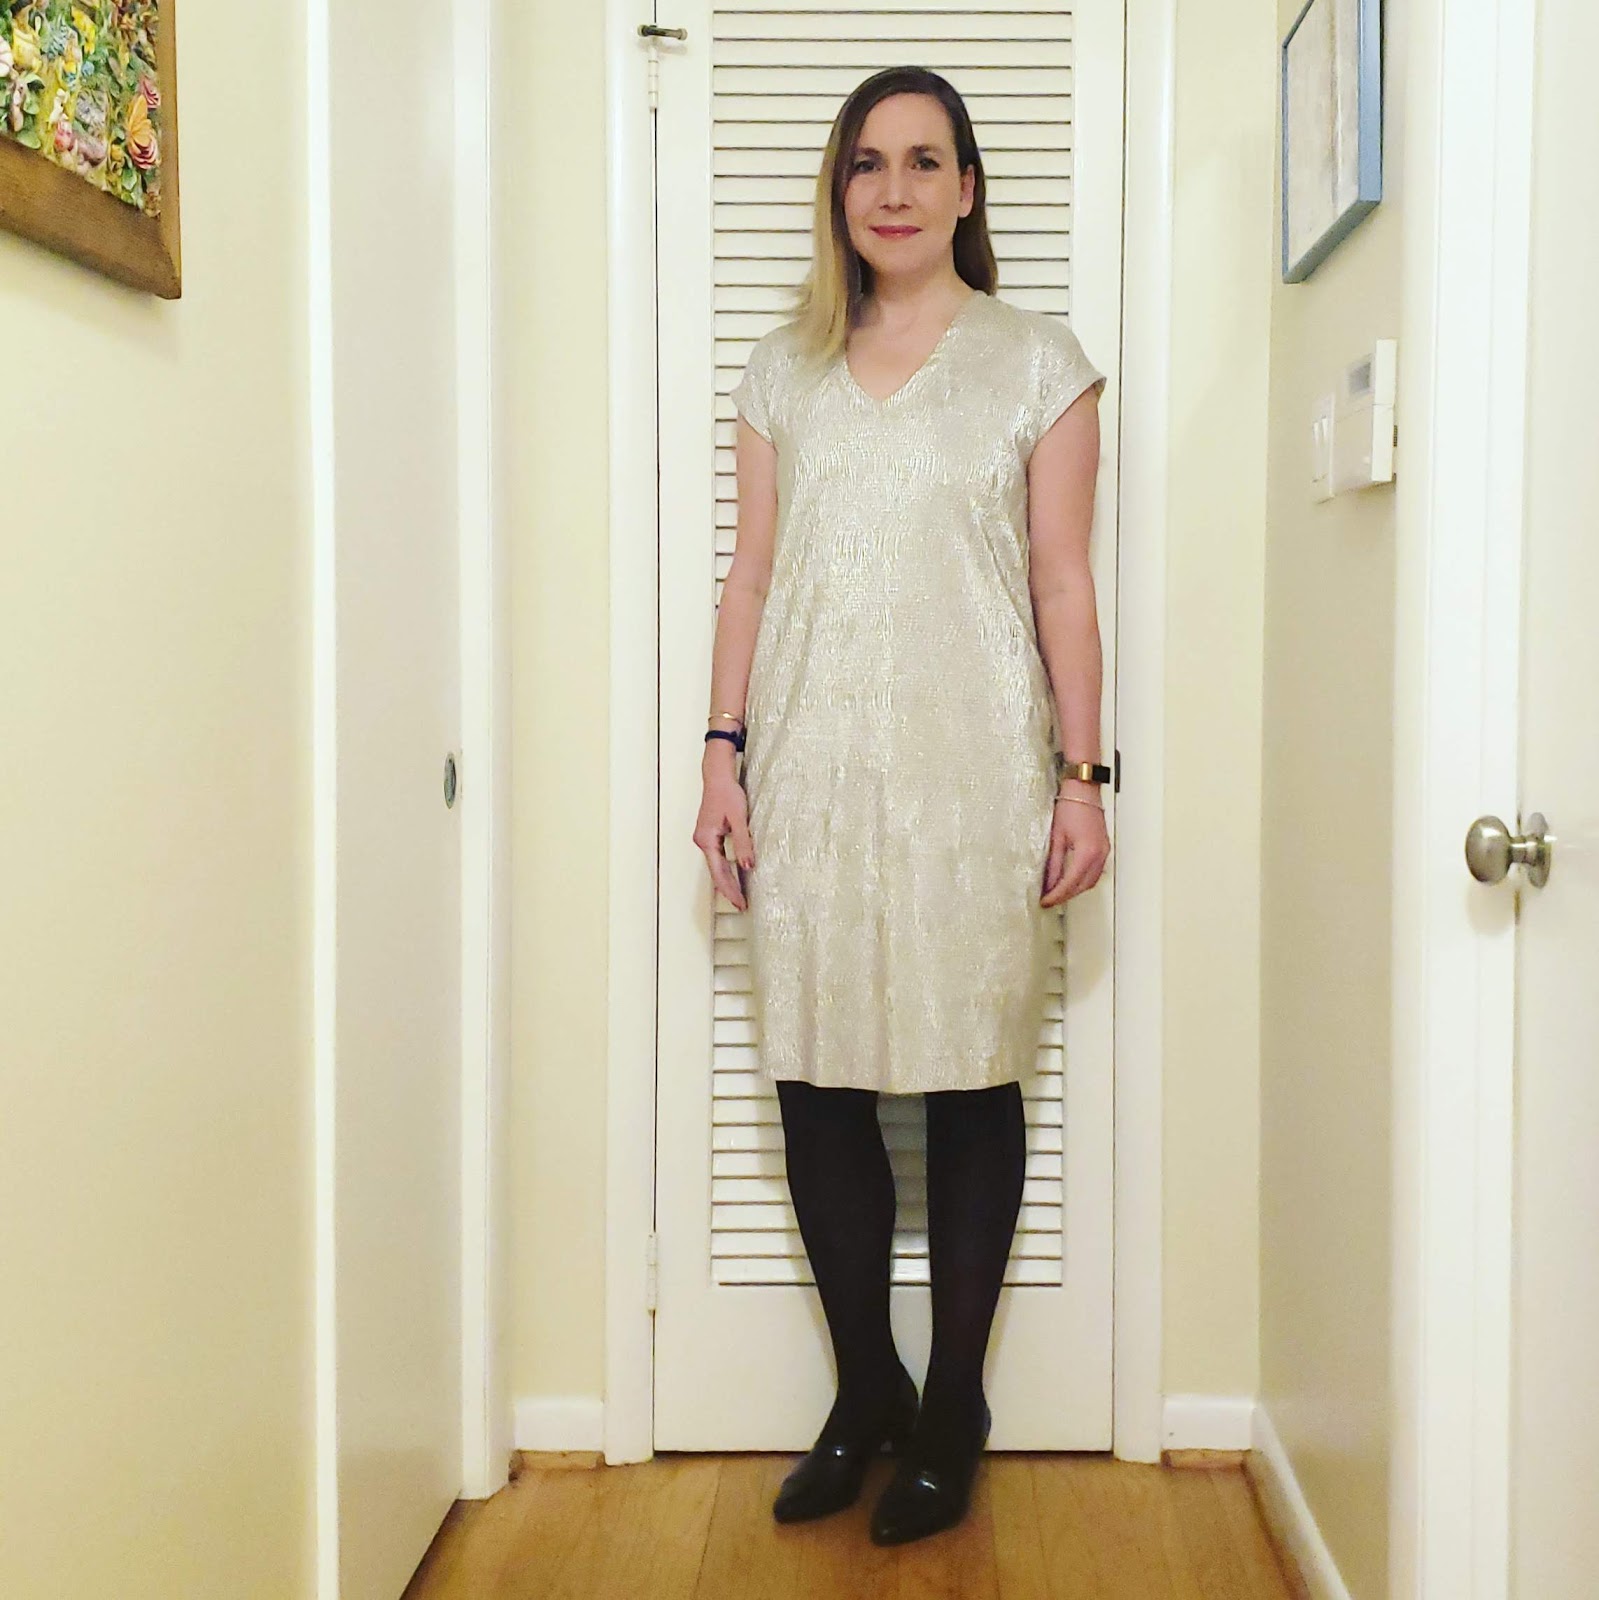
I decided to lay the fabric so the wavy pattern was vertical as opposed to horizontal, and I like the effect. Both directions would look lovely with this dress, but for my frame I prefer the up and down waves. The stretch seems to be about the same in both directions, so it is a versatile fabric.
I laid out the pattern pieces, adjusted the sizing for fit (though I could have gone with an 8 throughout, I went with an 8 at the bust, a 10 at the waist, and a 12 at the hips), and added two inches to the length. The pieces cut out easily enough, and along with woven facings for the neckline and the armholes, it took mere minutes to cut out. This is a first as it normally takes me forever to get through the cutting process.

I was surprised that the facings did not ask for interfacing, but the dress feels secure and the facings don't seem to be affected by the lack of an interfacing. The one thing I will note, though, about the facings is that the pattern does not mention understitching. Understitching is critical in the neckline to keep it flat and pretty. Without it, and only using topstitching to secure it, I am sure the neckline would not look as lovely. The armholes do not need understitching as much, and the topstitching is fine to keep the facings secure.

Also of note, this time about the fabric, is that I expected pressing it would be an absolute nightmare. As it turns out, this 100% polyester fabric is capable of withstanding pressing with a hot iron (and a press cloth, of course). I was able to press the facings into the neckline and armholes well, and also able to press out a couple of creases that were there from when the fabric was on the bolt. This is a fabric that will travel well.
Though I used this fabric for a closely fitted dress, it is light and drapey enough to use with a more flouncy type item. It could go super 80s retro with a cute fluffy skirt and fitted top. I went 80s, as well. Luckily our auction theme for the school this year is 80s, so I may be able to use this dress then!

I have a few thoughts on the pattern itself. It is a good pattern and the instructions are clear. This is the first time I feel I have ever successfully sewn a v-neck. This one looks good and I am super proud of it. I also like the sizing, and the finished measurements are exactly what they said they would be. I wanted to make sure this fabric didn't get too stretched out (as it would distort the wavy pattern), so I went with a larger size at my hips, but I think if I had chosen a solid color knit, I could have gone more fitted through the hips for a bit more va-va-voom. ;-) The dress glides over my frame in the larger size, but is in no way body con, which this dress 100% could be if made up with the right fabric and in a smaller size.

I am so excited this took me one night to make and it looks so good. I may shorten the dress. I think the knee length looks pretty, but I am thinking I will hem another inch. Belting it could also reduce its length, so I may try that, too.
In the end, I highly recommend both the fabric and the pattern. I look forward to wearing this soon for all the fun festivities in this busy season!
Do you have any recommendations for quick satisfying sews in the busy times of year? Do share, I am always looking for new fast fun projects!
Dina, My Superfluities.
So. So. So. AWESOME! This is gorgeous on you!! And I love a bob (the most!) but I am loving your hair a bit longer!
ReplyDeleteThis dress is beautiful! Classic and timeless.
ReplyDelete