
Made By A Fabricista: Fall is here!

Fall is here, and I have been in a coat/cape mood lately! I have a few that I plan to make, however, this pattern was not in the plans. It was in my stash, but it wasn’t on my “must make” list. I wanted to make a coordinating set but I thought it might be a little too much with this print. Now, I absolutely love animal prints, don’t get me wrong. I am a sucker for them! When I saw this jacquard double knit I had to have it. Instead, I decided to make an easy, comfortable cape that I can wear casually or dressed up. This pattern and fabric were perfect!

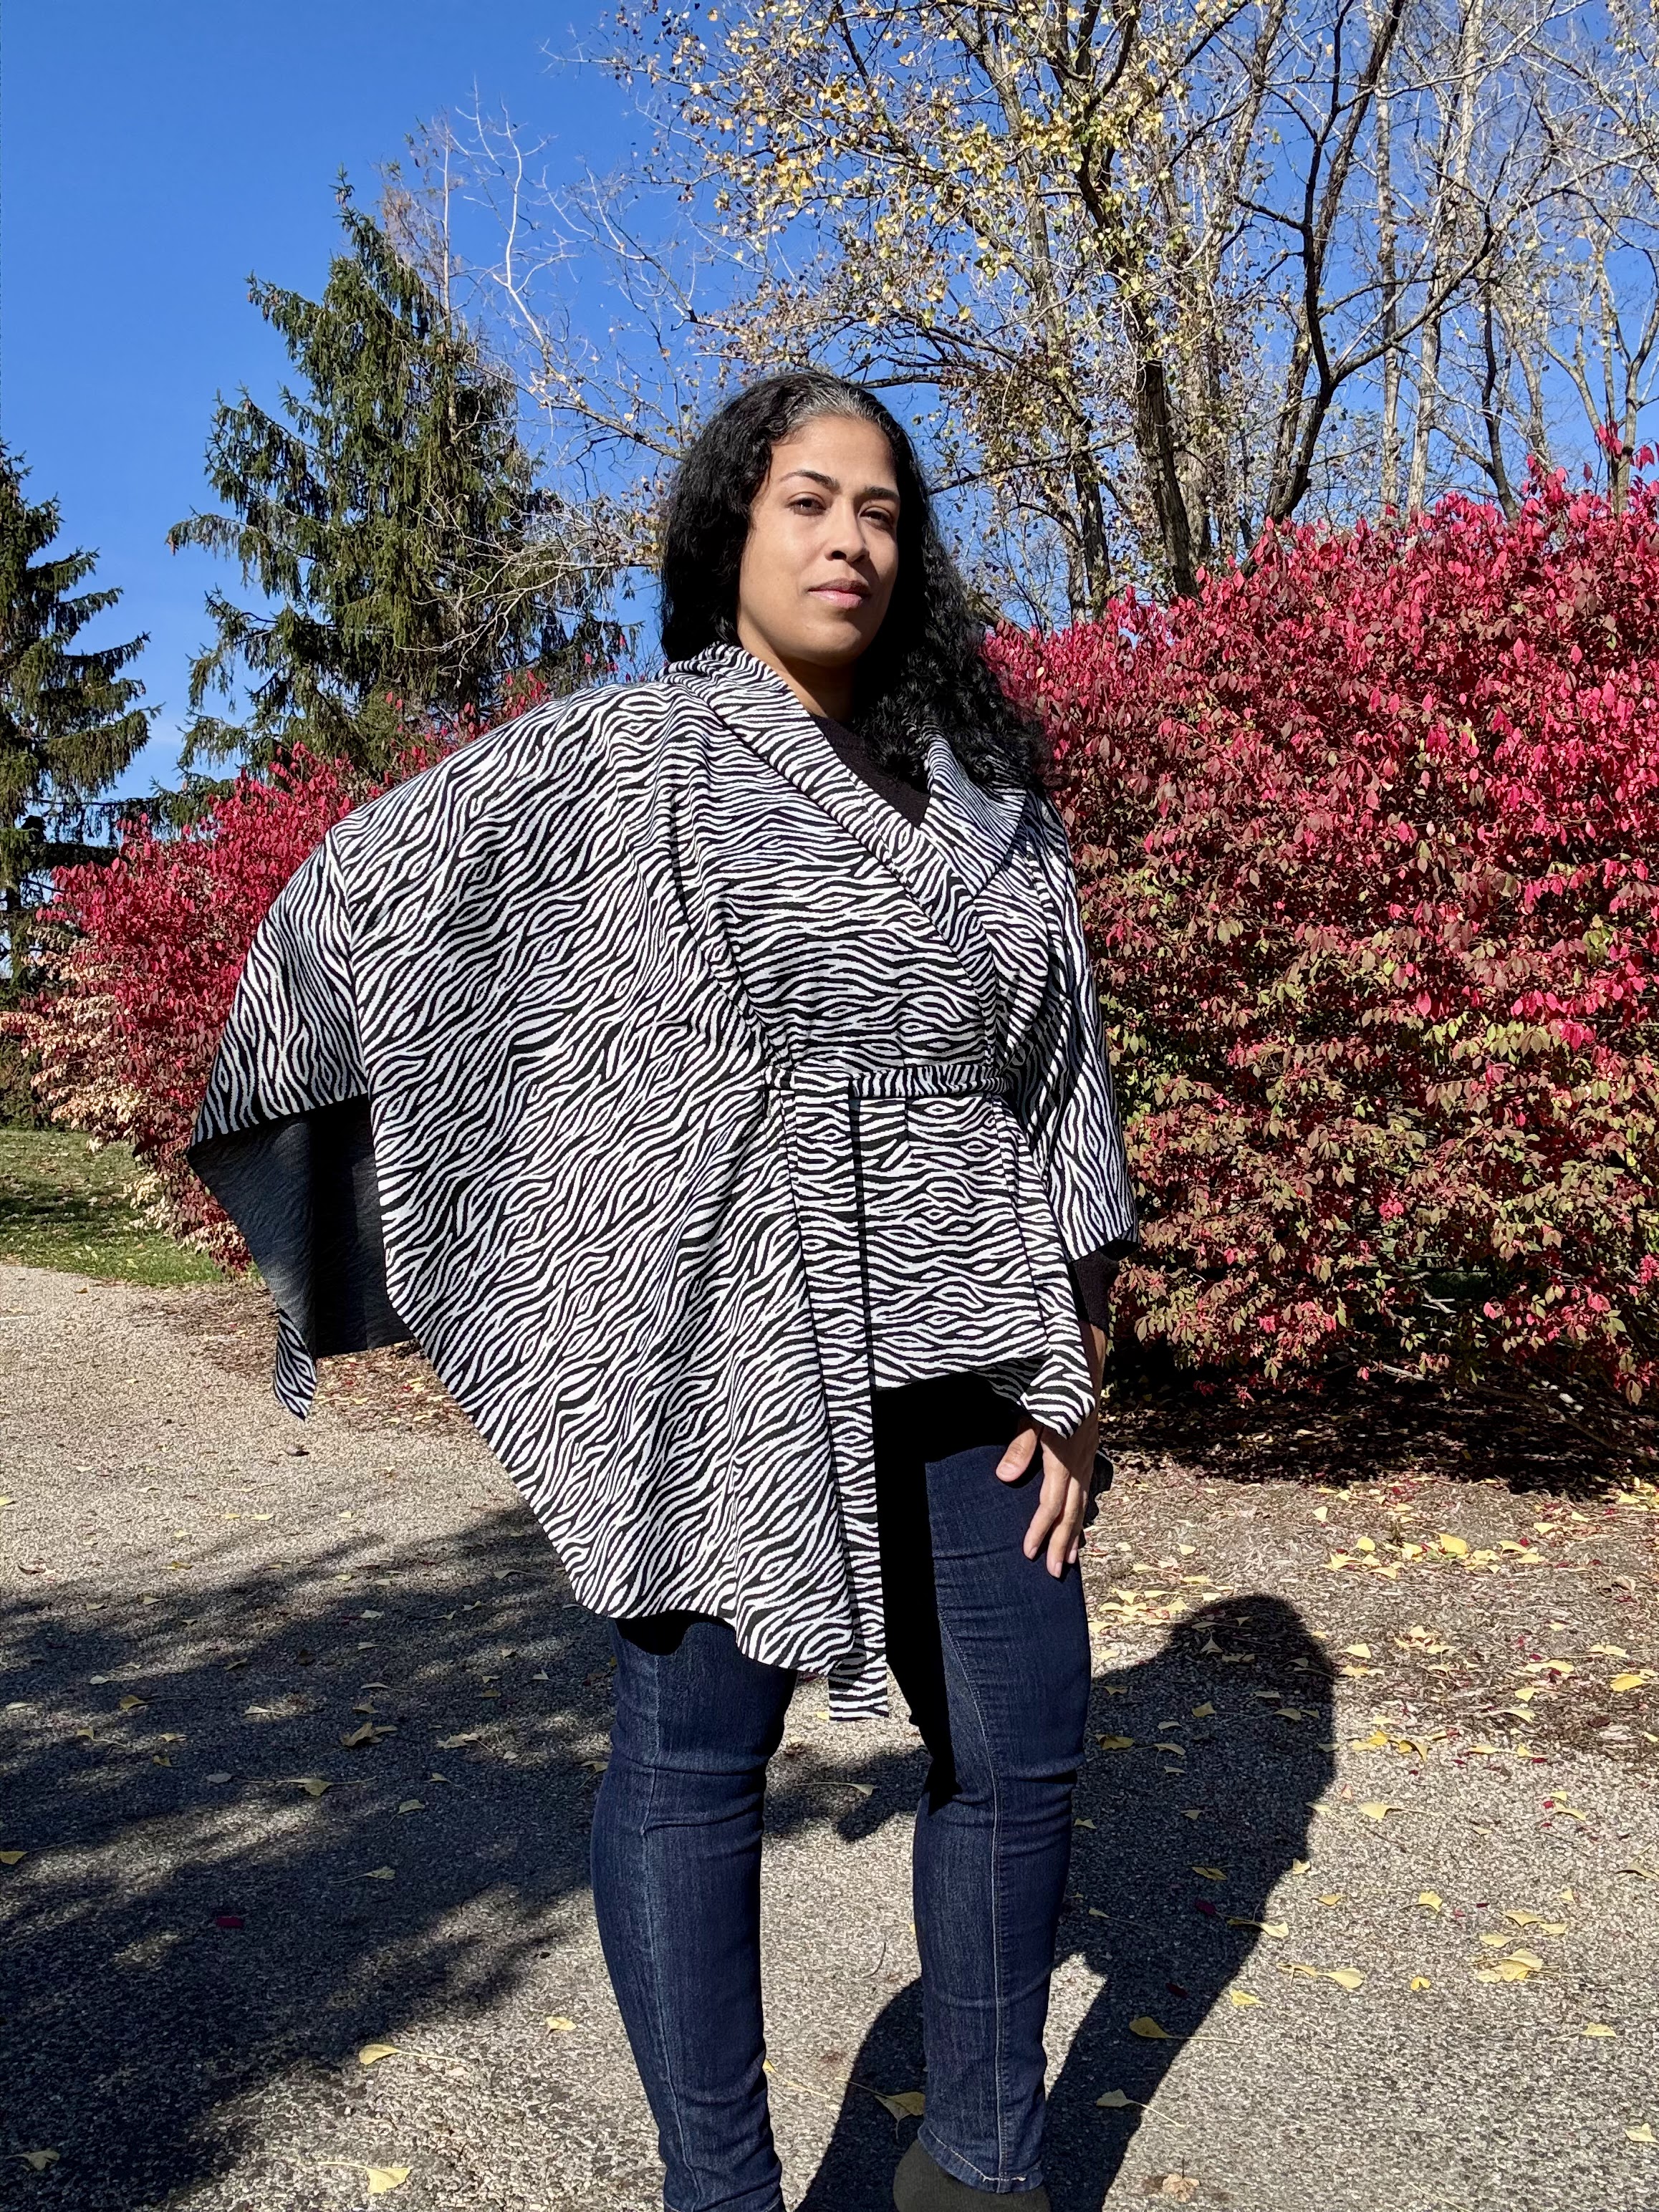
The pattern I chose to make is McCall’s 8029. This cape has three designs that you can choose from. I chose to make view C. View C has a hood. All three views have a neck and front facing and a belt/tie. Now, if you are wanting to make a cape but would like something on the easy side, this is your cape! I didn’t realize just how easy this was prior to getting started. This cape has minimal sewing. It doesn’t even require a hem. Which, was good because my serger just happened to break down on me when I started sewing. However, I do prefer a more finished look, so I turned my neck and front facings (inside edges) under and sewed a simple single fold hem to avoid exposing the interfacing. As for interfacing, the neck and front facings are the only pieces interfaced. After sewing my neck and front facings on, I chose not to edgestitch around the hood and front opening. The pattern says to pin the hood and facing to the cape wrong sides together. Instead, I sewed them on right sides together. I then stitched 5/8 inch above the front, lower edges just across to the end of each front facing and trimmed close to the stitch line. I flipped the facing to the inside and just gave the whole hood and front opening a really good press. Same as you would do for a jacket or coat with a front facing. For the remainder of each front piece, I trimmed off 5/8 inch so it would be in line with the front facings.


The pattern instructions said to fold the belt wrong sides together and just edge stitch all around the edges of the belt. Since, I was going for a more finished look, I folded right sides together and left a small opening so I could turn the belt right side out and gave it a really good press. I did turn my neck and front facing (inside edges) under and sewed a simple single fold hem so the interfacing would not be visible. 


This cape has four openings for you to slip the belt through; two in the front and two in back. The pattern instructions call the openings button holes, but says to stitch 1/18 inch around each opening and trim the inside close to the stitching, lol. Good thing, because my machine doesn’t make button holes this long and I don’t have the skill to make them by hand. If you do, then that would be a good way to get that finished look. 

If you are looking for an easy cape pattern to try, this is it! 


Until next time…

ADRIA SHANELLE  @AdriaShanelle

Comments

  1. That came out really well - bonus that it was easy, too! Great fabric choice for the pattern!

    ReplyDelete
  2. Wow! It's a great statement piece. You did a great job. Thanks for the detailed tips as well.

    ReplyDelete
    Replies
    1. Thanks and you're welcome.

      Delete

Post a Comment

Thanks for leaving a comment! All comments are reviewed before posting to help us eliminate spam. Your comment will be posted within 24 hours.

Popular Posts You Might Like

Help Our Buyers Shop!

  Comment on this post with what you are looking for right now and our buyers will seek it out!  I am craving wool gabardines and ponte knits in fun autumn colors. What about you?

Made By A Fabricista: Turning the Page

We had a lovely, warm September in central New Jersey but as of last week, fall has finally started to set in. While I’m no longer operating on a school calendar, I always look forward to the return of fall, the crisp air, the colorful leaves, and the opportunity to “turn over a new leaf.” While exploring the Fabric Mart website, browsing all their gorgeous cottons, I was incredibly inspired by the Eggshell/Black 100% Cotton Horizontal Stripe Weave Lawn . It looks exactly like a lined piece of paper. I thought it would make a fun top for work during this transitional season, one that sparks “blank page” creativity. I wanted to pair the top with a simple yet classic pair of pants, allowing each piece to be a quality addition to my work and loungewear wardrobe, working together and as separates. I picked up the beautiful Midnight Navy/White 100% Tencel Chambray , which has a fun denim-look while being quite soft and flowy. When designing the top, I wanted to play with the stripes. I chos...

Made By A Fabricista: In the Fall, We Make Halter Dresses

Is we too many people?  Am I the only one making halter dresses in the fall? I’m not quite ready to start my fall/winter sewing, so I’ll keep summer going.  My summer was pretty eventful, and I didn’t get to sew much and now I’m trying to do a little catching up.  I’ve had this dress on my mind for a while now and I thought now is as good a time as any to sew it up and I’m so glad I did. For this month’s post, I decided to make the Julia Dress from Viki Sews.  This dress features a semi-fitted bodice with a full gathered skirt and a deep V-shaped back. The dress fastens at the neck and back with ties and of course it has pockets! I love the length of this dress. It’s not too short and it’s not too long, which is usually an issue for me because I’m so short. Based on my body measurements, I purchased a size 52, which is their largest size. Before I made a muslin, I measured the pattern at the waist and realized I needed to add a few inches. This might seem a little in...