

2021 Trendwatch: Frozen for Fashion

Also importantly, February is Black History Month, so I wanted to make with a Black designer’s pattern. The Black sewing community has been so crucial to my development as a sewist--they are a constant source of inspiration, joy, and help--and I wanted to highlight one designer’s work with this post just as a small thanks. An overall goal I have as a Fabricista is to highlight Black and indie designer patterns while the Fabric Mart fabric makes them shine. This post features one make from Ellie and Mac, an indie designer, and two from Beaute J’Adore, a Black designer (and fellow Fabricista!) who has McCall’s designs and her own line on her website.
First up is my Pantone Color of the Year make. I stayed inside for this make, because I shot it last, and I was done with being outside! Pantone went with two colors this year: Illuminating Yellow and Ultimate Gray. According to the Pantone website, these two colors represent strength and positivity: “It is a story of color that encapsulates deeper feelings of thoughtfulness with the promise of something sunny and friendly.” Certainly we could all use a little bit of that, no? I thought I would pick out a yellow, a gray, and then figure it out once they came in. I went with a sunny yellow poly/lycra ITY knit, and a gray cotton/lycra jersey knit. I found the yellow to be pretty slippery, but a walking foot, stretch needle, and sewing slowly helped things along. Also, I had some trouble keeping the seams consistent, as you can tell from some of the pictures, and I only thought to troubleshoot after I had already stitched. Apparently layering tissue is one way to help keep thinner, slippery fabric seams neat. For my first try with this type of fabric, I’m fine with the results. If you have any tips for neater seams on slippery knits, send them along in the comments! These particular fabrics are currently out of stock, but there are plenty of yellow and gray fabrics on the Fabric Mart website to get you going!

Once I received the fabric, I knew I had to make a dress that incorporated both colors, which brought me to the Ellie and Mac Forever Flounce tee. This pattern comes with a ton of different options, but I prefer the double flounce tank the most. Since the pattern is for quite a long blouse, I thought I’d just extend it to make a dress.

I lengthened the dress straight down initially at the widest point of the hip, but after basting up the sides, I realized that the hip was just loose enough to make the fabric sag. So I took it straight down at the top of my hip instead and that hugged my hips more nicely. This was my first time working with a drapey knit like the yellow, so if i could do it again, I might let the skirt flare out a bit instead of lengthening it straight down. I bet it would swish oh-so-beautifully. I love this pattern. It was easy to make, and I will definitely be making again, though likely just the double flounce tank version.

For my second make, I wanted to hit a different color trend: pastels. Enter the Iceberg Blue spacer double knit. I had to look up what a “spacer knit” is, but in essence, it’s a scuba knit fabric. This one is quite thick and spongy, which worried me because I haven’t worked with this type of fabric before, but it was super easy with a walking foot and ball point needle. Unfortunately, this one is out of stock too, but keep tabs on Fabric Mart’s double knit category! There are also some great blue chambray [SKUs: ULD7447r, UMA7449r] that would be perfect for spring and summer. I knew I wanted to make the Beaute J’adore Oversized Puffy Sleeved dress, and that a scuba fabric would make the epic sleeves really stand out. Even though the pattern calls for structured wovens, it worked just fine with this heavier knit. The pattern was super simple and easy to make. What took time for me was figuring out the sizing. Like the title indicates, it is meant to be very oversized, but my preference for my body is to cut oversized patterns a little closer to my waist and hips.

I started with a size I wanted based on the bust size, and knew immediately based on the pattern pieces that I would want to take in the waist and hem. After a few tries while basting the sides, I ended up taking 2 inches off the bust and 4 inches off the circumference of the hem. Since it’s cut straight down the sides, it was easy to grade from the bust. I also ended up cutting an inch off at the top of each shoulder. When I attached the sleeves, the weight of the fabric pulled shoulders down. So I took that inch off, added some stay tape to the seam and then we were good to go! One thing about the pattern pieces is that the sleeve piece is missing a “Cut on the Fold” line. I was staring at the pattern piece for a fair amount of time wondering how to construct the sleeve, when I realized that I was only looking at half of a sleeve. I contacted the designer and she confirmed it should be cut on the fold. Turns out, I didn’t have enough to cut the sleeve on a fold, so I ended up cutting two pieces and sewing a seam. You can see in the photos there is a seam that runs down the side of the sleeve. I imagine if it was one piece, it might have changed the shape of the sleeve, but I’m happy with it!


The pattern called for an invisible zipper, which I installed, but will probably never use as it just slips on and off over my head. It also called for a front and back facing, but since the fabric was so thick, I preferred to do a neckband instead. I am still new at neckbands, so it stands up a bit, but I couldn’t be fussed to fix it; looks just fine to me. Finally, I left the hem unfinished. I didn’t want to add any more bulk so I just made sure the lines were cleanly cut. It was a whopping 10 degrees (farenheit) and snowing, but I was determined to be outdoors for these photos. I’ve tried several different ways to style it for spring, and am looking forward to wearing this again soon.

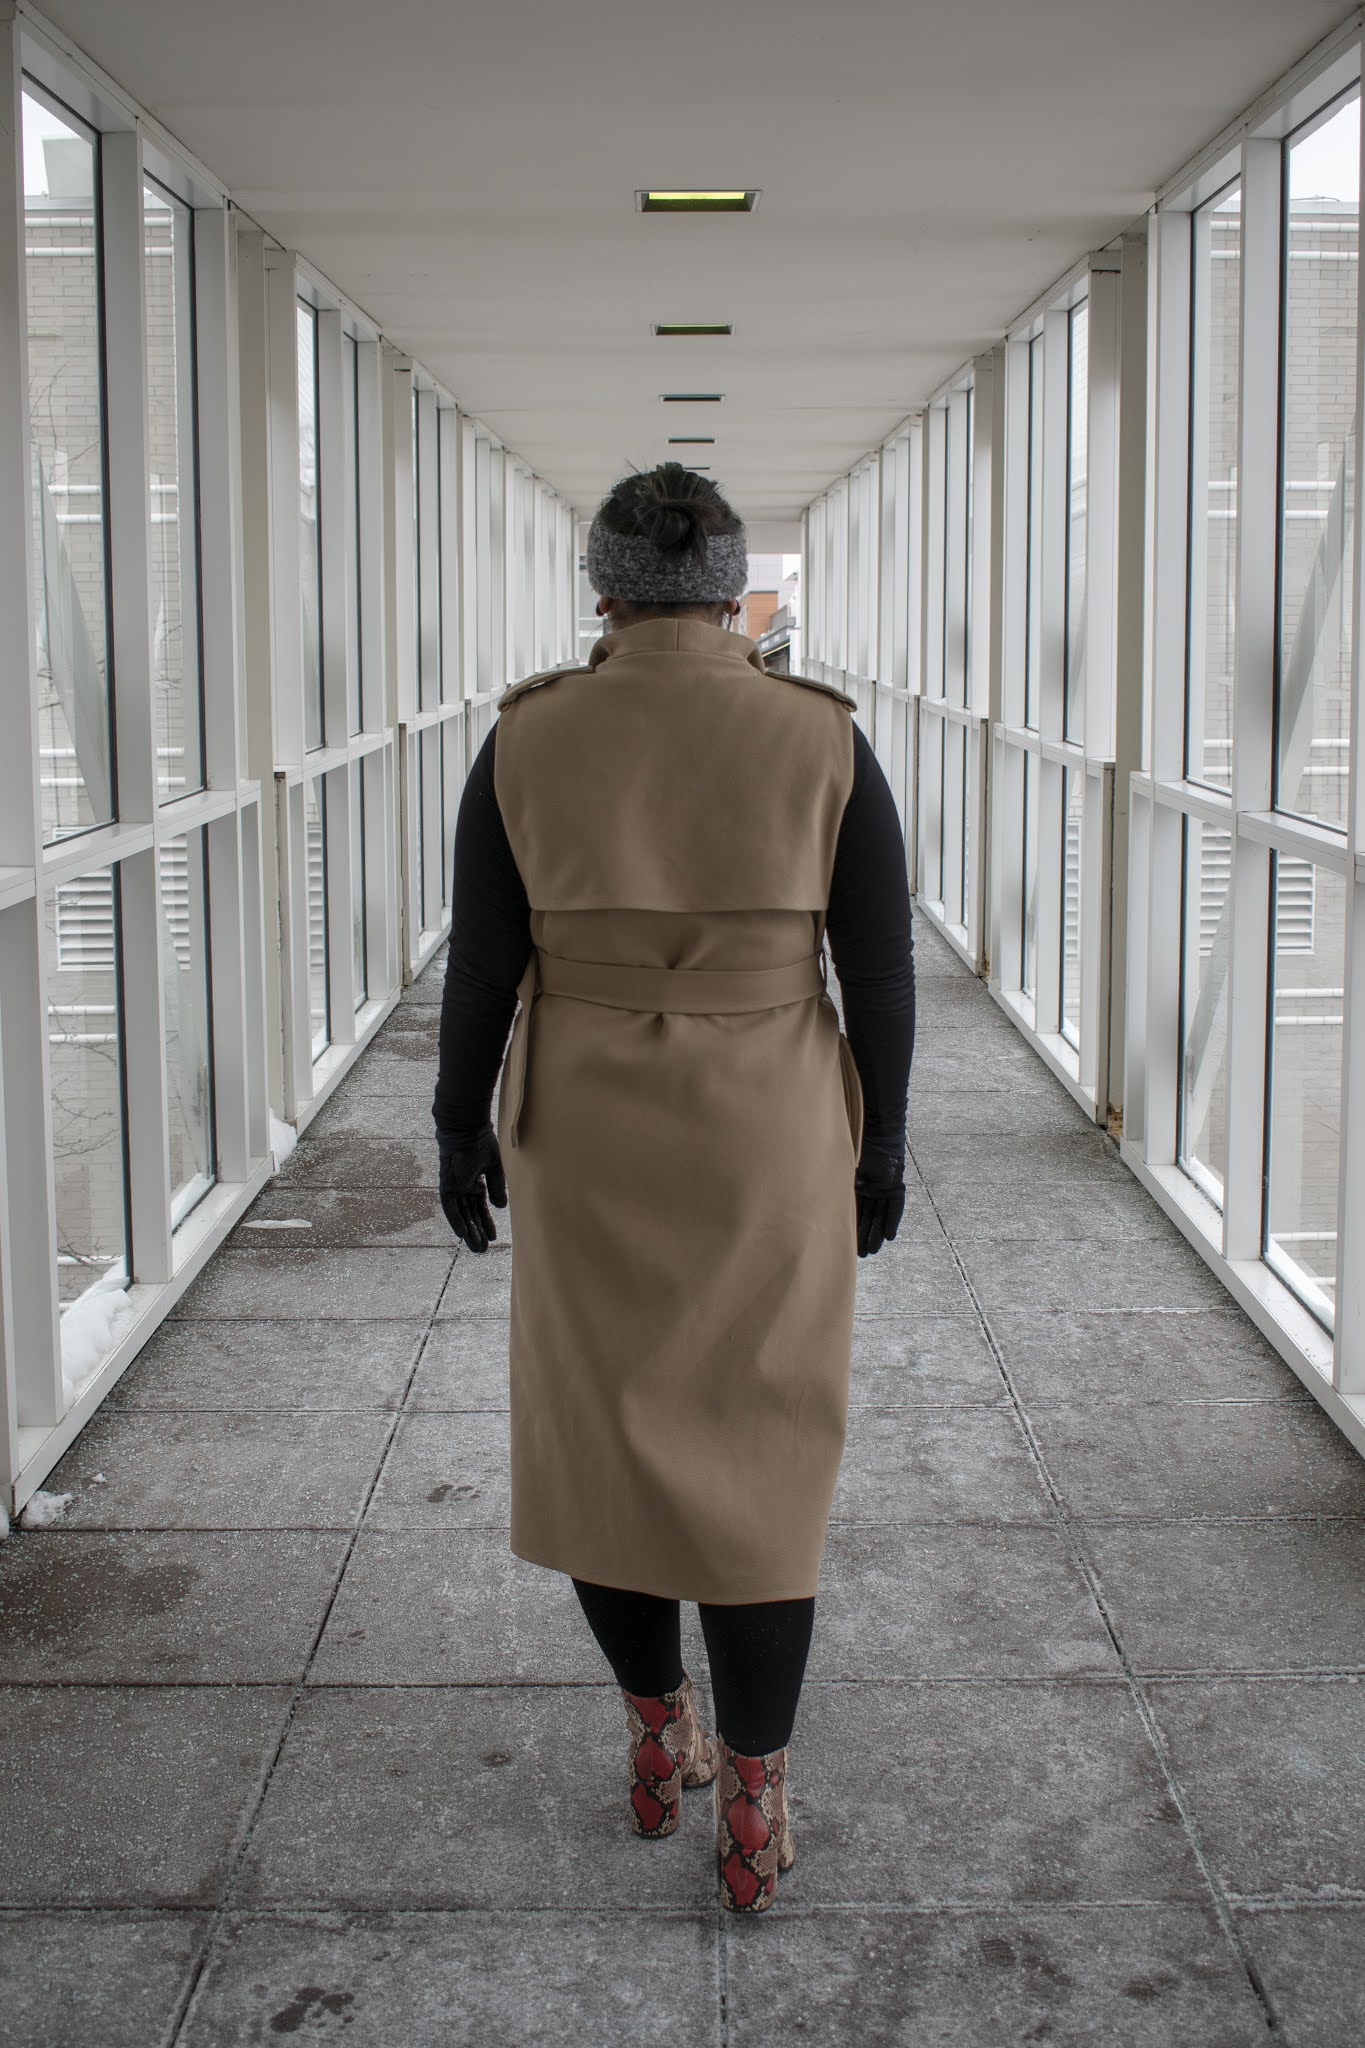
Last but not least: the trench coat. This was my first time ever attempting anything that resembles a coat, so I thought, why not ease my way into it by making a sleeveless trench? This McCall’s pattern--M7749--was also designed by Beaute J’adore. You know what’s kind of amazing about this make? It’s made with Ralph Lauren fabric, so your girl made herself a custom Ralph Lauren trench!

This textured jacketing has a small bit of stretch, and was a perfect tan for my skin tone. It’s a little bit heavier in weight, which makes it a perfect transitional piece for spring and fall. It was, however, 7 degrees (farenheit!) when I took these pictures. Not nearly warm enough, but 100% worth it for the photos. I felt so chic and confident in this outfit, if not warm.


There did appear to be an issue with the cutting layouts on the pattern. Per usual, the instructions contained cutting layouts, but the layouts for the 42” wide fabric and the 60” wide fabric were identical. Clearly, this is an error, and it seems like both were for the 60” cutting layouts. Since my fabric was 52” wide, I had to piece things together on my own for cutting, but in the end it all worked out.

I cut the fabric as instructed thinking I would see how the length worked first, but I figured I would end up cutting to knee length. Once I finished everything but the hem, and put it on, I fell in love with the longer length. It makes me feel so stylish and polished. I also ordered buttons and a matching belt buckle, but ended up skipping the buttons on the front. I preferred the cleaner look of the lapel and figured the belt would hold me all together.

Overall, this pattern lived up to its “Average” skill rating. I got stuck on two steps that involved attaching the lining to the back collar and neckline, and it took a couple of weeknights to work through it. We got there fam! I try to stick to patterns rated “Very Easy” or “Easy”, but I’m glad I persevered. I’m so proud of this make and can’t wait to wear it out and about.

Are you planning on incorporating any of these trends into your 2021 makes? Let me know in the comments. See you all again in May! In the meantime, you can find me on Instagram @nicoleangelinesews. Stay stylish my friends.
NICOLE | @nicoleangelinesews
Unfortunately Fabric Mart Fabrics sell out quickly!
You can find similar fabrics in the following categories:
DOUBLE KNITS, ITY KNIT, JERSEY KNIT, & JACKETING.
I am looking at your yellow dress in the right photo of the three and and I thought: It would look so cute with some gores inserted into the four seams front and back to make a swishy skirt! Those sleeves on that grey dress! You definitely picked a great fabric! You did some beautiful work here! Congratulations on your first post!
ReplyDeleteYes! I totally get what you're saying. In my head, I wanted a straight line skirt, but after I cut it and assembled, I realized the flow of the fabric would lend itself excellently to a more flared silhouette. Come back and let me know if you try it!
DeleteAll are beautiful! Love the trench especially with those SHOES!
ReplyDeleteYou have a great eye for color. My suggestion for neat seams on stretch knits is to use the biggest sewing table you can (Mine is a 4x8 sheet of 3/4 inch plywood) and push the machine as far on the the table as you can. The idea is to support as much of the piece as possible at all times. That way you control the stretch or lack of stretch in your seams. It's also easier to keep the fabric stacked correctly. I agree with itsjustToni's suggestion to open the seams on the yellow dress to add panels for swish.
ReplyDeleteI really enjoyed reading about your makes, which are unique and exceptional. You have great taste. Good on you for trying so many new-to-you fabrics too.
ReplyDelete