

Have a mentioned that I just LOVE a good matching set? I think it's even better in this gorgeous floral fabric, don’t you think? Usually, for my Fabric Mart makes, I always pick out my pattern first and then I check out the site for fabric that calls my name. This time around I was intentionally searching for florals and I think I found the perfect fabric. I'm in love.
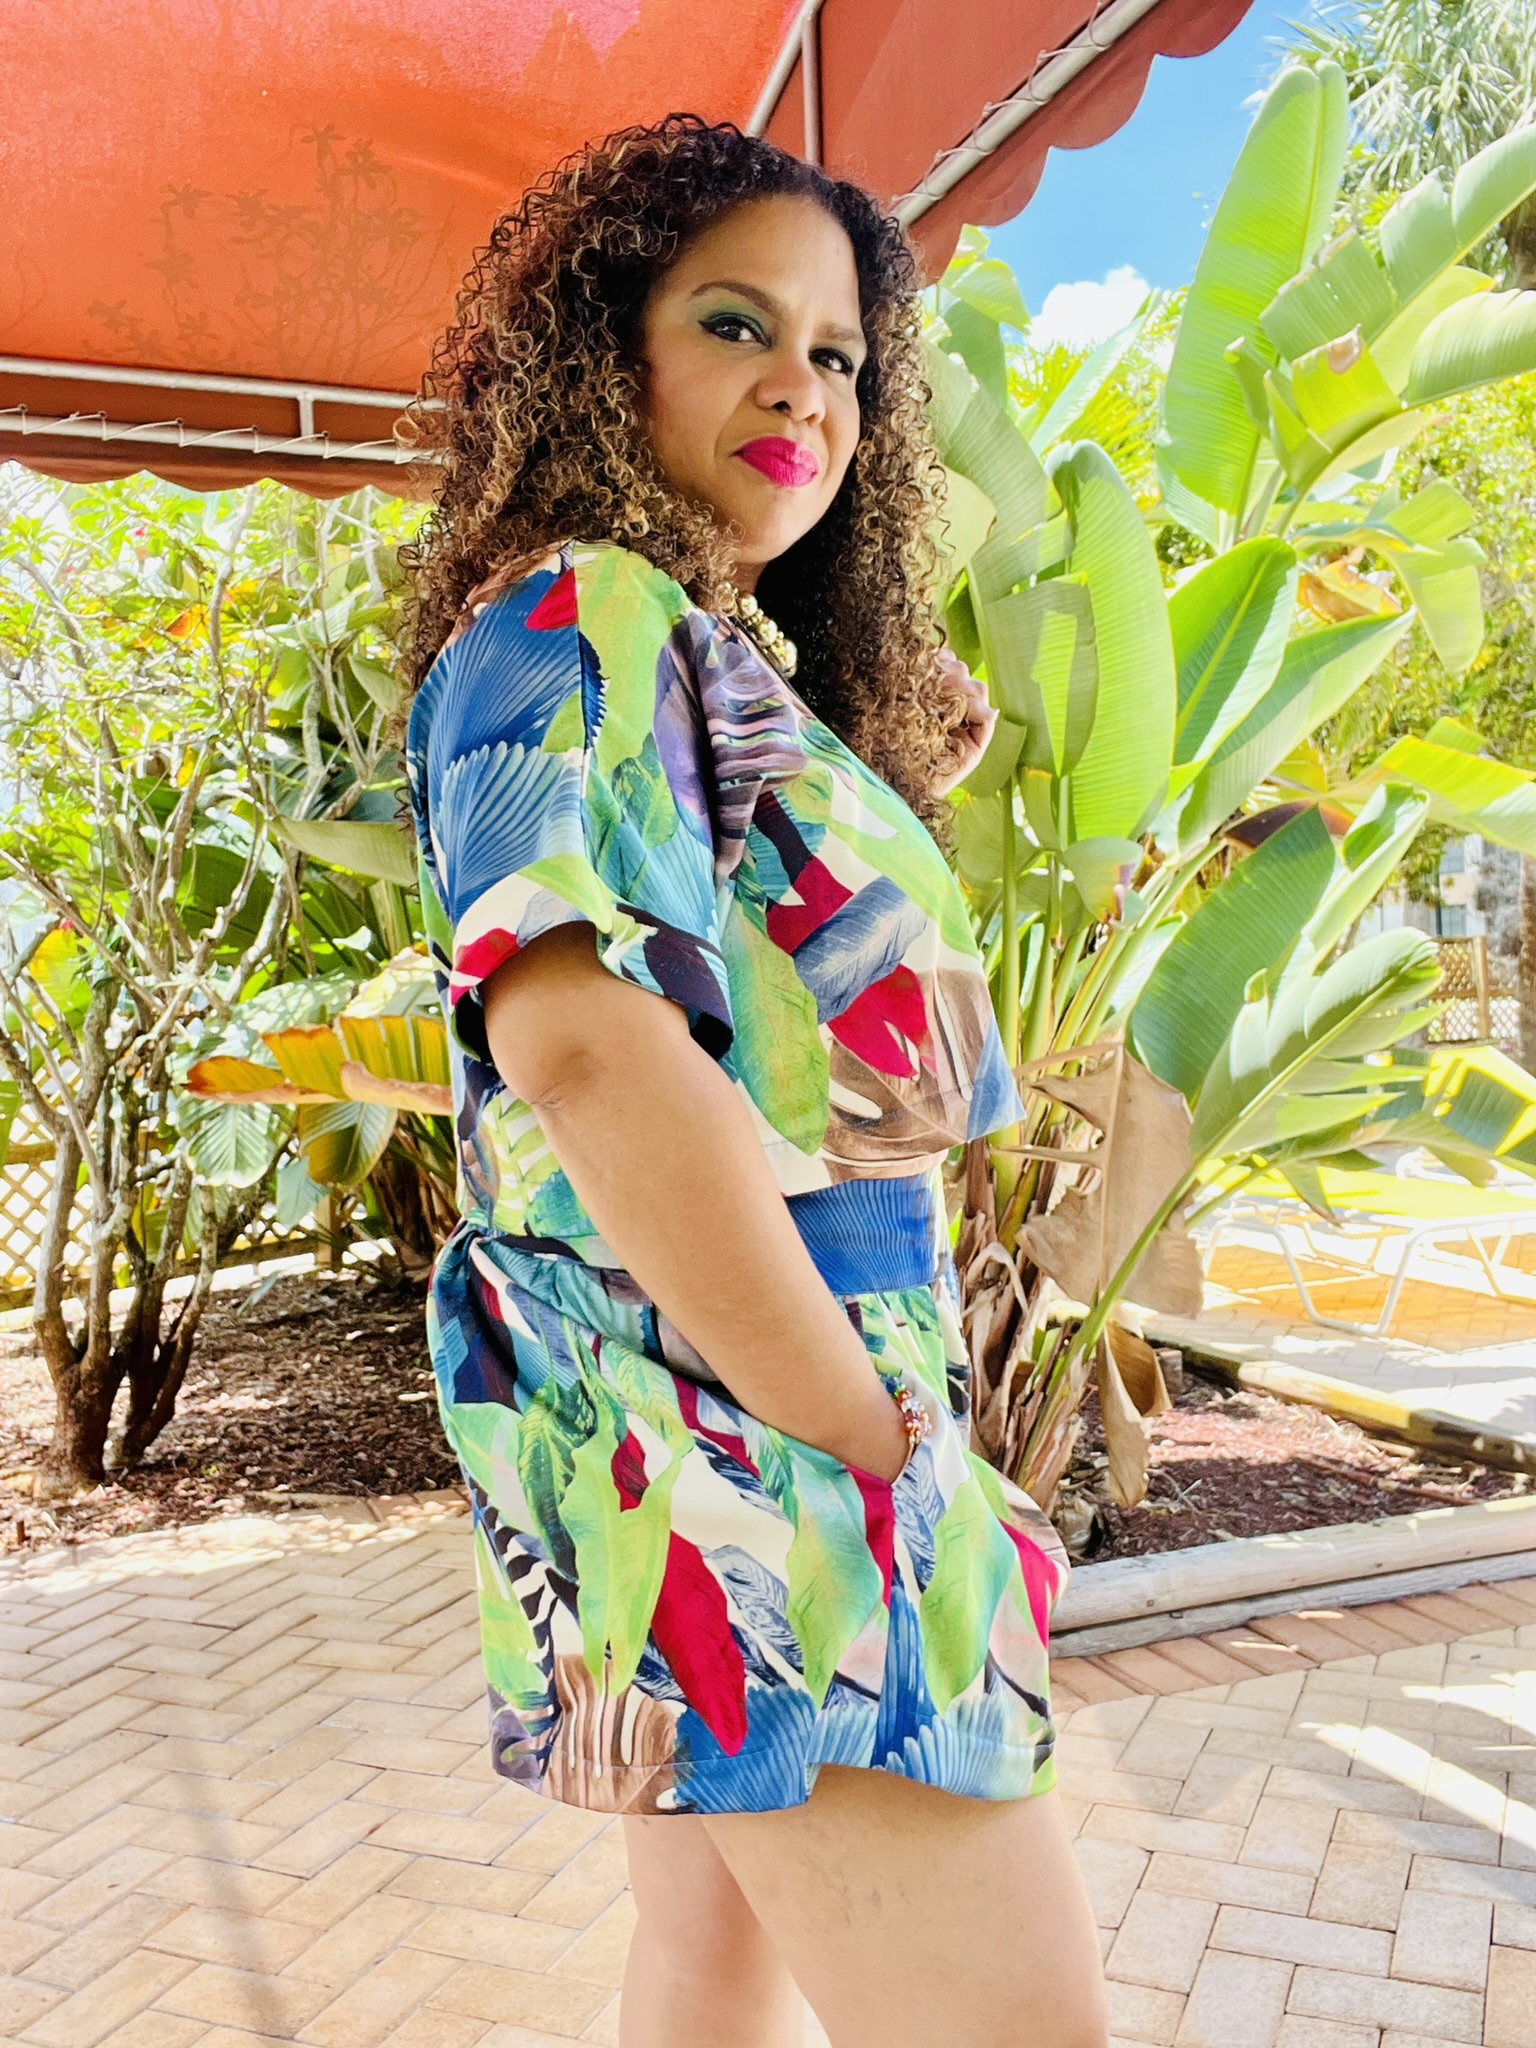
For my matching set, I chose to use Simplicity S9550 X Mimi G. This pattern is so simple but yet it offers a few different design options, which I’m all about. The top is a dolman sleeve crop top with different sleeve and back options and you can make the bottoms as a skirt or shorts.

For the top I went with view B but I chose to not add the elastic to the waist line. I made a size 18 and I added an 1 ½” to the hem of the top because I’m only partly about that crop top life. Those were the only two modifications I made while sewing up the top. For the rest, I followed the sewing instructions.

For the bottom I made a straight size 20 and I made no modifications while sewing it up. Oh, wait, I did make one slight modification. I added pockets!! I also chose not to make the sash. I am truly in love with the way these shorts fit. I have a confession to make. I have a phobia of making pants. I think I’ve been traumatized by always having issues with ready to wear pants. These fit issue have crept into my sewing and this is why I’m always scared to make pants. Well, I was pleasantly surprised and love the way these shorts fit. I plan on making these again and possibly making them longer.

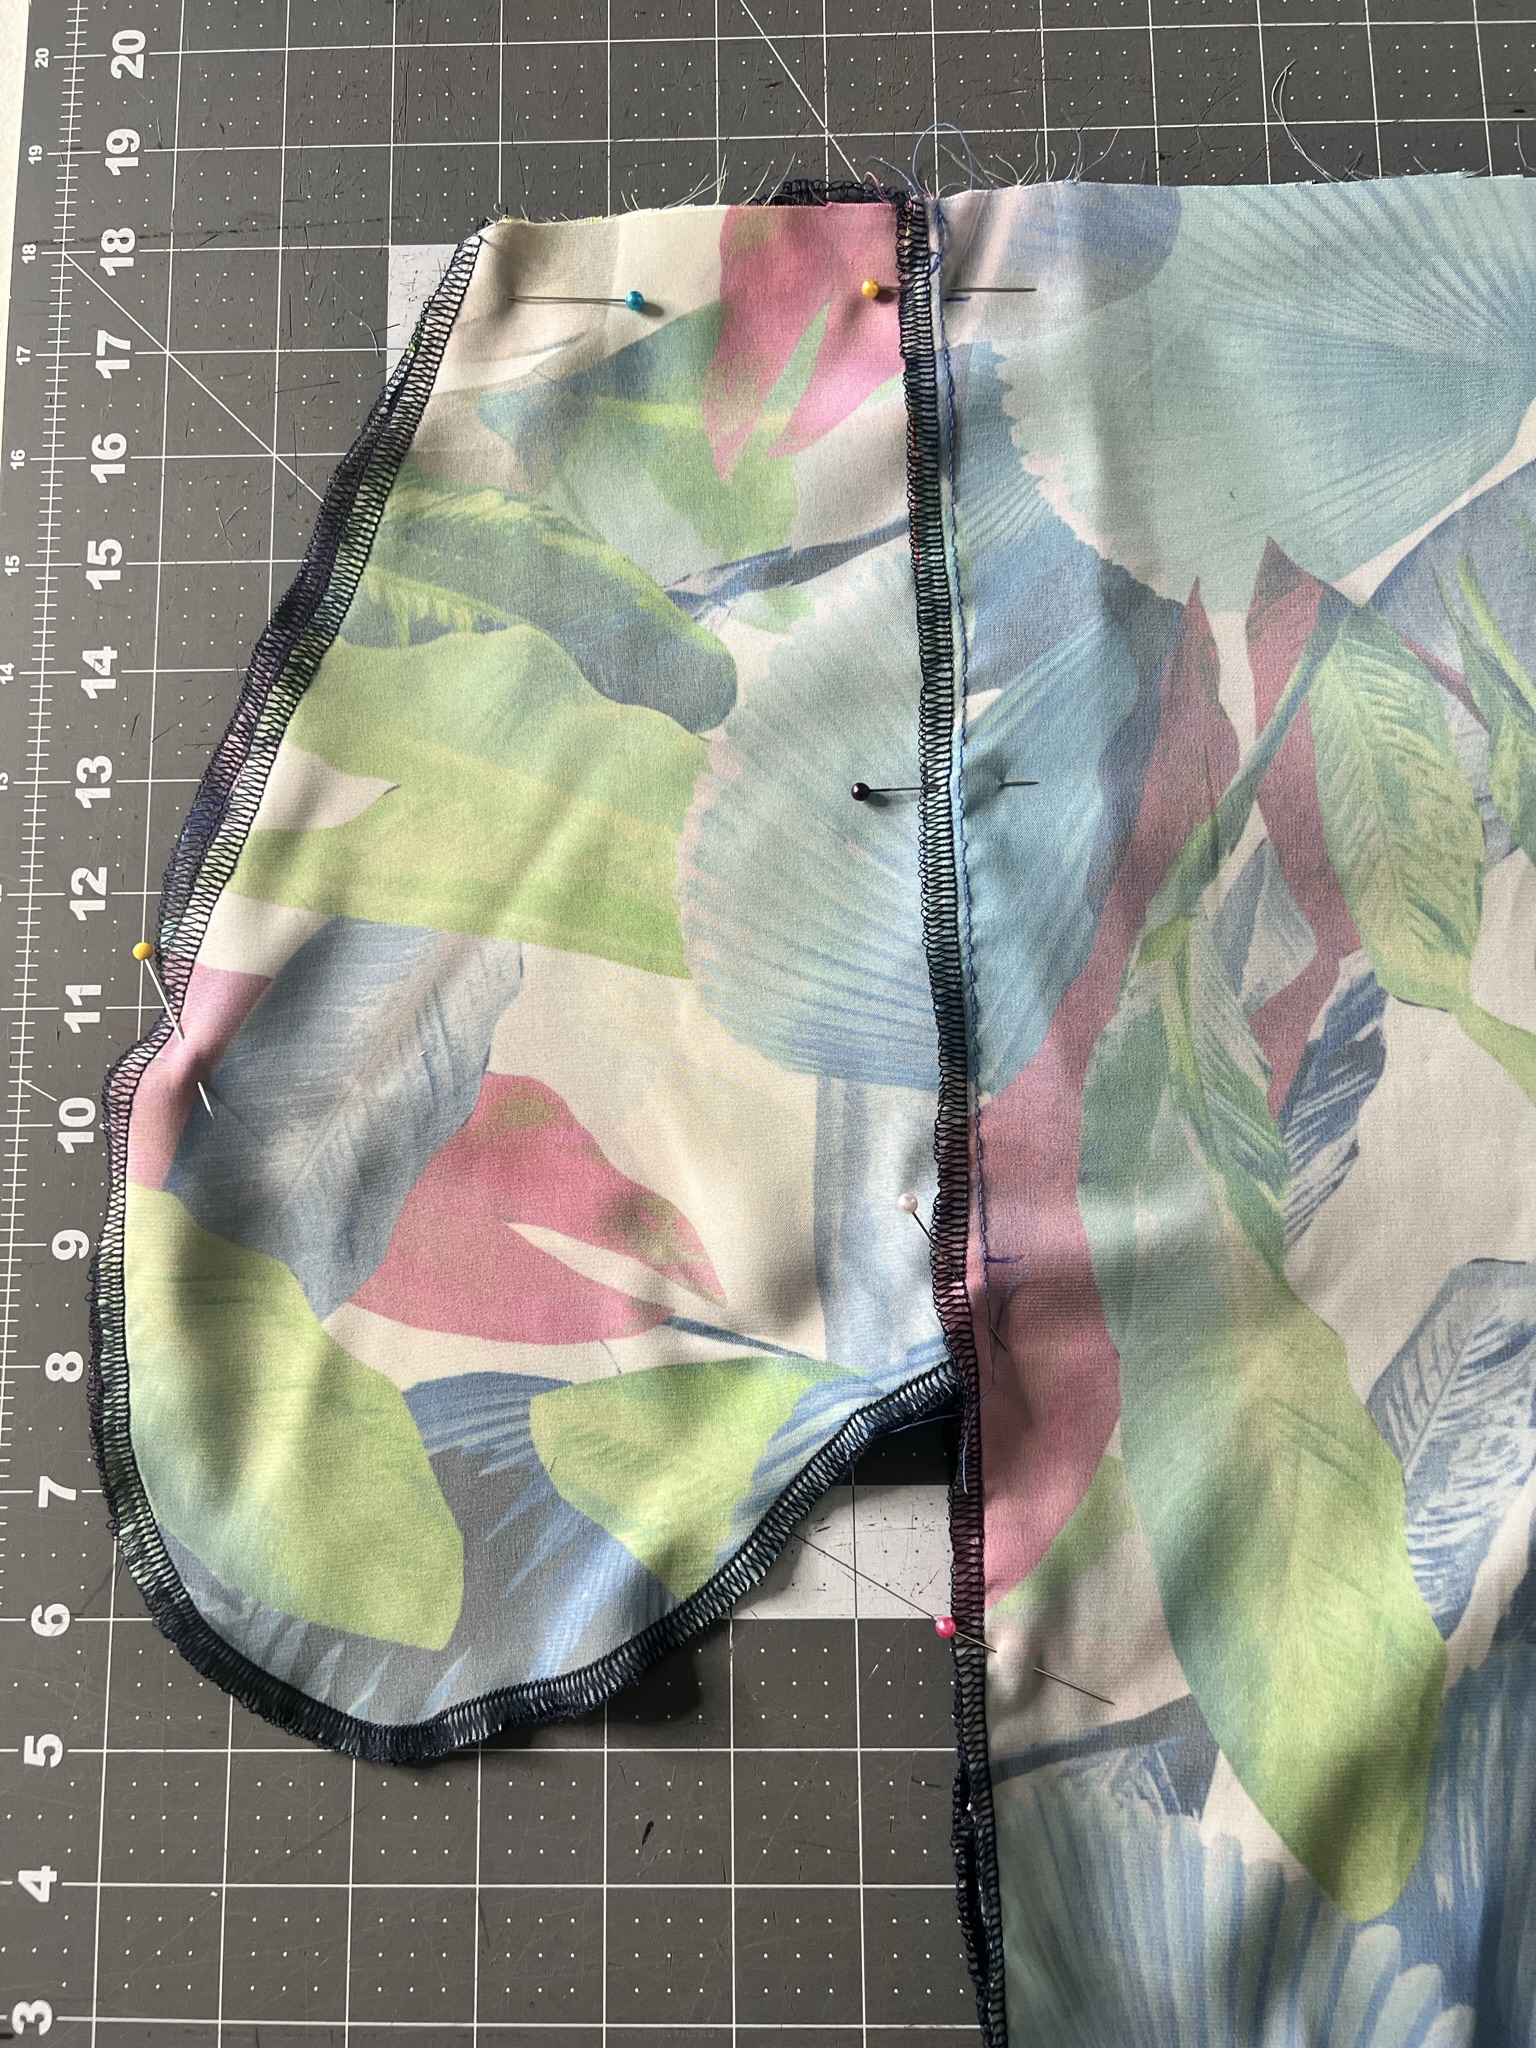
Have you ever added pockets to a garment that didn’t originally have pockets? It’s pretty simple to do. I am always adding pockets to garments that comes with pockets.
1. Find a pocket pattern from an existing pattern. I placed the pocket on top of the shorts pocket to ensure the pocket wasn’t too long.
2. Cut 4 pocket pieces. Place 1 pattern piece right sides together on each edge of each pant seam.
3. Attach pockets to side seams using a 1/4” seam allowance and press open.
4. Pin front to back and sew at side seam 1” down from waist seams, break stitches and continue 1” from bottom of pocket and continue down the side seam. Then sew around the pocket to close it up.
That’s it! Now you have added pockets to your garment.


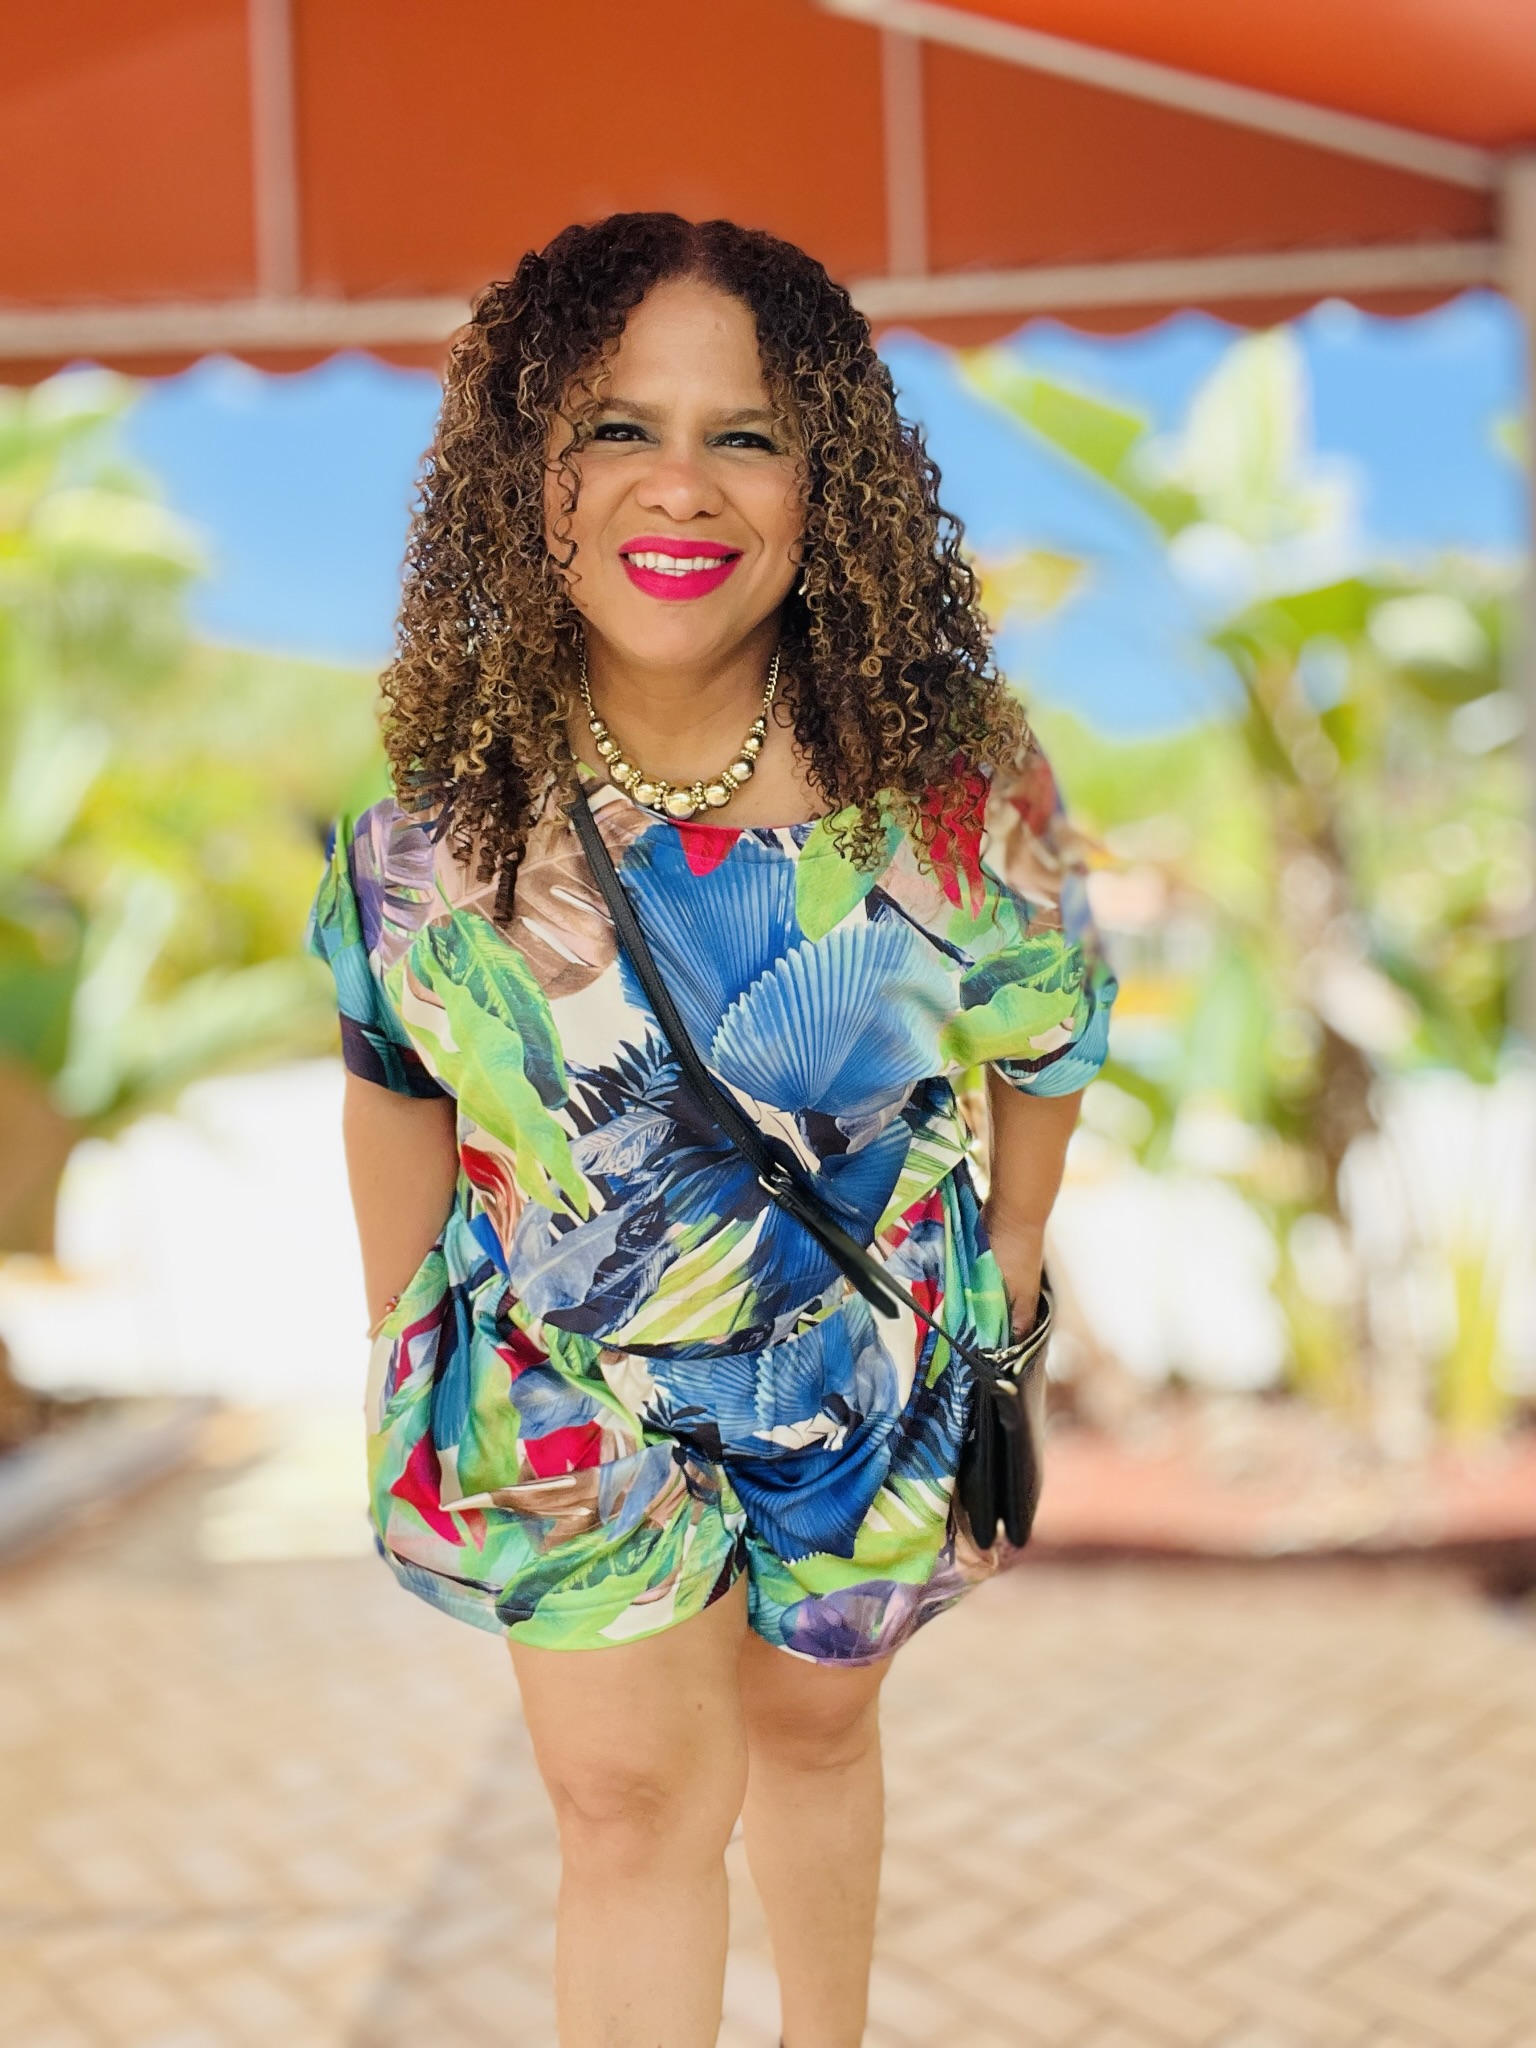
Now the moment we’ve all been waiting for! It’s time to talk about this yummy fabric! The fabric is called Tropical Floral Print Charmeuse and has all types of gorgeous tropical colors like cream, cobalt blue, vine green and cardinal. This silky charmeuse is screaming tropical garden. It’s screaming vacation. It’s screaming summer time! The leaf patterns make me feel like I’m in a tropical garden. I am here for everything this fabric is giving.
I hope you guys liked my matching set just as much as I do. I would like to make different versions of this crop top like adding the elastic to the hems and making the top without the back cut out. I would also like to make the skirt version.
Until next time!


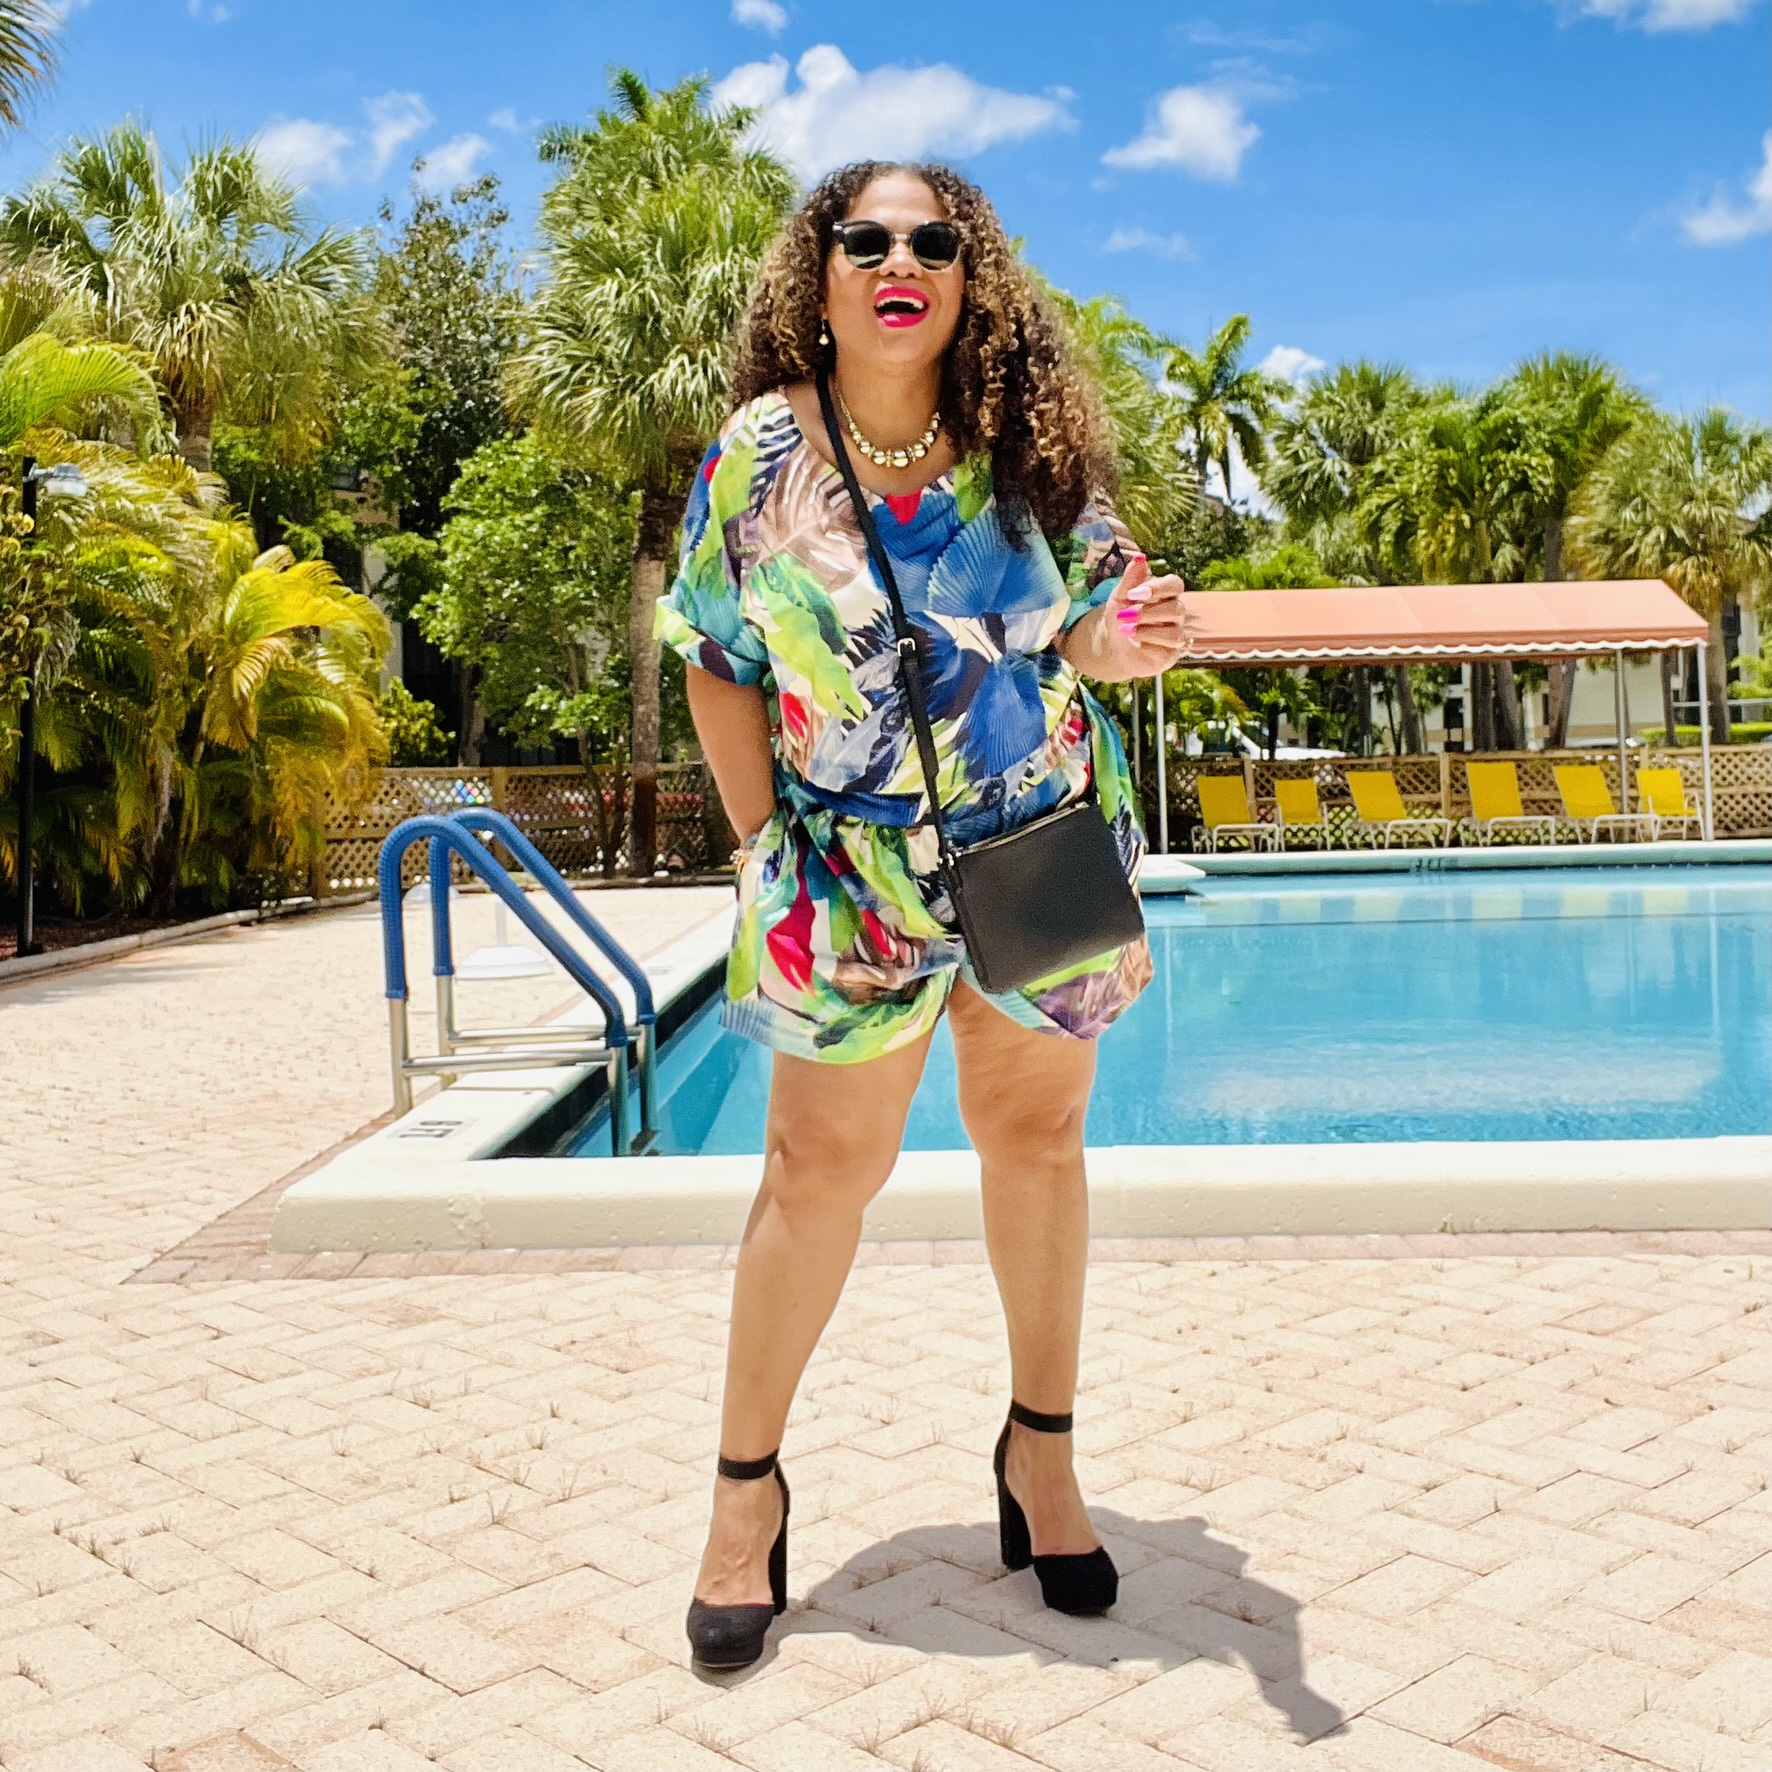

JOHANNA | @soveryjo
Unfortunately Fabric Mart Fabrics sell out quickly!
You can find similar fabrics by shopping the following categories: CHARMEUSE
Too cute, the look fits you.
ReplyDeleteThank you!
DeleteI love the colors of this garment, and pockets too? Very nice indeed
ReplyDeleteI think pockets are so necessary!
Deletegreat looking !
ReplyDeleteThank you!
DeleteSo gorgeous!
ReplyDeleteThnk you!
Delete