
Made By A Fabricista: Workwear Ready

I'm excited for my first post in 2023! At the beginning of the year, I recently went back to working in person so now I am looking to make and wear pieces that I can wear to work.  The goal is to be functional but also very fashionable since I am a fashion design professor.

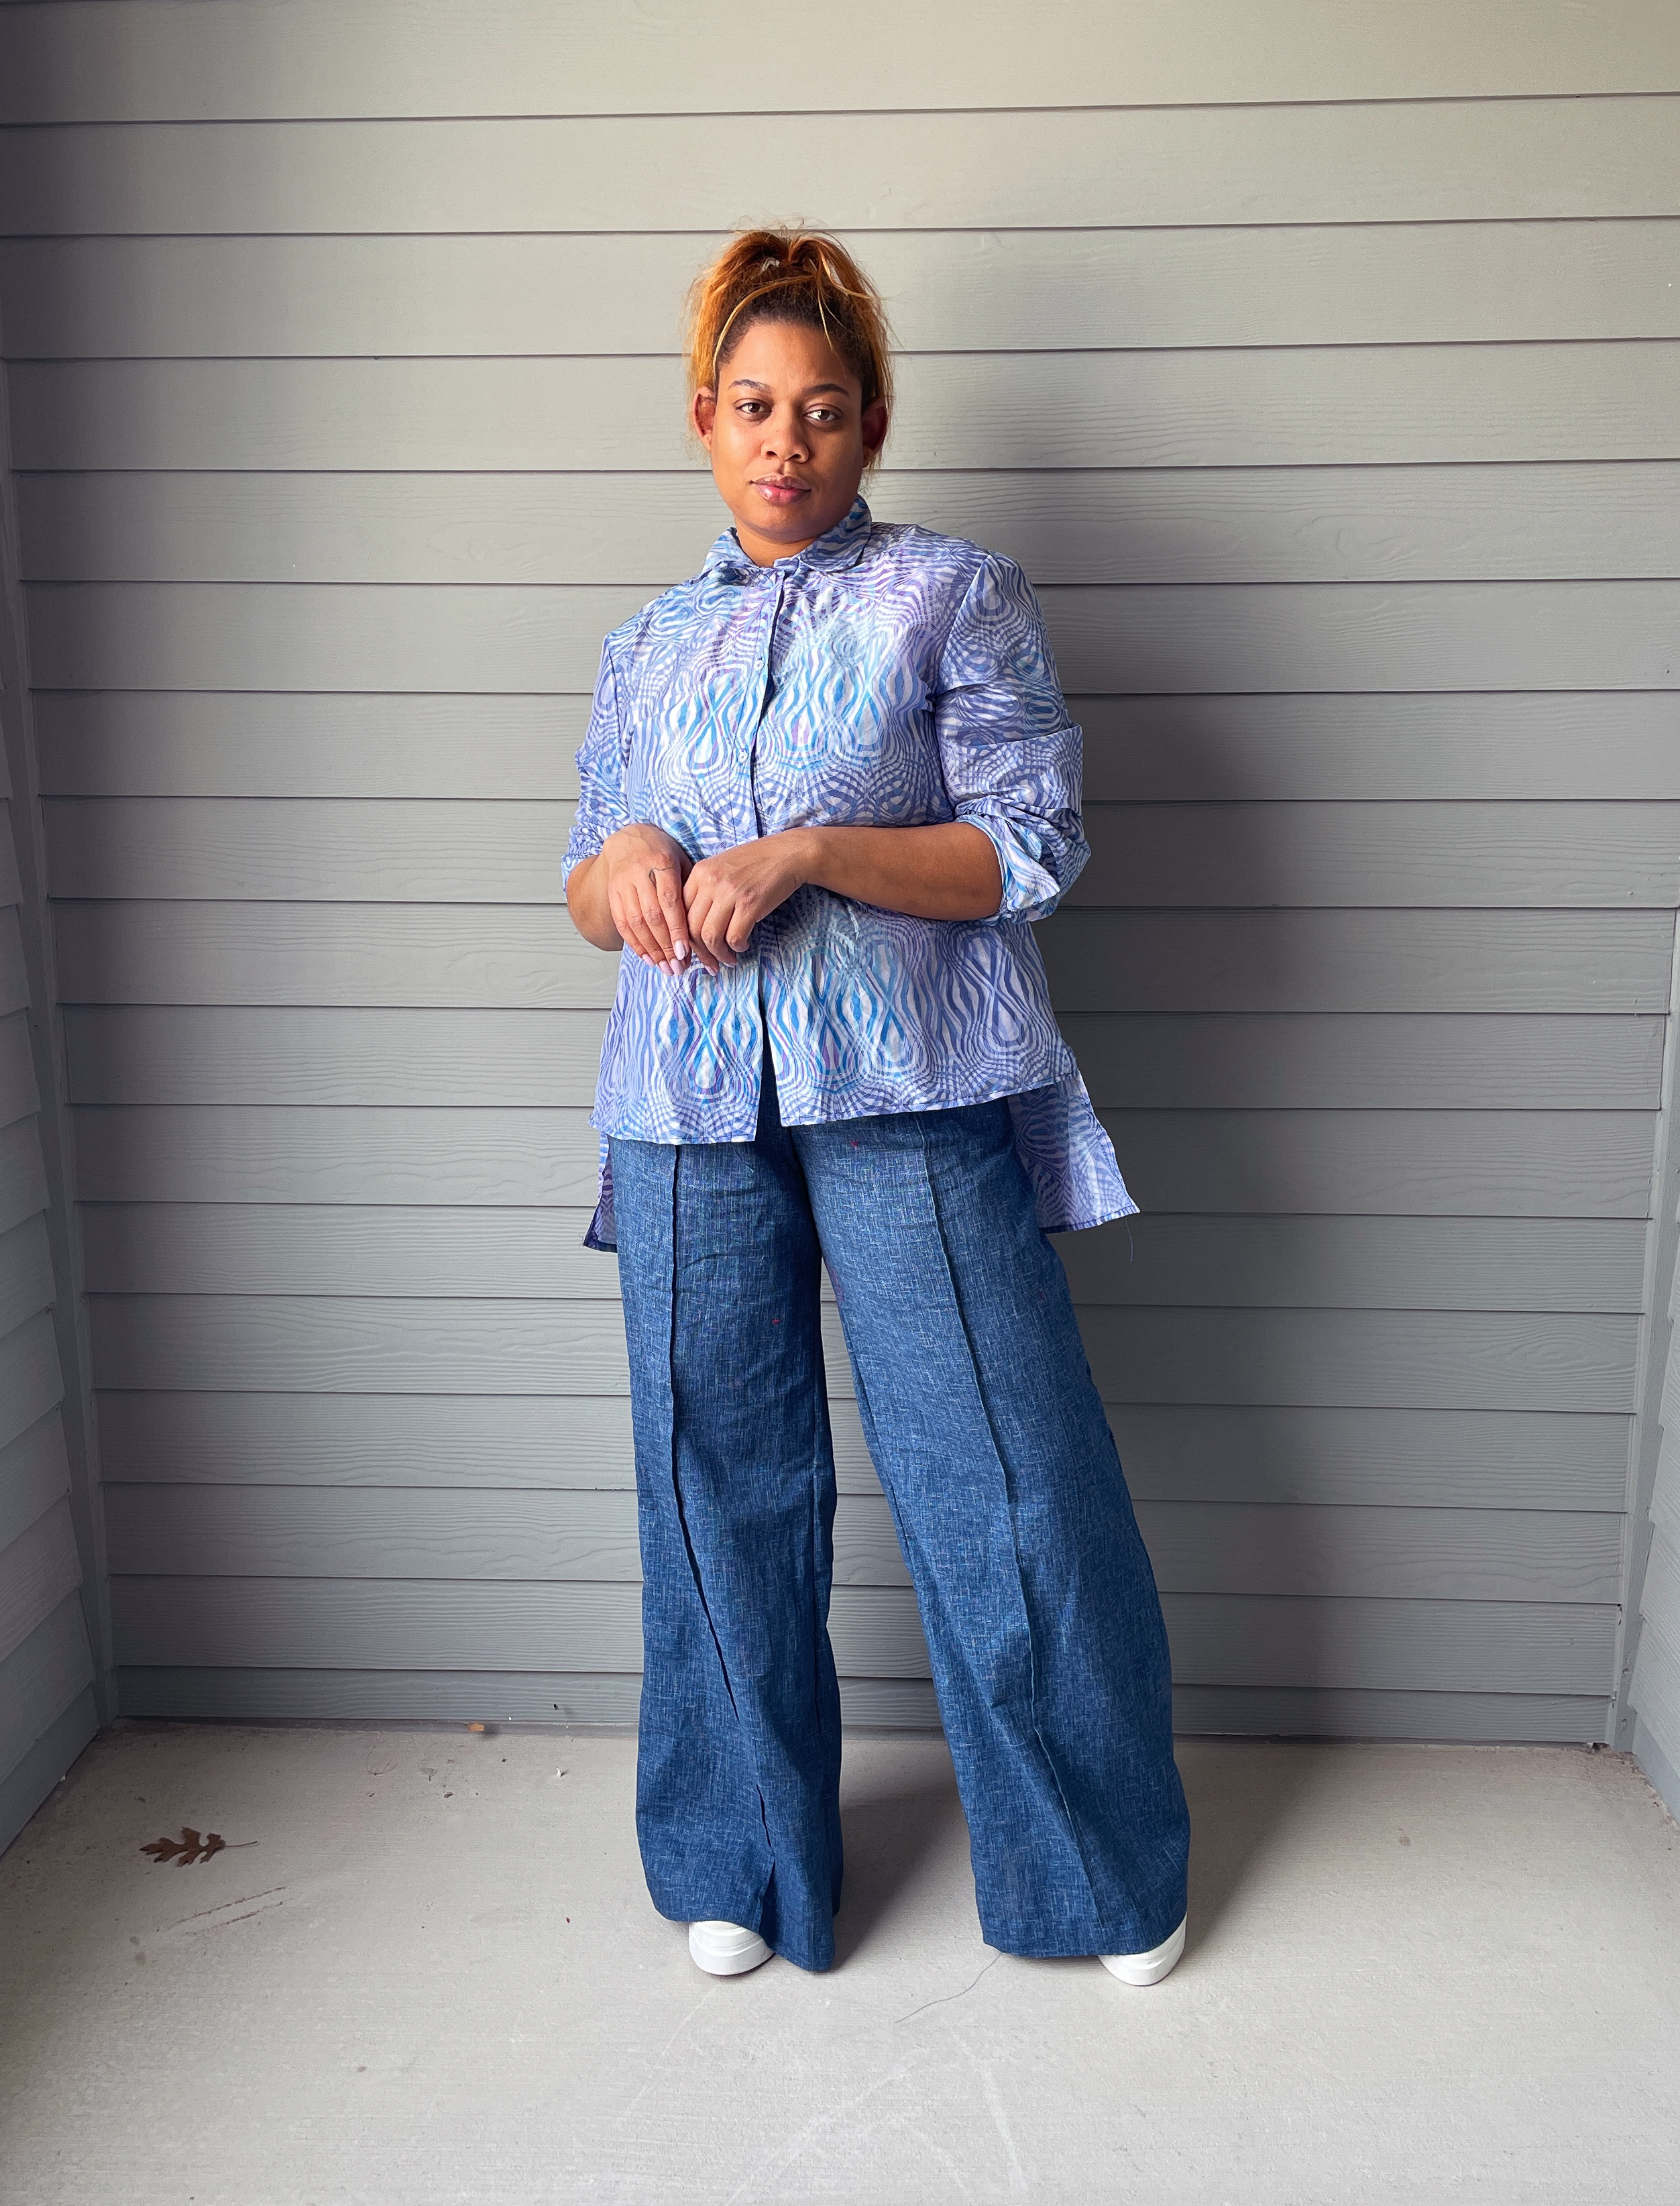
I saw this blue denim fabric and knew I wanted to make some pants; I just wasn’t sure what kind.  I decided to make Mimi G x Simplicity S8985 View B pants.  I liked the oversized flare look, I just made one slight modification to them by adding a pintuck along the front.  This was easy to add since the waistline was called to be slightly gathered to fit.  The fabric had a hand closer to linen and was very lightweight which was great and very satisfying to sew.  I lengthened the pants by 3” and finished with a 2” hem.

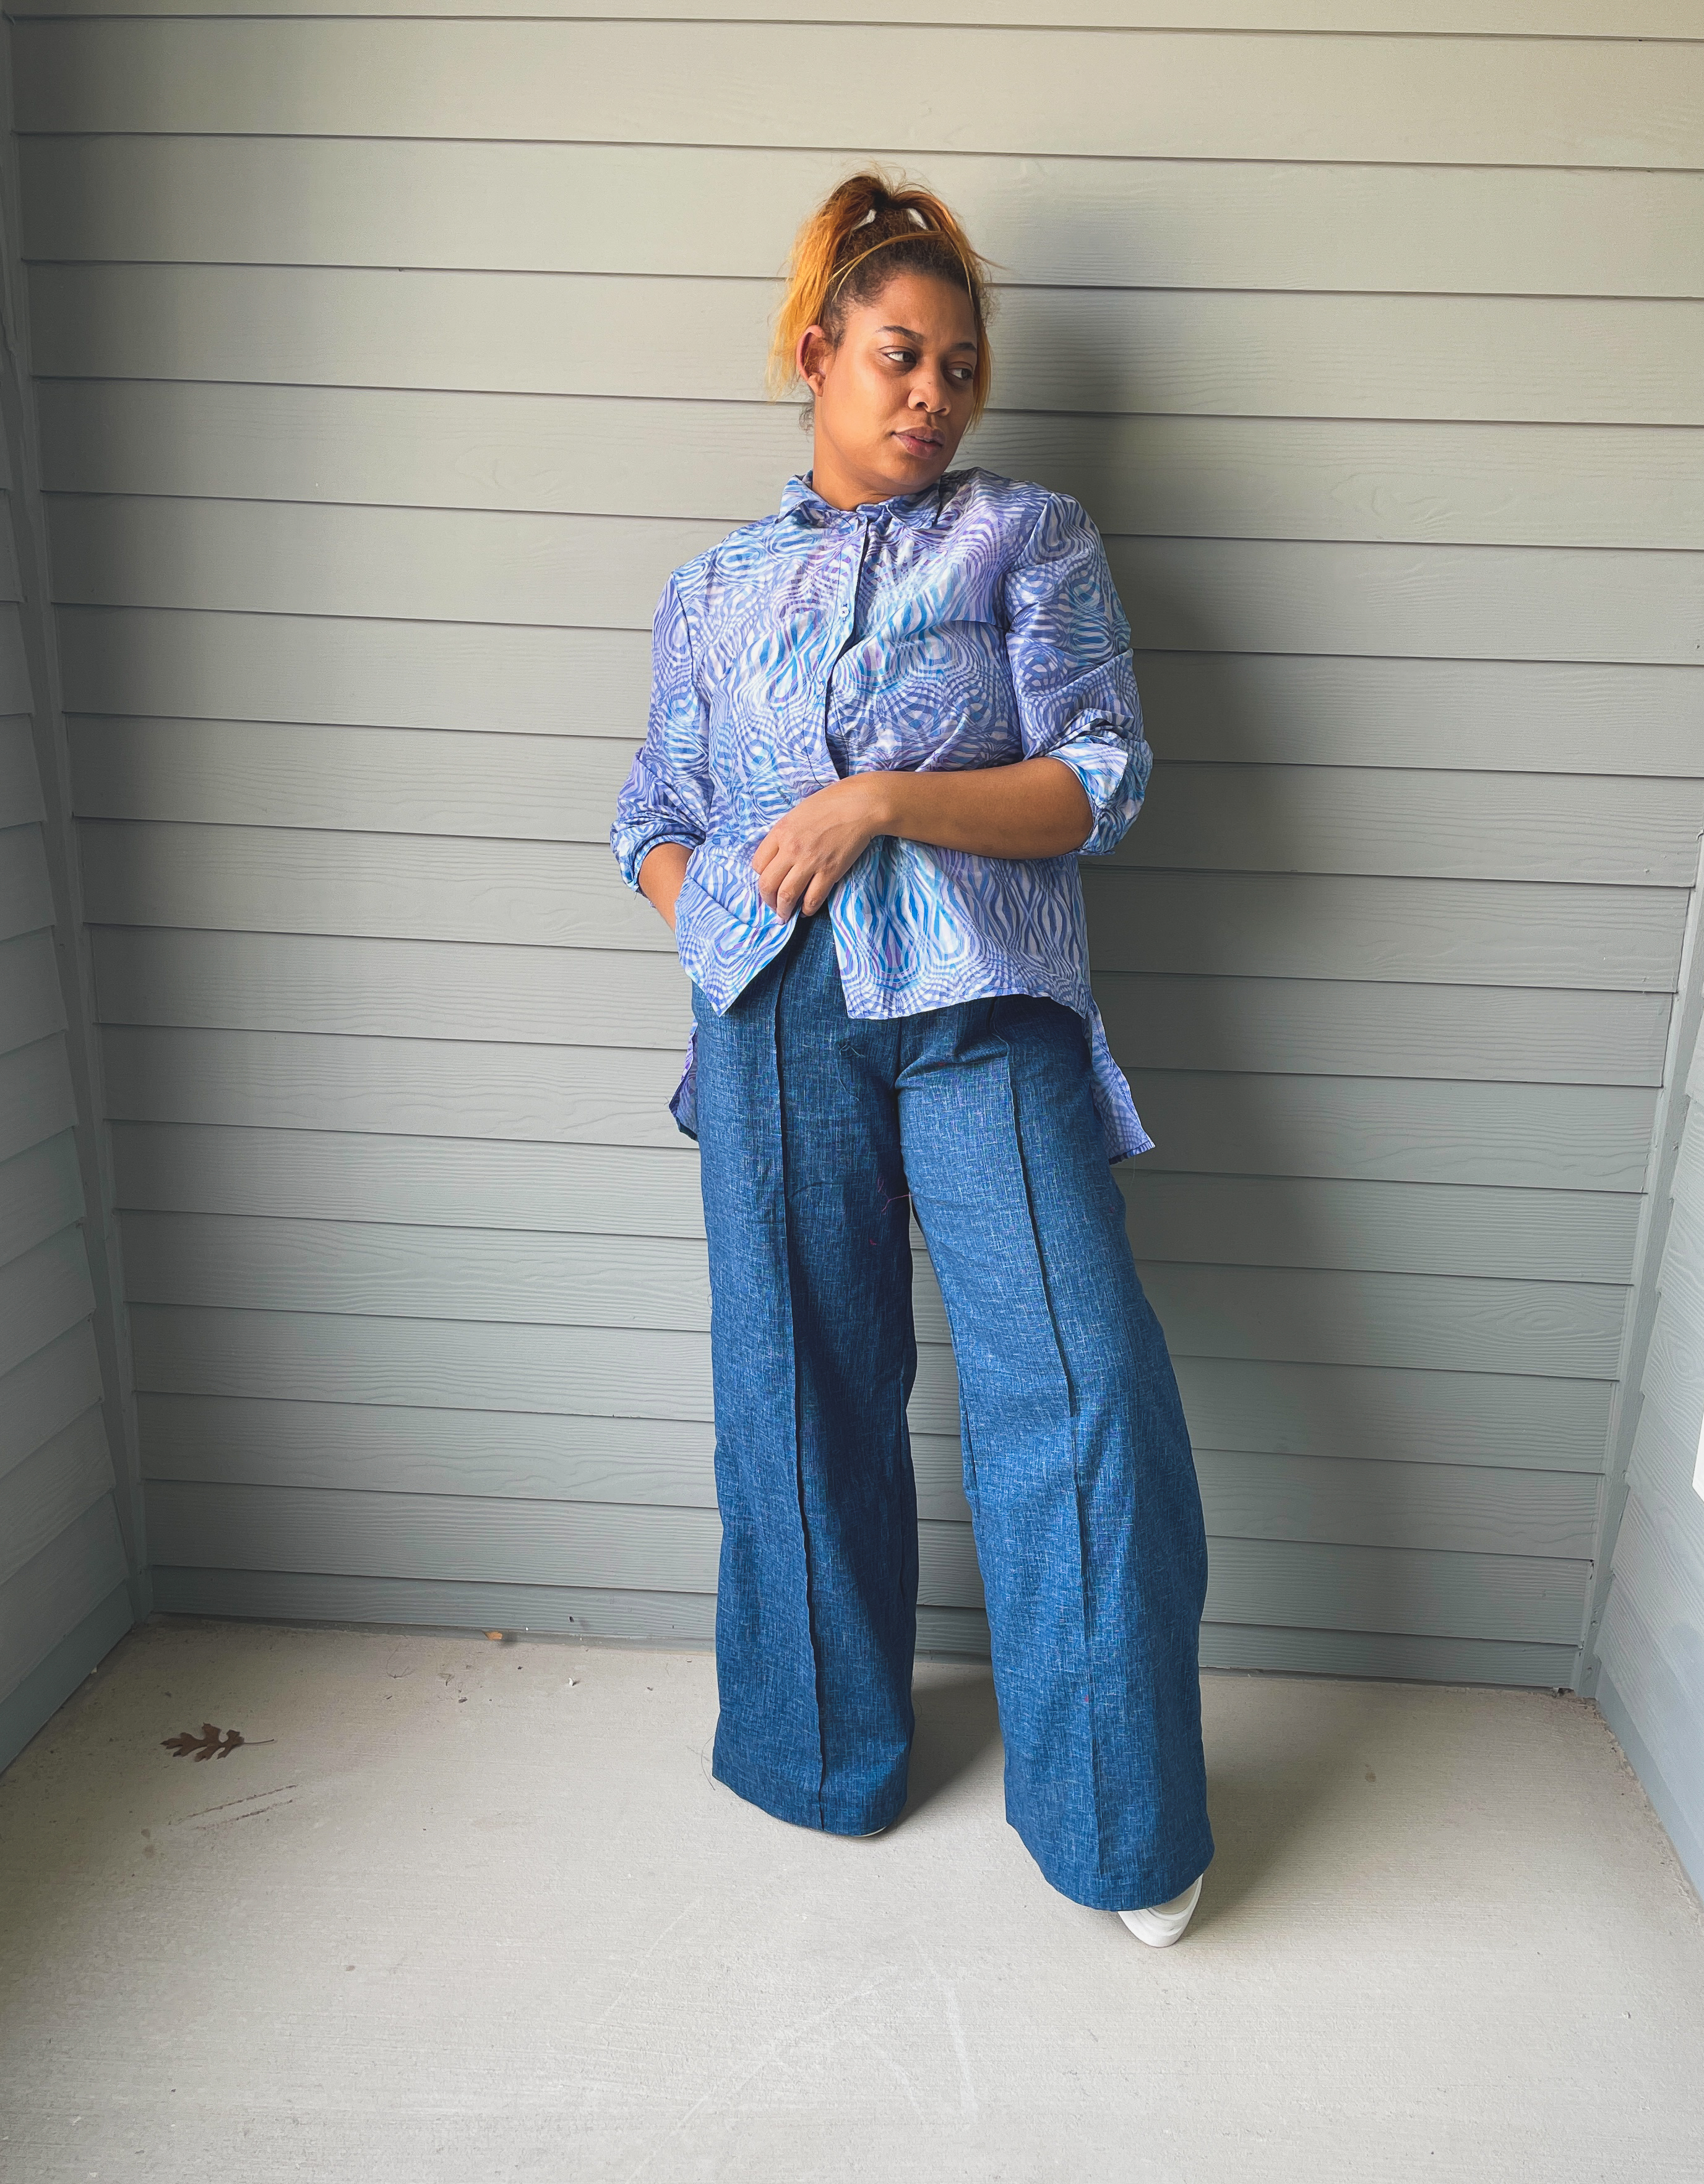
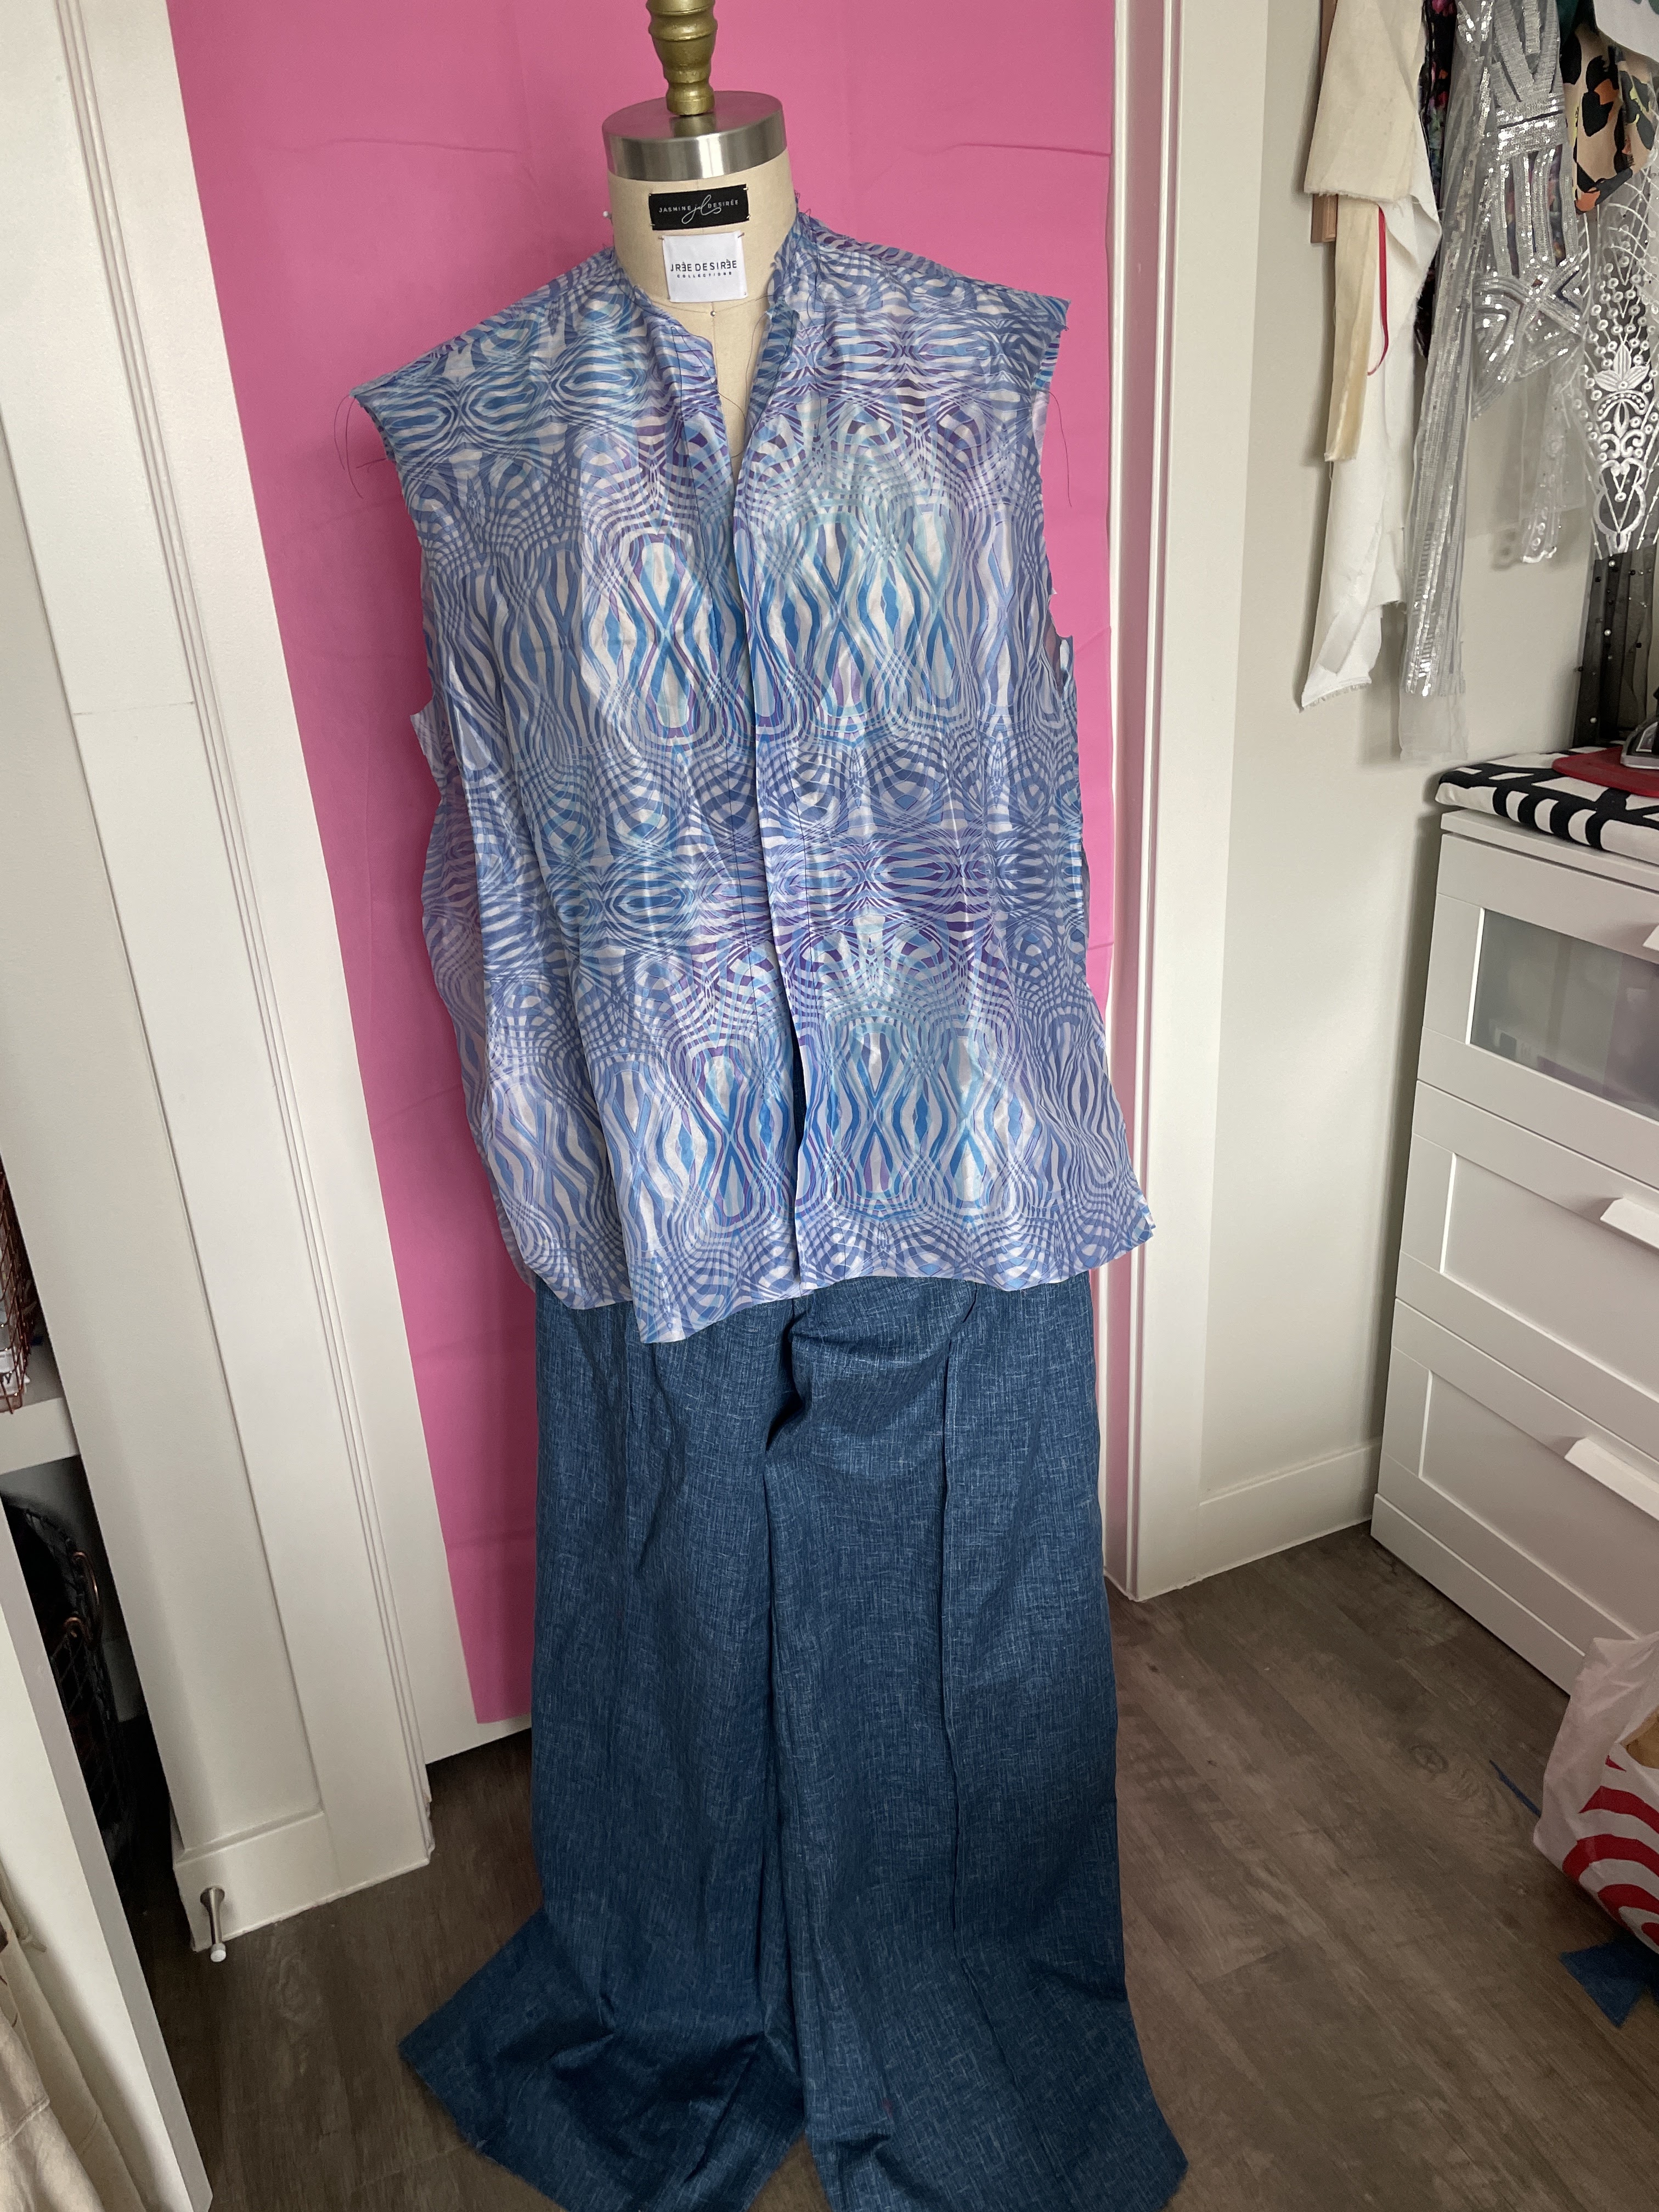
The top I used Simplicity S9707.  It’s an oversized partial button down top.  I decided to create a high low hem by combining two different views.   I loved the print of the fabric but honestly as simple as it looked this fabric was a bit tricky.

The fabric is a poly blend with stretch going along the selvage.  Most times with woven fabrics it has give along the cross grain with it being more taught along the straight grain. This one was opposite which caused some issues especially since certain pattern pieces had to be cut a certain way with the grain.

I ended up having excess in some of my pieces when trying to match it up with other pieces.   For example, the back yoke was to be cut along the cross grain which didn’t have stretch in the material so matching it with the back piece I had to adjust my pleat to fit. If I were to do it again, I would probably cut them in the opposite direction to get more of a true grain. The fabric overall was a pleasure to sew.  I did use a very low heat when pressing to avoid melting the fabric.

I love how both pieces came together for this look; they also look great worn separately with other pieces.


 JASMINE  @sewmuchjazz


Unfortunately Fabric Mart Fabrics sell out quickly!
You can find similar fabrics by shopping the following categories: DENIM & SATIN.

Comments

  1. These pants are fabulous and look great on you! Sorry you had a difficult time w the top, but really it looks great.

    ReplyDelete
  2. I especially love the pants style and I think the colors are beautiful. What a cute top. This whole design suits you perfectly!

    ReplyDelete
    Replies
    1. I absolutely agree! Jasmine, you did a fabulous job. Be proud, you are very talented and skilled seamstress.

      Delete
  3. I love the pants too. Wide leg pants always looks so elegant and the pin tucks really lengthen the look. Your top is very pretty . Nice outfit ! Best Wishes Gail from Pa.

    ReplyDelete
  4. Excellent work, I'm inspired to try wide leg pants now. The elastic waist "cinched" it for me!!

    ReplyDelete
  5. My mistake, not elastic waisted! but still forgiving enough to give a waistband a try. Again beautiful work and skill.

    ReplyDelete
  6. Very cute and looks comfy also

    ReplyDelete

Post a Comment

Thanks for leaving a comment! All comments are reviewed before posting to help us eliminate spam. Your comment will be posted within 24 hours.

Popular Posts You Might Like

Made By A Fabricista: Pattern Emporium’s Lyrical Top Featuring Fabric Mart Fabrics

 Sewn in a lightweight  rayon challis , this top combines style, comfort, and fluidity. There’s one thing I love in a summer sew: effortless drape—and the Lyrical Top by Pattern Emporium delivered just that. This pattern is a new release, and when I spotted this dreamy rayon challis from Fabric Mart Fabrics, I knew it was the perfect pairing. Lightweight, breathable, and with just the right amount of movement, the fabric really brought the pattern to life. Today, I’m sharing all the details—from fabric choice and construction to styling and fit—plus a few thoughts on why this top might just become a repeat sew. Pattern Overview: The Lyrical Top by Pattern Emporium The Lyrical Top is a relaxed-fit design with bloused sleeves and a gently flared frill cuff. It comes with three sleeve lengths and two neckline variations. I chose the tie-neck view, but there’s also a collar option for a slightly different vibe. I’ve been looking to add more stylish tops to my wardrobe this year, a...

Made By A Fabricista: Oversized Jenna Shirt for Summer Fun

 I may or may not have had several meltdowns during the making of this Closet Core Jenna Shirt… But let’s back up first. During the month of May, I promised to wear handmade garments every single day for the popular sewing challenge “Me Made May.” I really enjoyed thoughtfully putting together my outfits each day. While I was doing this, I was taking notes of the gaps in my wardrobe. Particularly, I don’t have many transitional shirts that could work for on-camera work attire and be comfortable for the weekend. When I saw this delicious cotton lawn on the Fabric Mart website, I knew that I wanted to make a button up shirt that would be both work appropriate and a nice overshirt for summer evenings over my tanks and tees.  I have made a few button up shirts before using a vintage Stretch & Sew pattern but I decided to try my hand at the Closet Core Jenna Shirt (up to a 60” chest) which has had rave reviews on social media and pattern sites for being a great pattern with e...

Made By A Fabricista: A matching set and a happy error.

 Hi sewing friends! Today I’m sharing a new outfit I made inspired by looks I’ve been seeing pop up in my Facebook and IG feeds a LOT this year. I’m talking about those monochromatic matching top and bottom outfits, sometimes in linen, sometimes in a flowy knit - the ones that advertise they go effortlessly from loungewear to office wear to going out wear. So I decided to “sew the look” using Fabric Mart fabric and a few patterns I already in my massive pattern library. First, let me share that I have very few solid color pieces in my closet. I’m so taken in by whimsy and geometric prints that this is still a gaping hole in my wardrobe -  a matching solid color set was actually a practical addition for me.  So let me walk you through how I created this look, and also tip you off to an error I made while cutting that worked out pretty well after all. Can you spot the error? Hint - it’s somewhere in the top: Here’s how I went about building my matchy match outfit. And here’...