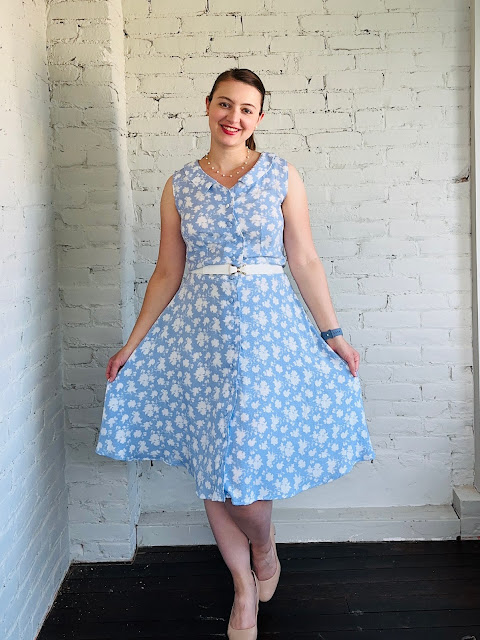
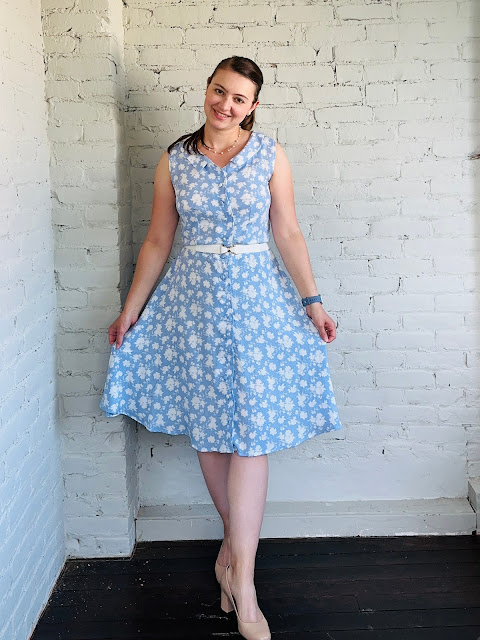
Have you ever seen a fabric that you just can't live without but then have trouble deciding what to make with it? That is exactly what happened to me with this gorgeous periwinkle and white rayon challis.
Is half of my fabric stash and handmade wardrobe blue and white? Yes! I know I'm slightly obsessed with blue and white floral prints, but when I see another gorgeous blue and white floral print fabric I just can't stop myself from inviting it to come live with me.
The minute I saw this perfect periwinkle and white rayon challis, I jumped at the opportunity to get my hands on it for my next Fabricista blog. When my fabric arrived, I loved it, but really struggled with what to make. I probably went through about 15 different iterations of what to make with the 2 3/4 yard cut, but nothing felt right.
Finally, I decided to make a Nina Lee Kew Dress. This pattern is one that I've had on my list to make for years, and it's been patiently waiting in my pattern stash for the right moment to be used. Since making a muslin for this pattern wasn't optional, I pulled out some rayon challis scraps from a previous project and whipped up a test bodice.
In the middle of sewing this test bodice I had my first major sewing injury. I will spare you all of the details and gnarly photos, but perhaps my finger's momentary brush with death caused me to reflect on what I was making. I didn't love the Kew test bodice. It just didn’t look great on my postpartum body. Also, I wasn't filled with joy while making it (probably due to my injury), but I just wasn't excited to cut into my perfect periwinkle challis. So I didn't.
After browsing my physical and digital pattern stash, I remembered the Colette Hawthorn pattern I purchased years ago.
This classic 1950s-inspired shirt dress has 3 versions, a sleeveless dress, a peplum top, and a dress with 3/4 sleeves. I've only ever made the peplum top version but have always loved the dress versions. Plus, I already had the pattern printed so all I had to do was cut out my size! As a mom to a busy 6-month-old, not having to take the time to print and assemble a pattern was a treat!
For the bodice, I primarily used a size 8 but graded the waist out to a size 10 to fit more comfortably. I cut out the skirt in a size 10 as well. When I tried on the bodice, it ended up being a bit loose fitting so I took in the side seams by an additional 1/4 inch on each side. This helped to make the dress fit better. If I make another dress from this pattern again, I will probably spend more time trying to get an even better fit.
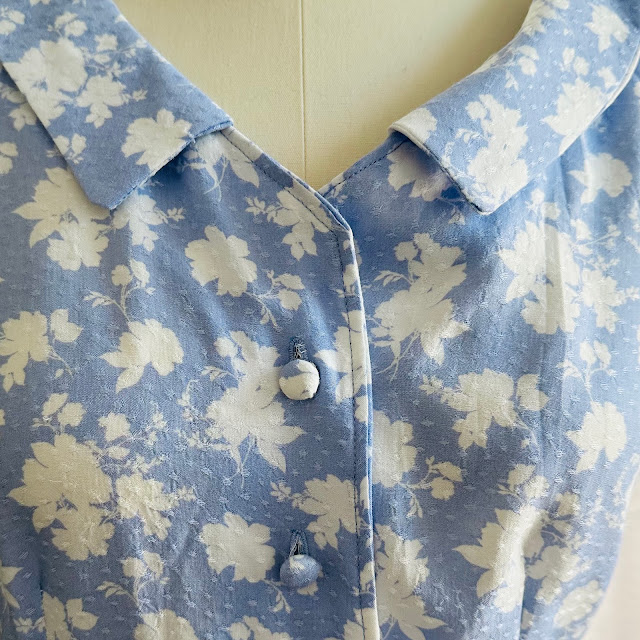
The next challenge I faced was finding enough matching buttons for the dress. The pattern calls for 13 buttons, which is quite a lot of buttons. I searched my vintage and regular button stashes but just couldn’t find 13 matching buttons. After thinking through my options, and finding a covered button making kit in my stash, I decided to make covered buttons. With a small scrap of fabric and the covered button kit, I made all 13 buttons in less than 30 minutes. I just love the look of covered buttons, and I'm always amazed at how easy they are to make.
Overall, I'm happy with how my Hawthorn dress turned out. It is light, flowy, and will be great to wear in the summer heat. And my favorite part is that it is perfectly periwinkle!
SHAINA | @shaina_sews
Unfortunately Fabric Mart Fabrics sell out quickly!
You can find similar fabrics by shopping the following categories: CHALLIS.


Lovely. Good job and keep up the good work.
ReplyDeleteBeautiful! I love every thing about this dress, color, style, neck line and collar! I actually have this pattern but haven't as yet assembled and used it. I will now! It looks great on you. Nice job!! I have some very pretty Liberty of London fabric that just may work with this pattern. Thanks for sharing.
ReplyDeleteI love this dress and everything about it! As someone who has an hourglass shape I think I will be making one like this one.
ReplyDeleteAdding the belt makes waist look thiner.
ReplyDelete