

May is Asian Pacific American Heritage Month in the United States. For this post, I wanted to create an outfit to celebrate my Filipinx-American culture. The Filipino flag consists of four primary colors: blue, red, white, and yellow. The first Filipino flag was actually sewn in Hong Kong by Marcela Agoncillo, a Filipino seamstress, while in exile during the 1896 revolution against Spanish colonizers. It was brought back to the Philippines and first displayed in 1898, the year the Philippines won independence from Spain.

My initial plan was just to make a lovely, non-themed dress. However, when the Atlanta spa shootings happened in March, I experienced an extreme emotional upheaval. All of the aggressions and microaggressions I experienced as a Filipinx woman growing up in the states came flooding back in a mass of anguish and collective grief, as the Asian-American community mourned the death of these women. I, like many in the Asian-American community, had been watching incidents of hate crimes against Asian people skyrocket during the pandemic, and all of a sudden people were finally paying attention. It was overwhelming. An unexpected, immediate consequence was a coming together of the Asian sewist community, in a way that I was not expecting. So out of the pain, I have met new people, learned new things, and have a renewed sense of pride for being Filipinx-American. Making a Filipino flag-inspired look was just one way to tap into that renewed sense of pride and dignity about who I am and where I come from. I am inspired by Filipino sewists like fellow Fabricista Macy Camile, who incorporate their Asian heritage into their makes. This outfit is just one of the many in the future I will make to honor my culture and heritage.

To prepare, I scoured the Fabric Mart site for solid fabrics, and they did not disappoint. The top is a blue-violet double knit, with a beautiful and subtle texture to it. I already knew I wanted to make high-waist wide leg pants, so I wanted to make something that would work well for these pants, but be a piece I could mix and match with many other items in my closet. I chose the Seamwork Elmira wrap top, so that I could also layer yellow underneath it. I took a chance on making a straight size large and it worked out even though the finished waist was two inches smaller than my own. The wrap worked in my favor! It was secured at the side seam with thread chains and buttons. My first time making with thread chains!
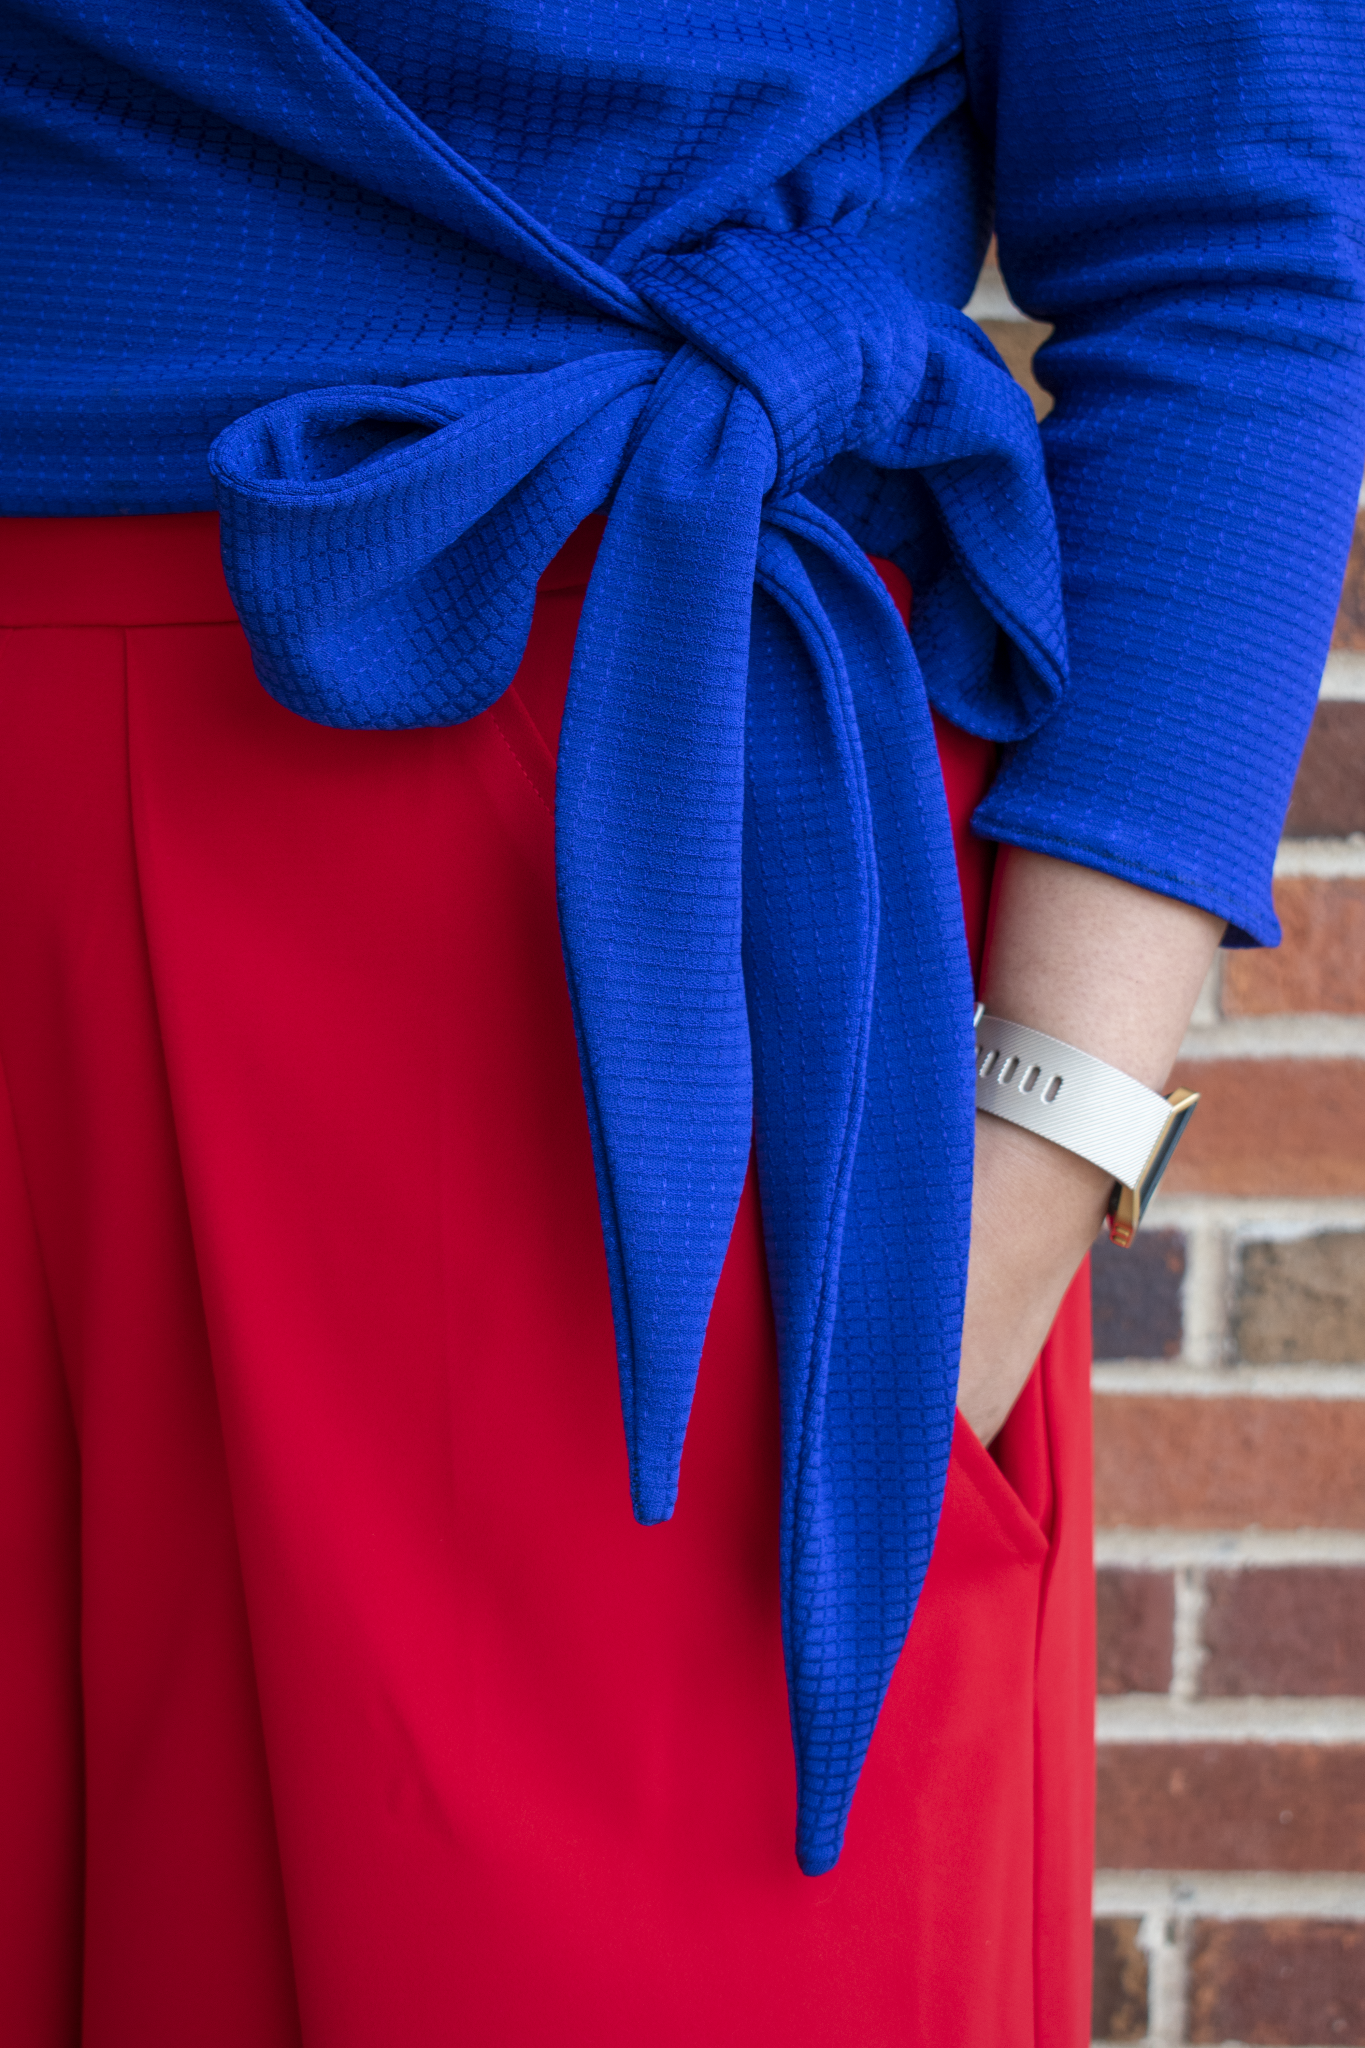
I picked the fabric first, and then the pattern, but in hindsight, I think I would have selected a lightweight knit for the Elmira wrap. The double knit was quite thick, and the Elmira called for a full facing so it felt a bit bulky while I was making it. In the end it worked out very nicely. Because of the weight, this is something I would likely wear during cooler weather. It is also perfect for the office when I return, whenever that will be!

My original plan for the yellow color was to do a belt, but I had a little bit extra so decided to do a crop top instead. For this top, I used the bodice of a Seamwork Benning dress. I made a size 12 bodice from their curvy size band. This pattern has two necklines, a V-neck and scoop, and I went with the scoop to complement the wrap top. I love this pattern in general because it is sized to just pull over your head, no closures to mess with, and a simple neck facing. This yellow silk/cotton blend was an absolute dream to work with. I’d never worked with anything silk before, and this sewed up like a regular cotton. I love how soft, yet stable it is, and the color is so beautiful. I would absolutely make with this blend again!

Finally, the showstopper of the outfit is the red Size Me Sewing Florence Trouser. I knew that I wanted to make a dramatic wide leg pant (actually the first pair of pants that I’ve ever made) before I selected the fabric. They feature an invisible back zip and tab closure in the back.
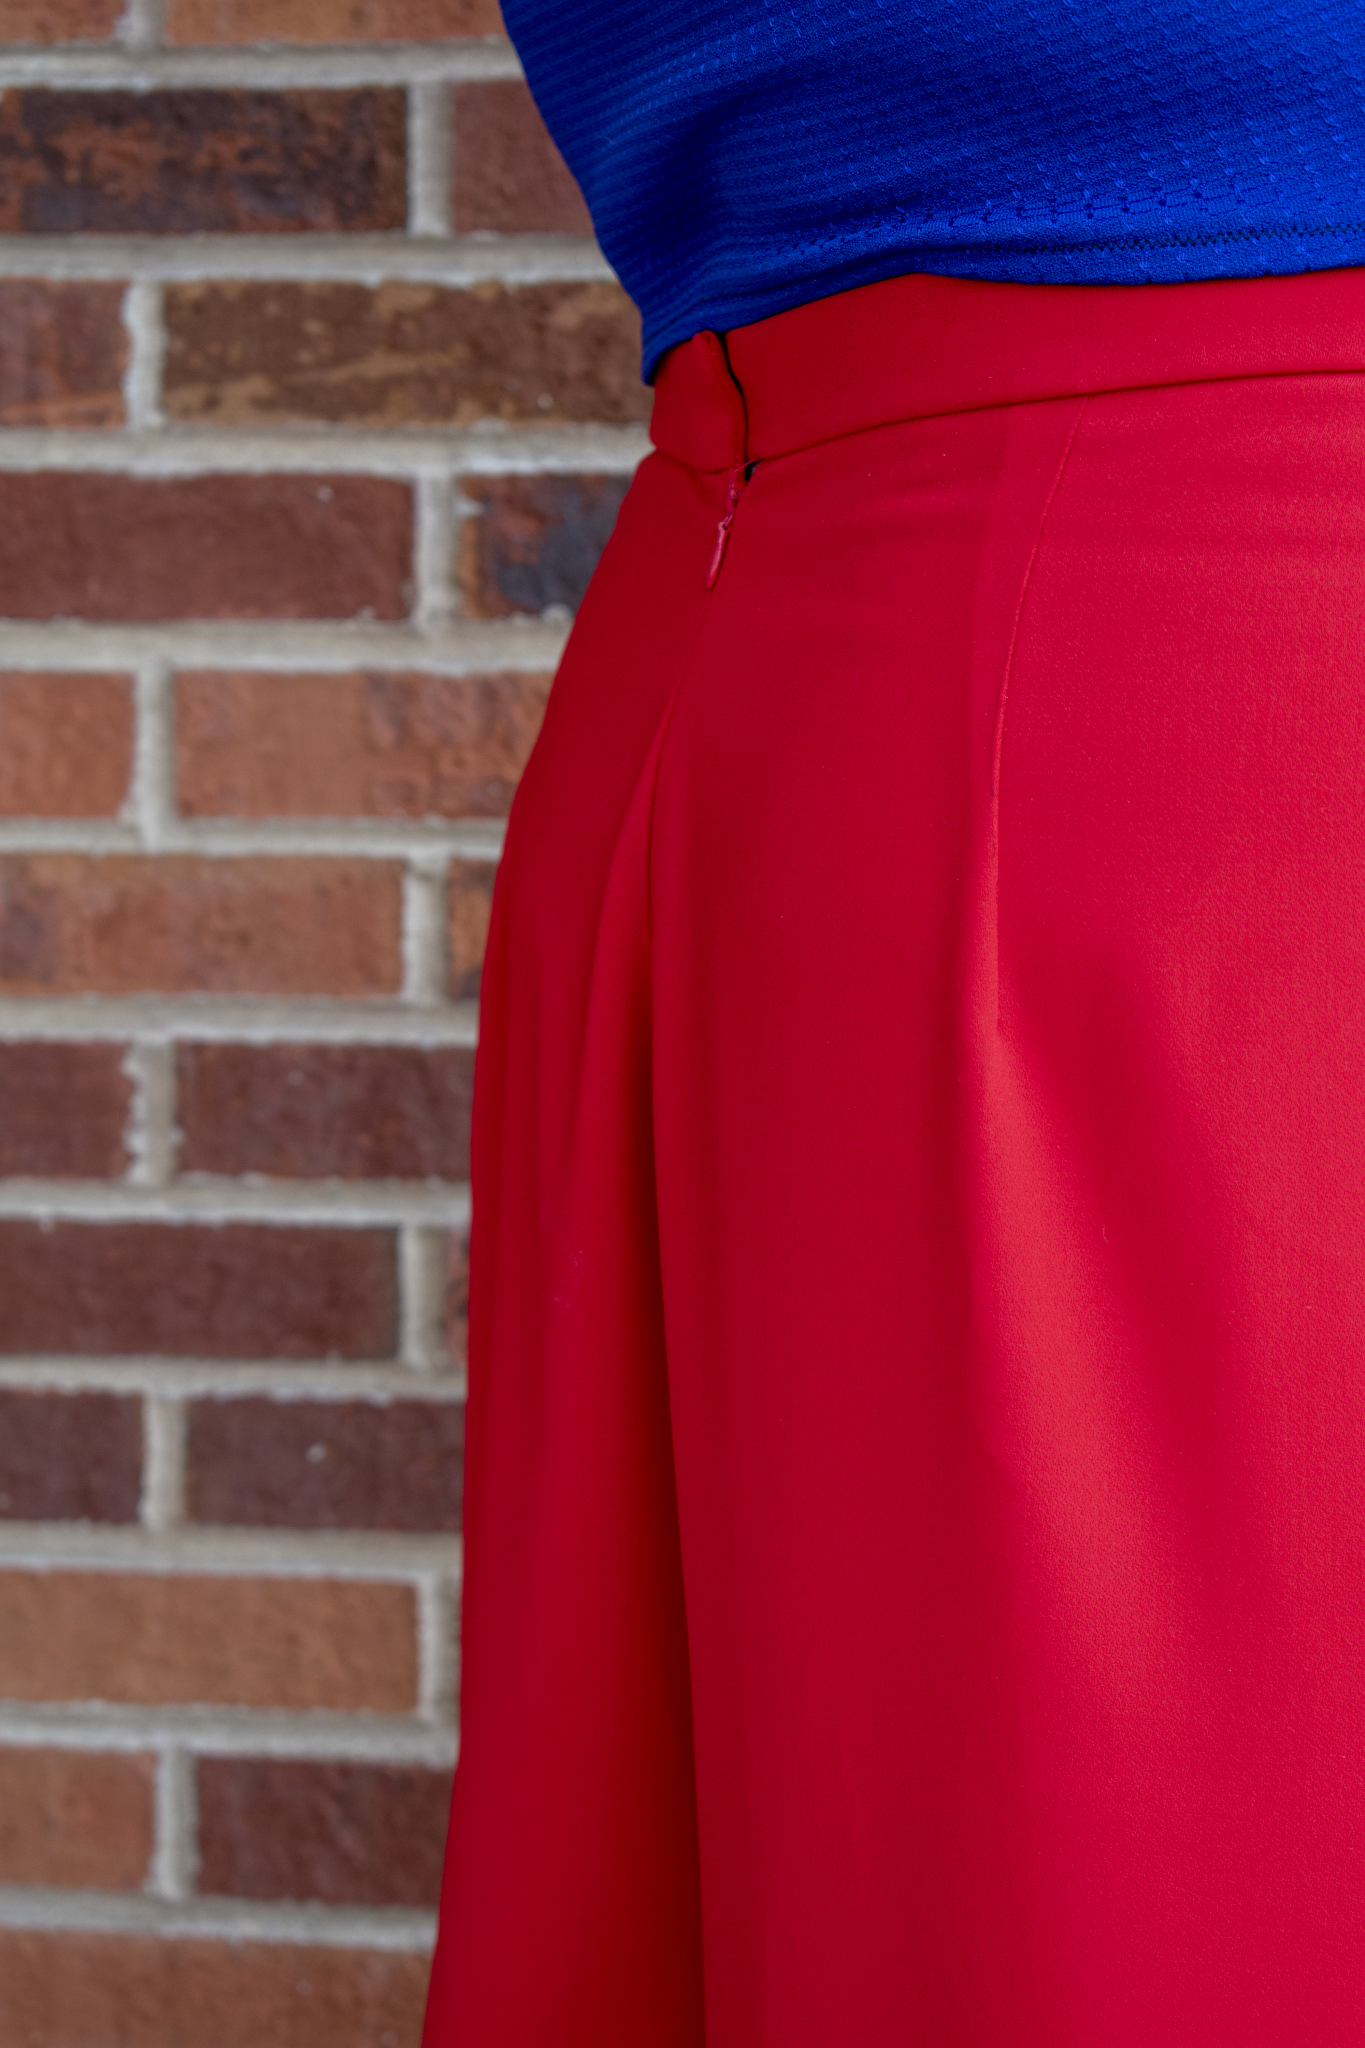
This venetian red suiting was absolutely perfect. It’s a nice bottom weight and has a great amount of swish! I was nervous about making pants, but these were super easy to fit and make. You might need to exercise your brain just a bit if you’re American as all the measurements are in centimeters, and it needs to be printed on A4 paper (or large format), but I didn’t mind the intellectual challenge. I love the inverted pleat front detail of the Florence Trouser, which sets it apart from other wide leg pants I’ve seen.

It does come with pockets, but I am debating whether to stitch them shut--I think there was some funny business (read: inexperienced sewing!) when I graded the waist out and they don’t quite lie the way I want them too. The designer also does this neat thing where she doesn’t use size numbers, but rather, symbols to encourage you to really rely on your body measurements, instead of guessing sizes. So I can’t tell you what my size was! But I did grade out my waist a half size up from my hip. In the future, I will probably just make the straight size according to my hip.

I really enjoyed putting this outfit together, and walking around in it makes me feel so confident. Fewer things make me feel more powerful than a statement look and a red lip, and that it is an homage to my Philippine heritage makes it all the more special to me. I look forward to wearing these pieces in the future, both separately and together.
Unfortunately Fabric Mart Fabrics sell out quickly!
You can find similar fabrics in the following categories: DOUBLE KNIT, SILK, & SUITING.
Nicole, I love the homage you have paid to your country of origin by using the colors of your homeland flag as the color scheme for such a dynamic outfit. I really love the wide flowing legs on your pants. I like your pockets and hope you can figure out how to keep them. I don’t see a problem with them from your pictures. You are going to turn heads in this very bright and so well put together outfit.
ReplyDelete