


Hello again, fellow sewists! I’m nearly giddy to share with you my two latest dresses, with fabrics and styles chosen specifically to counteract this endless dreary weather. I wanted to wear big, blooming florals and showcase sunny colors, and these prints and colors are so ideal for gorgeous outdoor warmth and parties. I chose two maxi dresses with beautiful peekaboo back details because this is on the outer edge of my comfort level and because they feel so glamorous! I, for one, could use every bit of glamour possible.
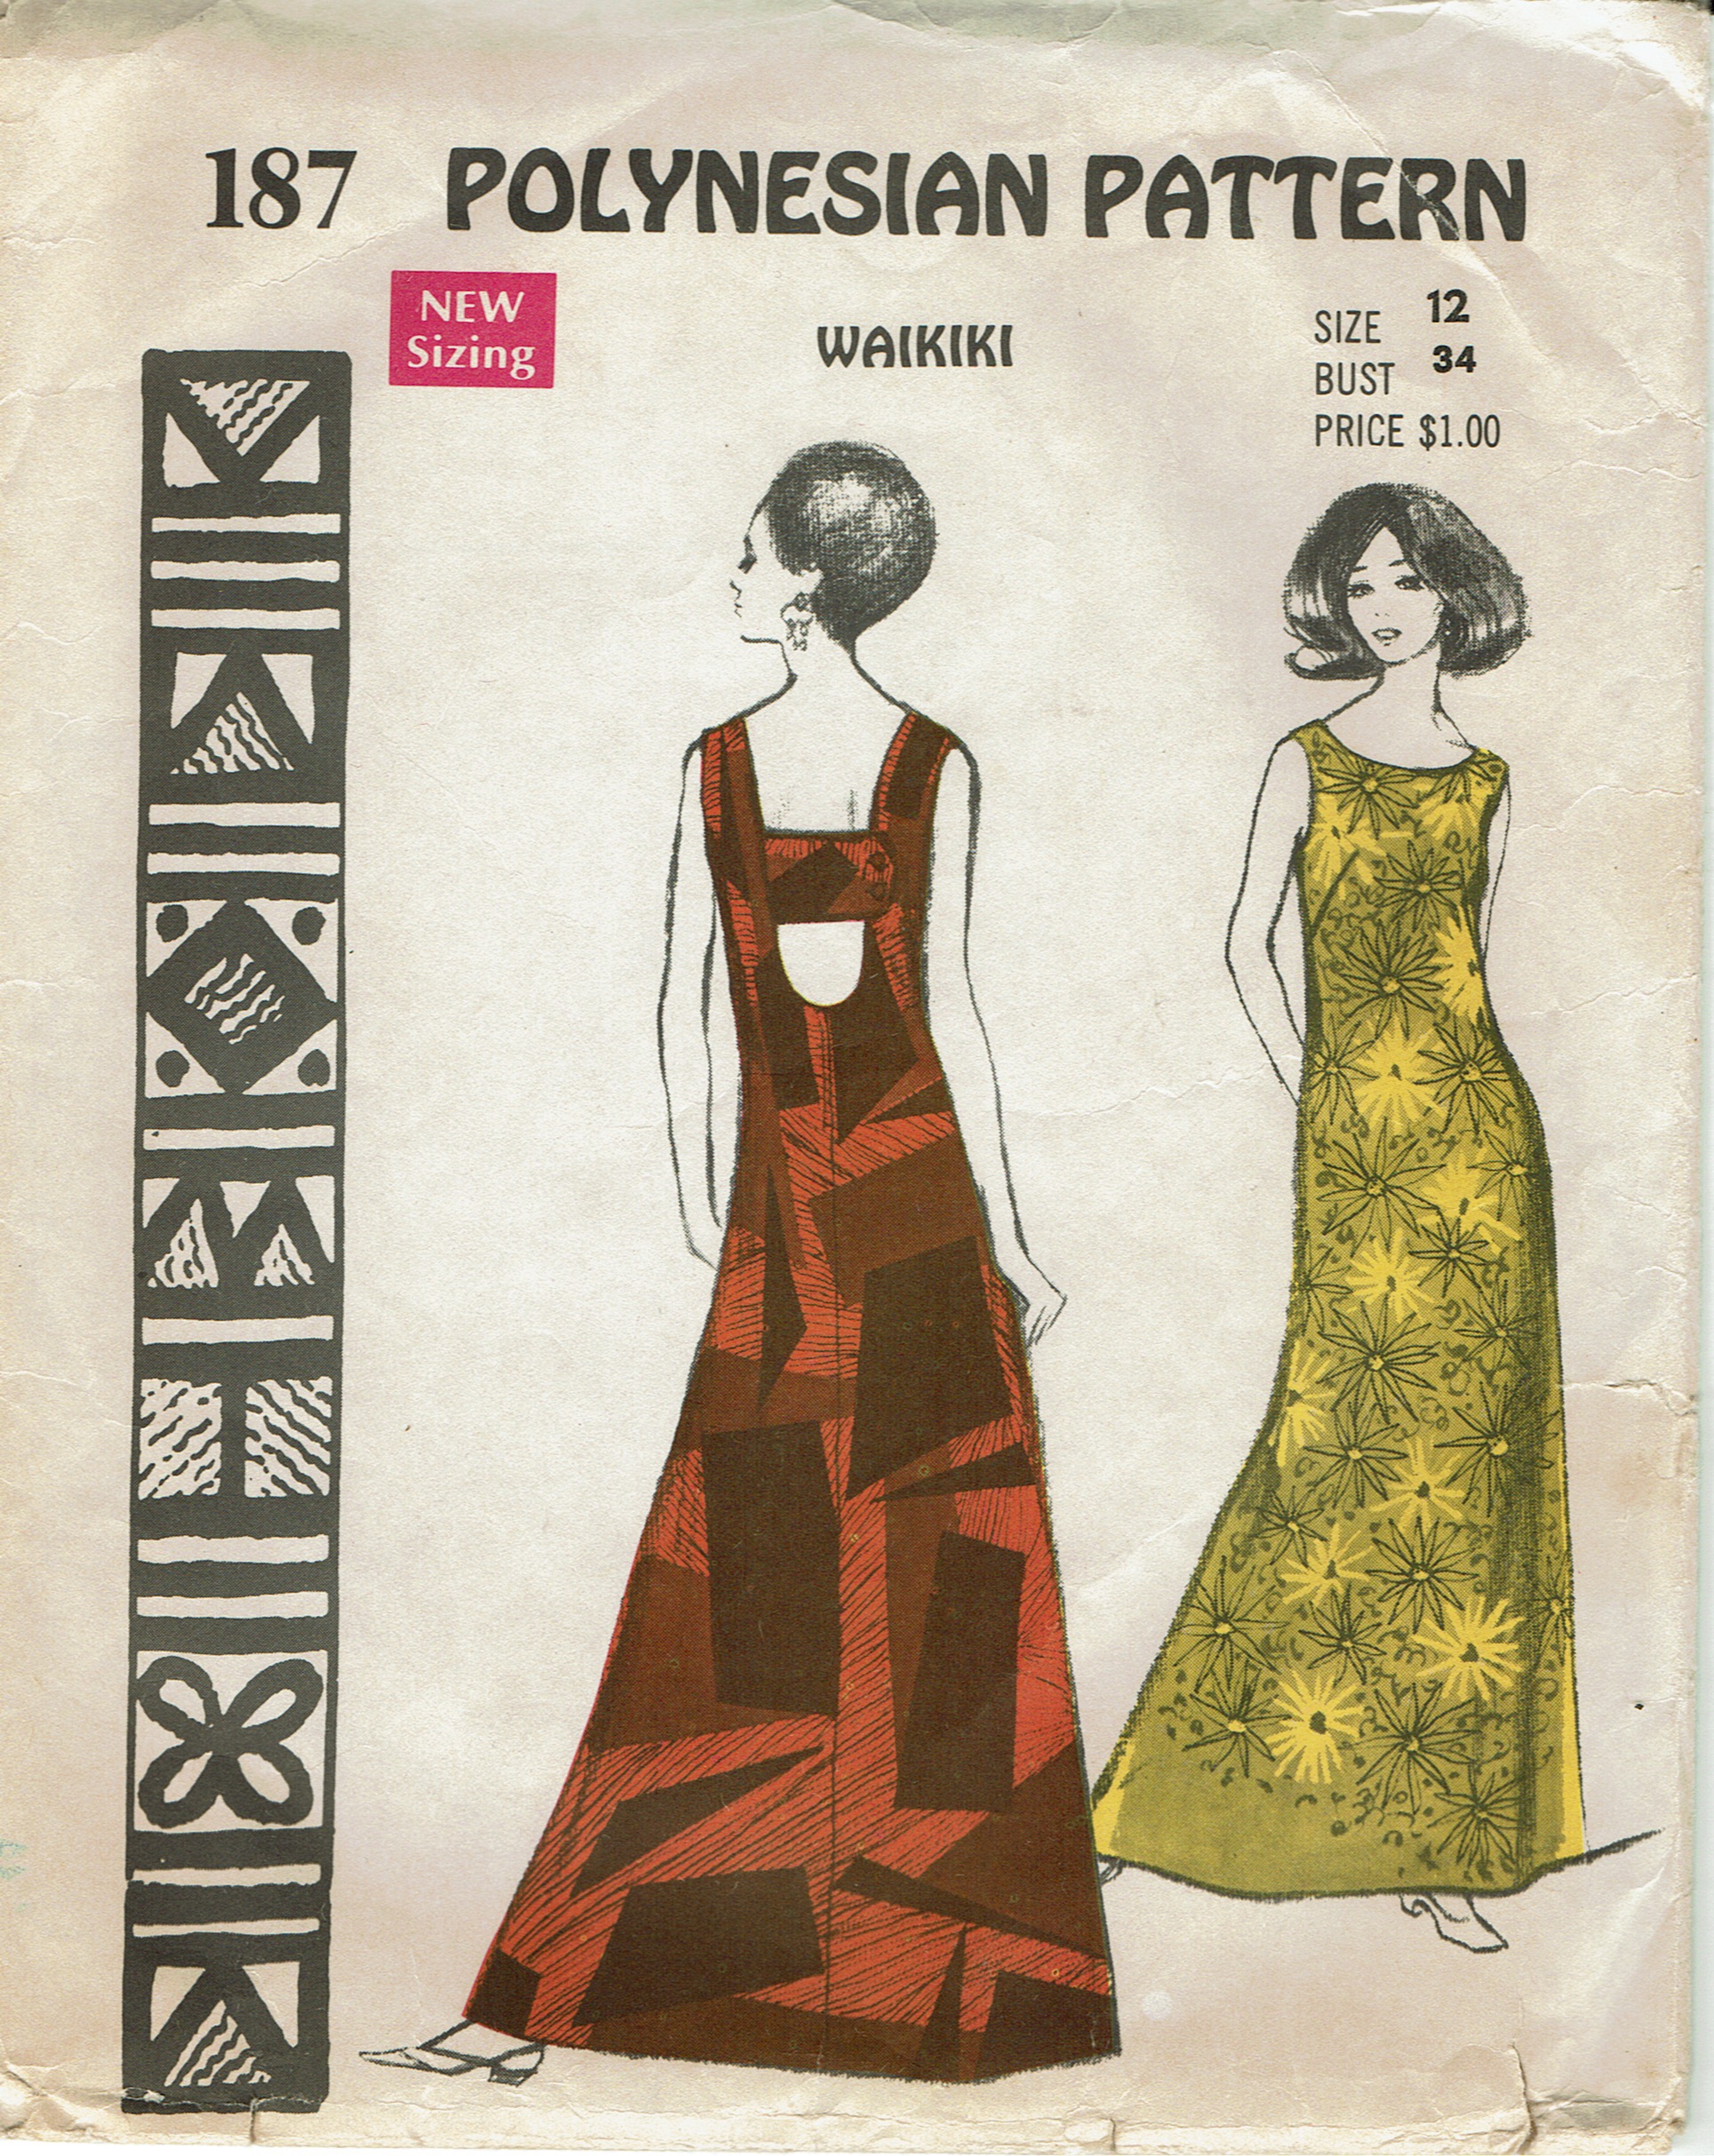
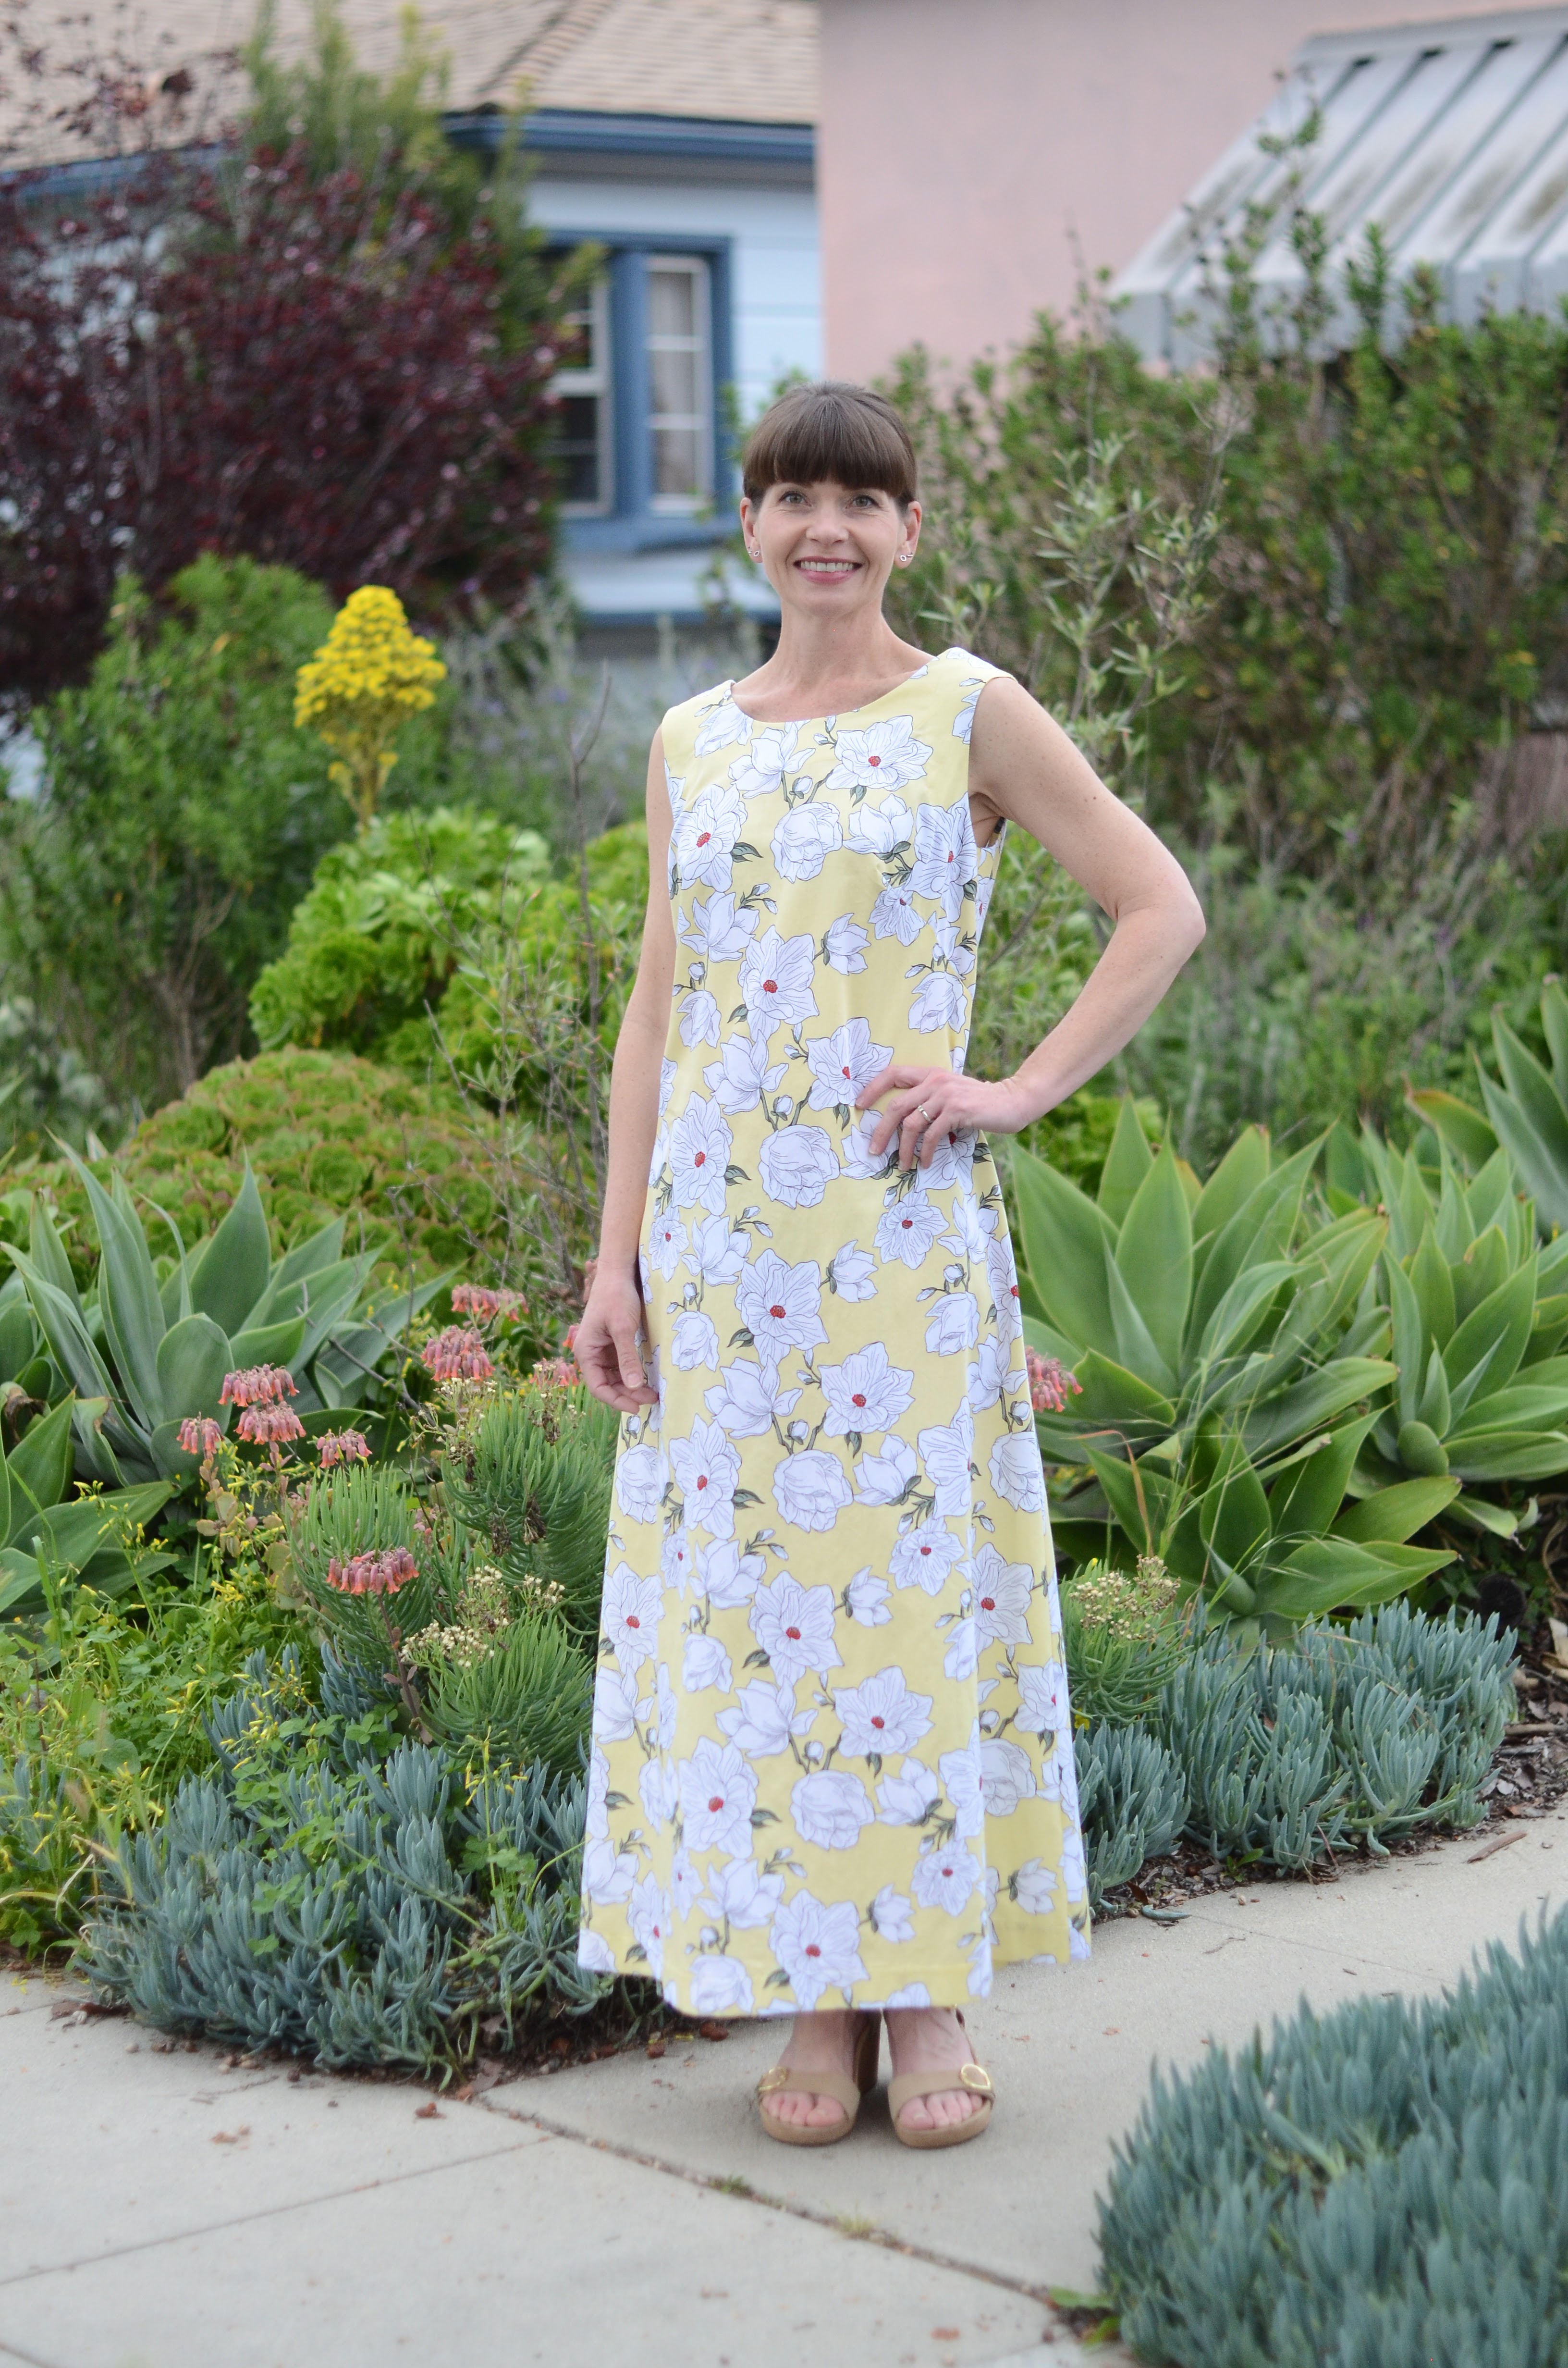
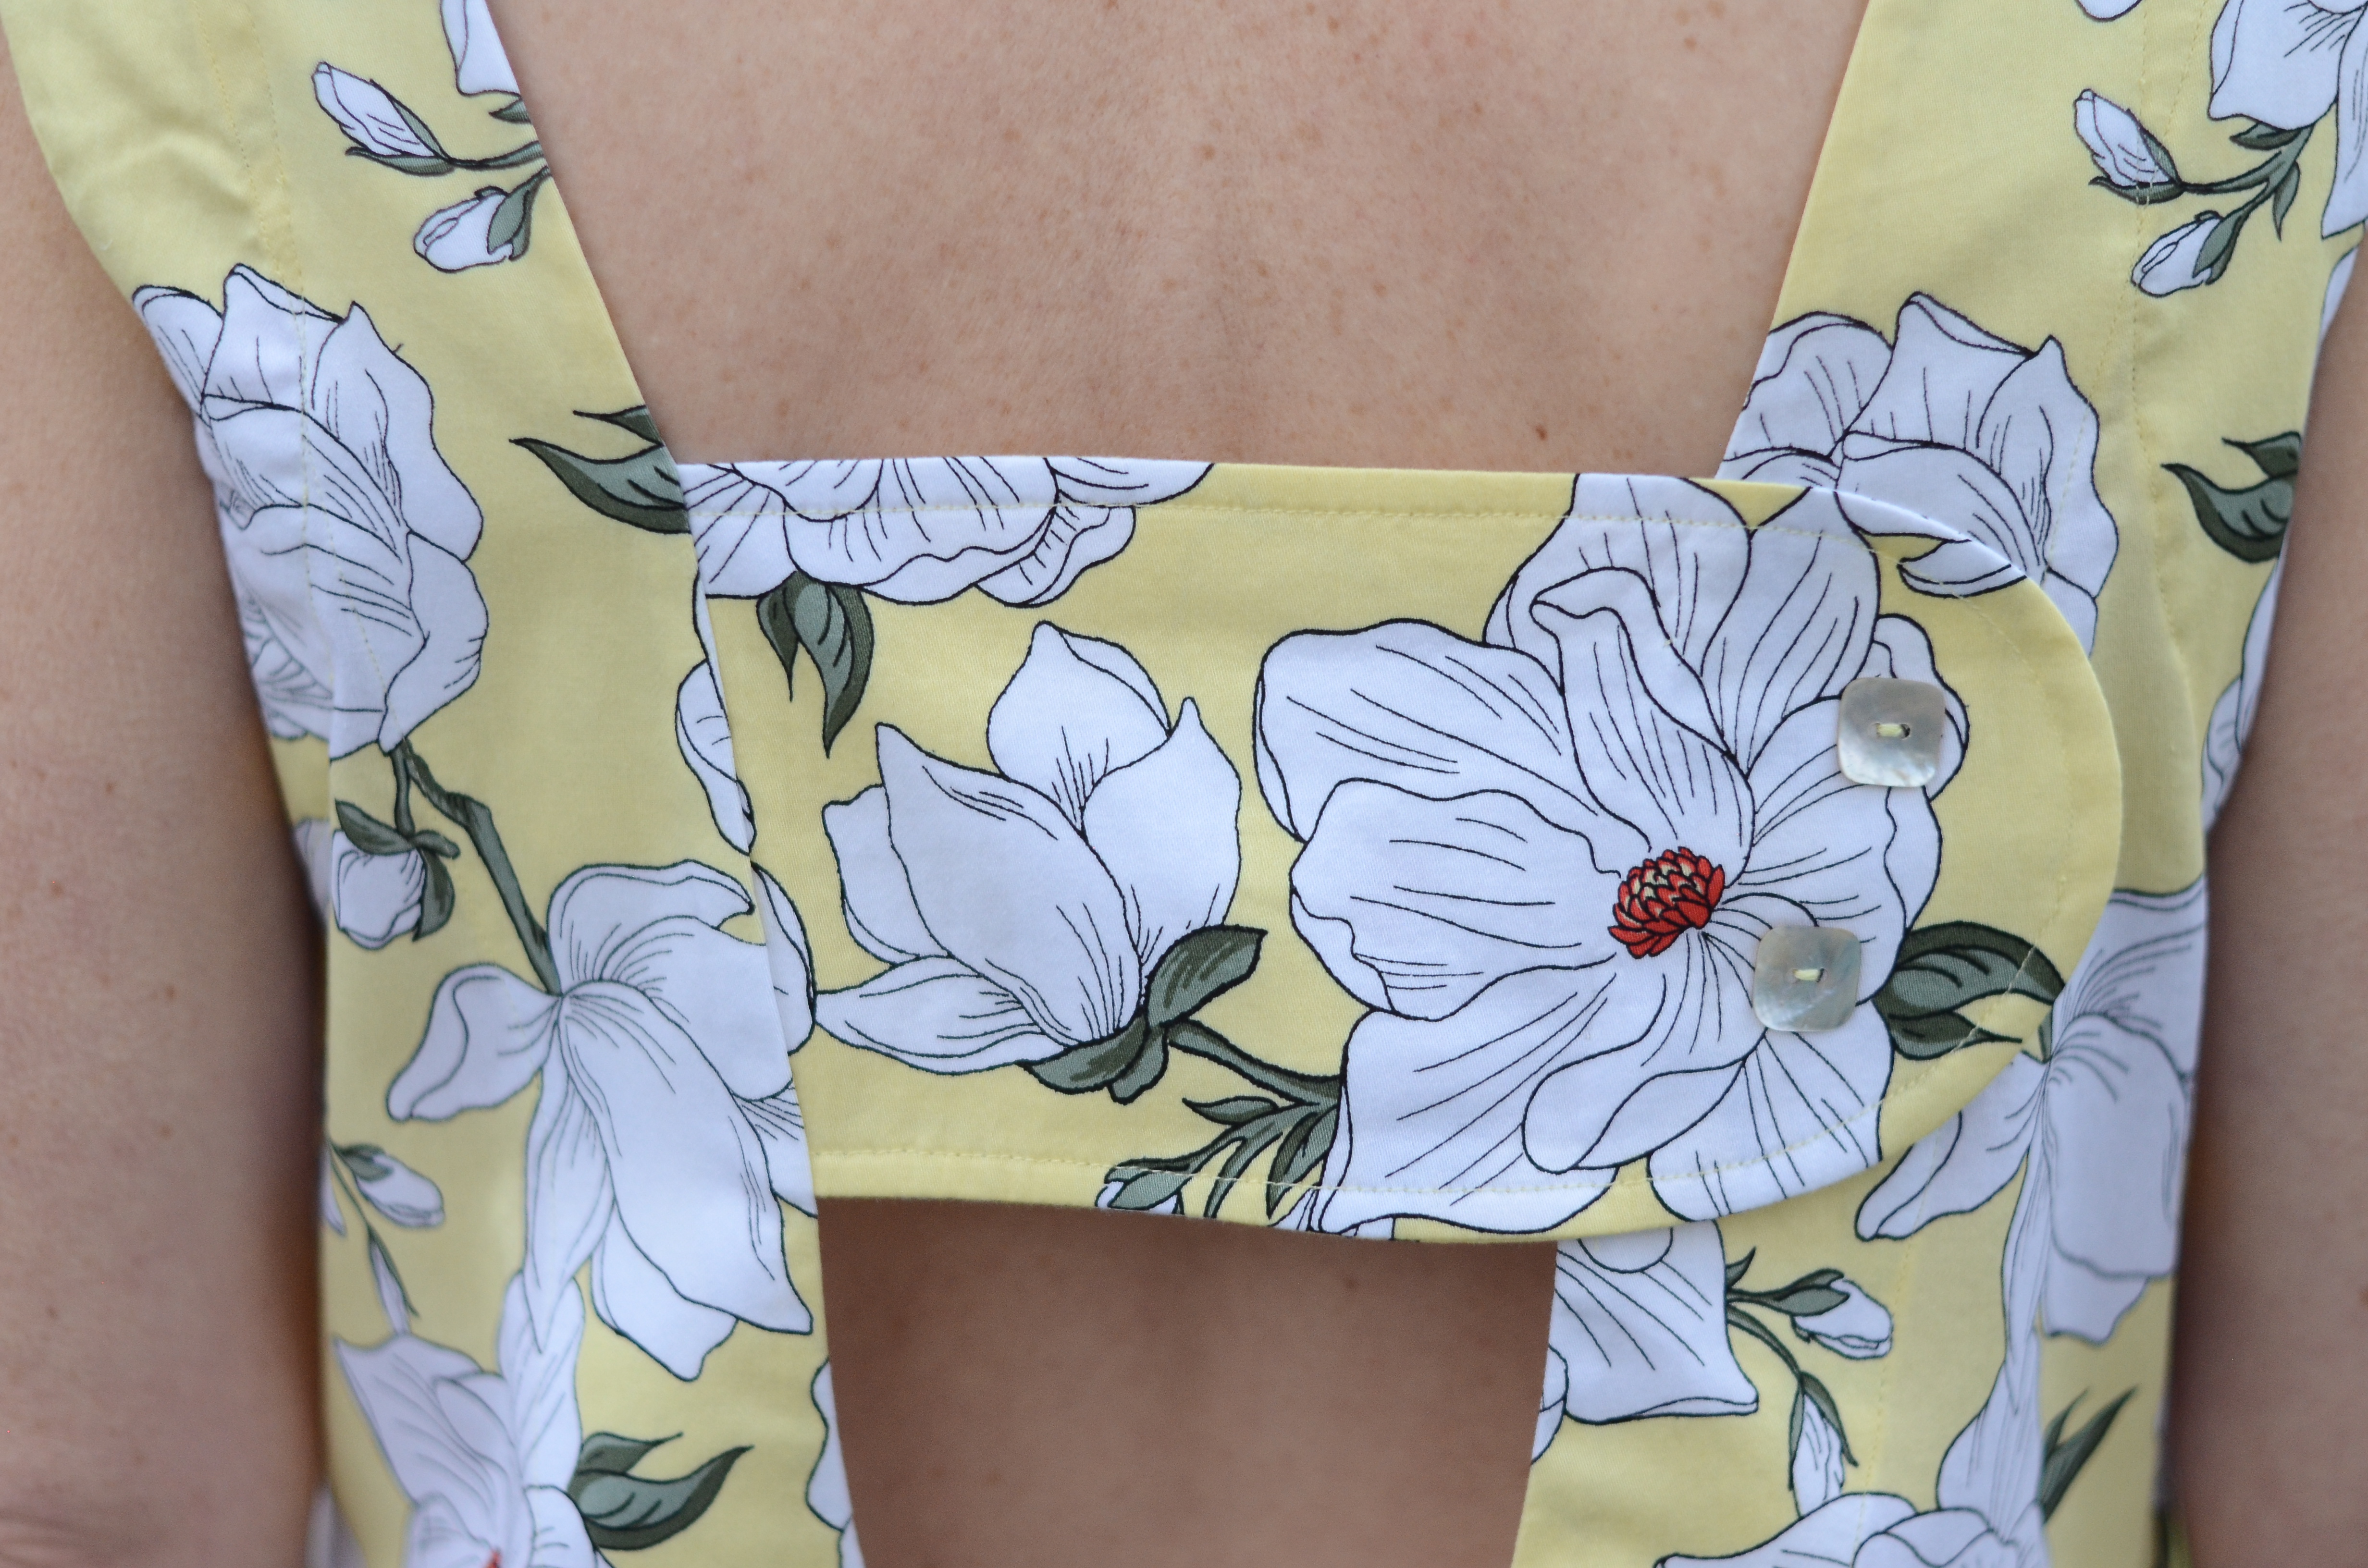
For my first breezy gown, I used a vintage late 60s/early 70s pattern that I purchased last summer. It’s Polynesian Pattern 187, the Waikiki Dress. Though I own and have been gifted a few vintage tissue patterns, this is the very first one I’ve actually ventured to sew. The deeply scooped back that features the large center strap is perfectly designed to conceal a bra! Clearly designed by a woman. (And her name was Elsie Ames!)

I started with a muslin because these measurements are just a bit above my own, but it seems like everything you read about vintage patterns is that they fit for a smaller body, so I didn’t know at all what to expect. One size down on the Waikiki is beneath my measurements (and not something I was able to track down anyway), so this seemed like the best option for any kind of success.
I’m so glad I started with a toile! This dress is built for a far taller human, and turns out that the dress width will also accommodate someone above my measurements. I made a few alterations, including removing four inches from the length, two inches from the center front bodice, and raising the back bodice scoop by an inch, and then redrafting the front and back bodice/neckline facing pieces. This was a labor of love, but having looked forward to wearing this amazing style for so long, those adjustments were worth my time. (Incidentally, the pattern also includes pieces for a woven bikini bottom, which I opted to skip, but would in fact counteract the peep show if anyone glances down your back; it’s fairly exposed at the bottom of the scoop beneath the strap.)

I love cotton sateen, the hand is so smooth and cool to the touch. This lightweight cotton is very easy to work with, and I added some very lightweight interfacing to the facings and back strap for just a tad of support. Sateen is stable and makes for a very pleasant sew.
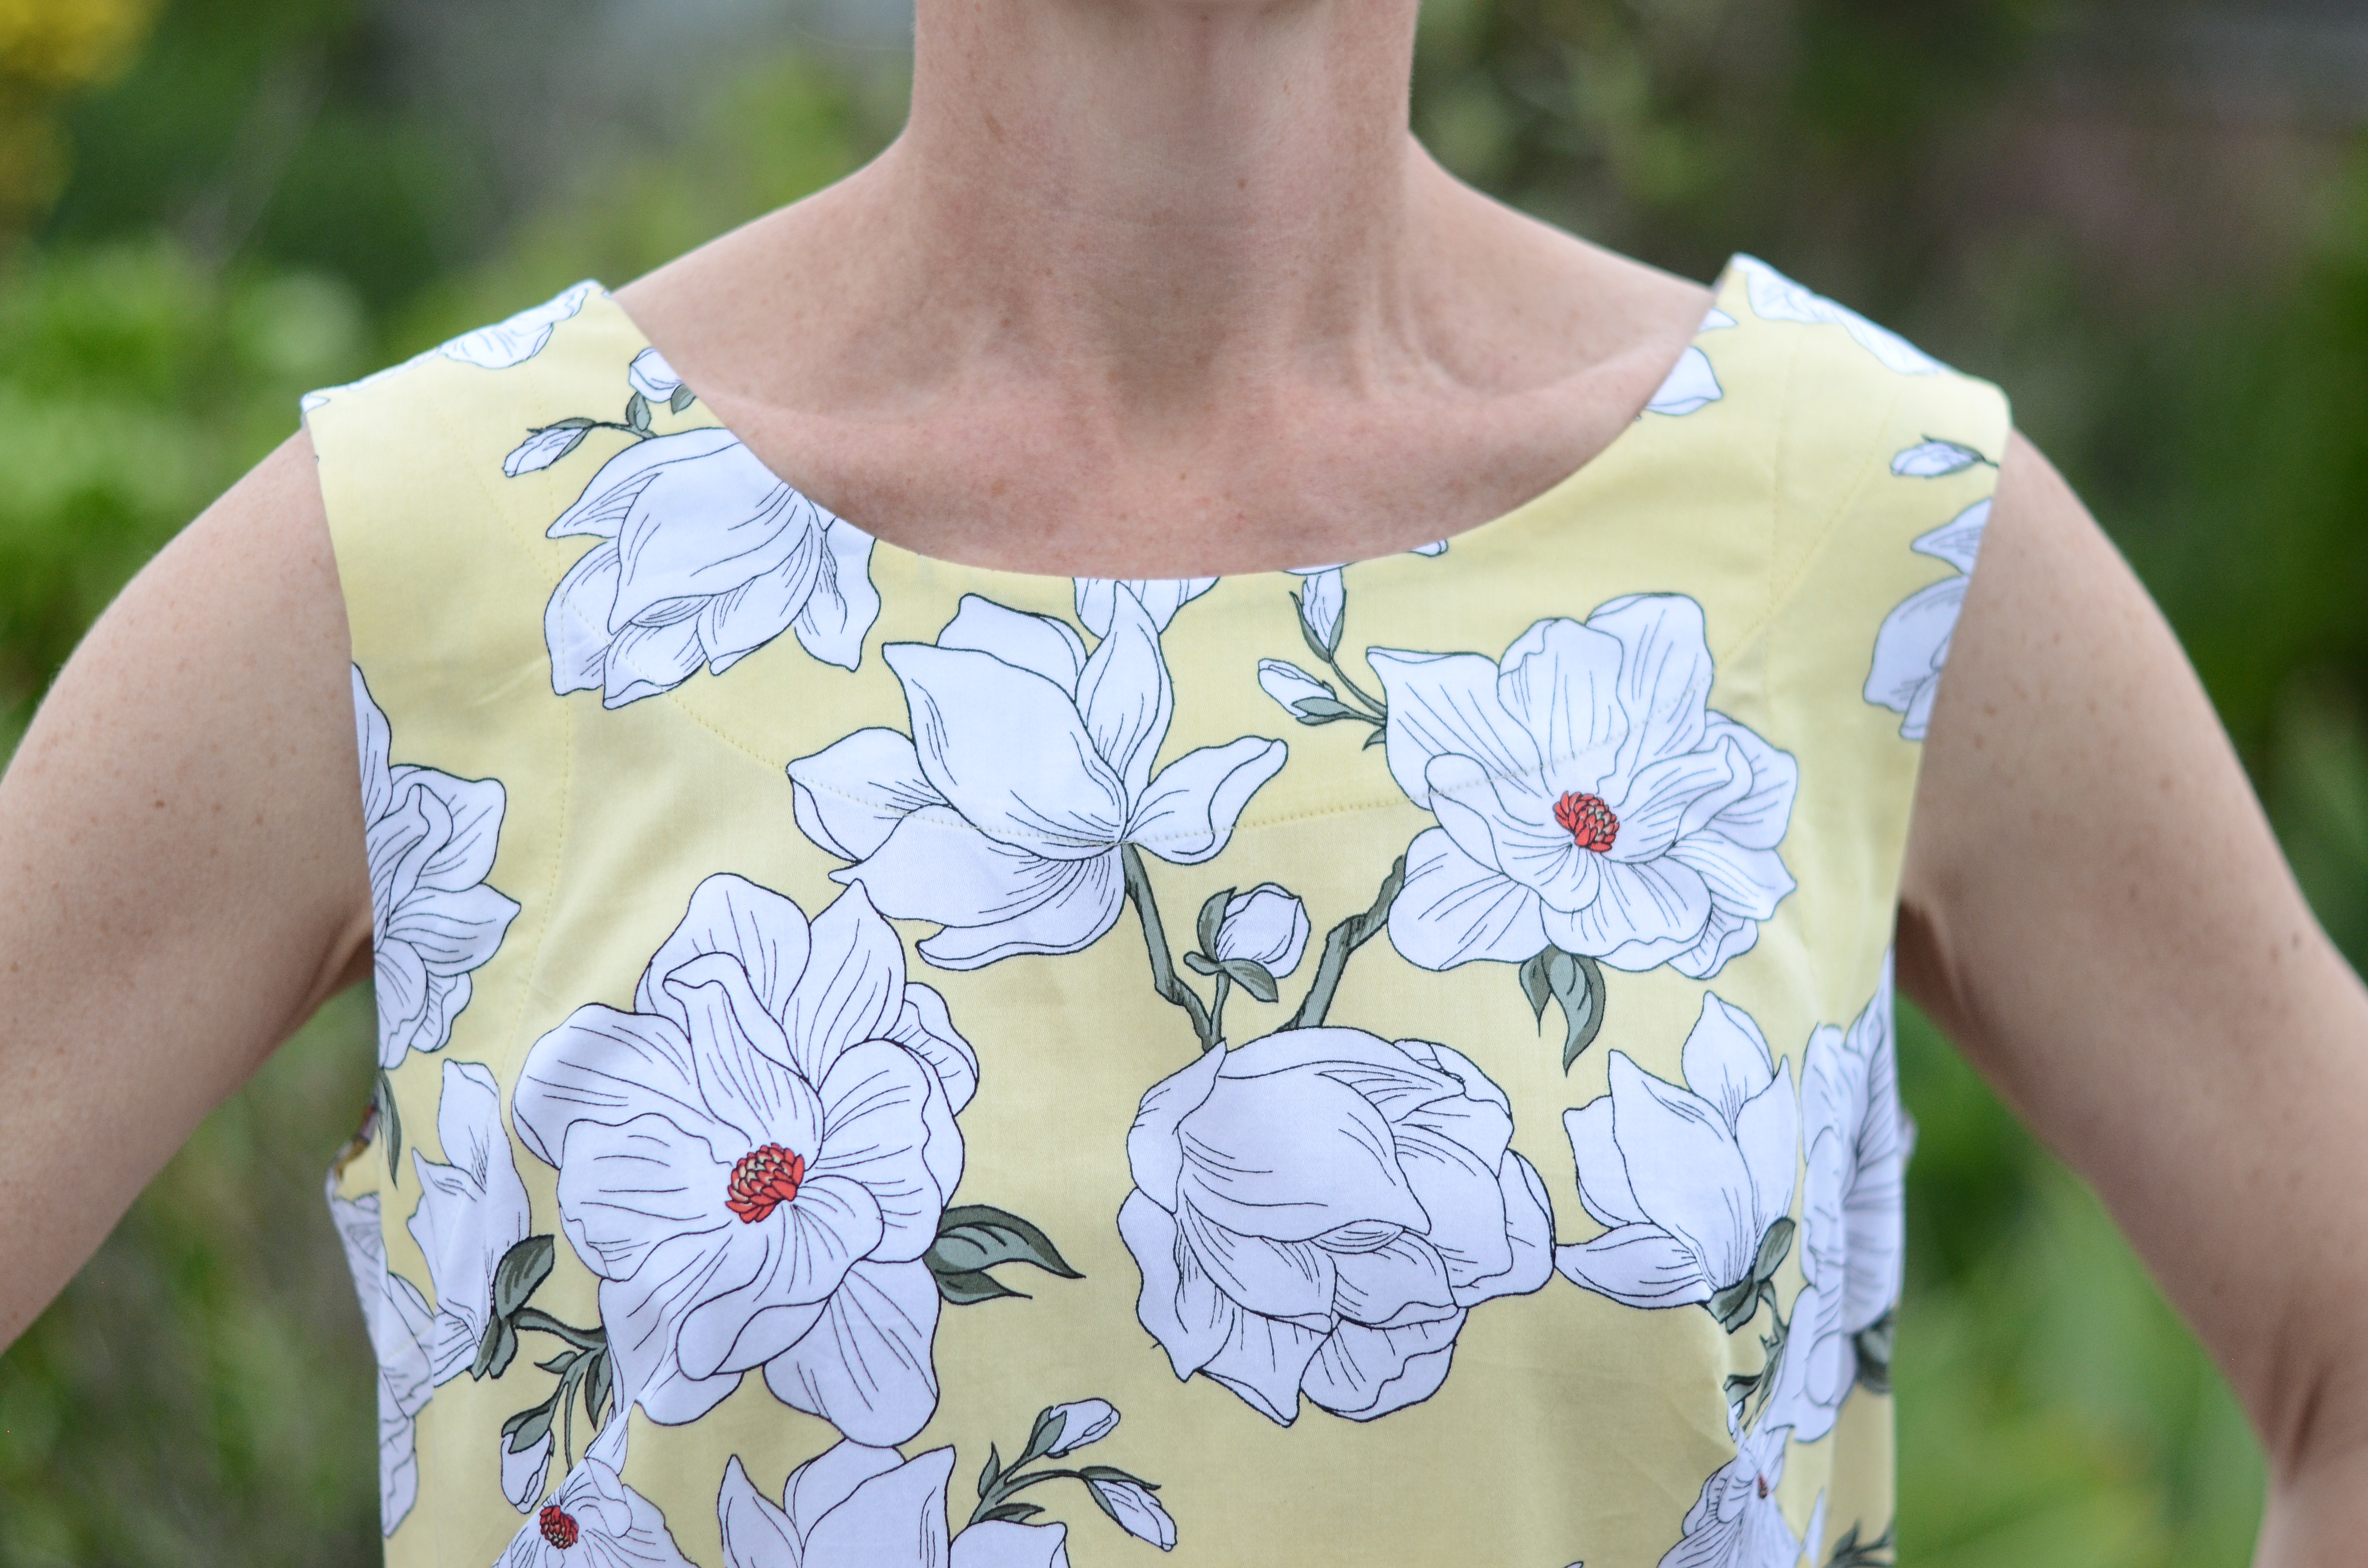
The butter yellow fabric background is just right for spring and summer, and the tangle of white floral and leaves is simply beautiful. The scale, too, is marvelous for a maxi length dress.


This dress is just made for an evening of lounging and tiki drinks by the pool, is it not?!

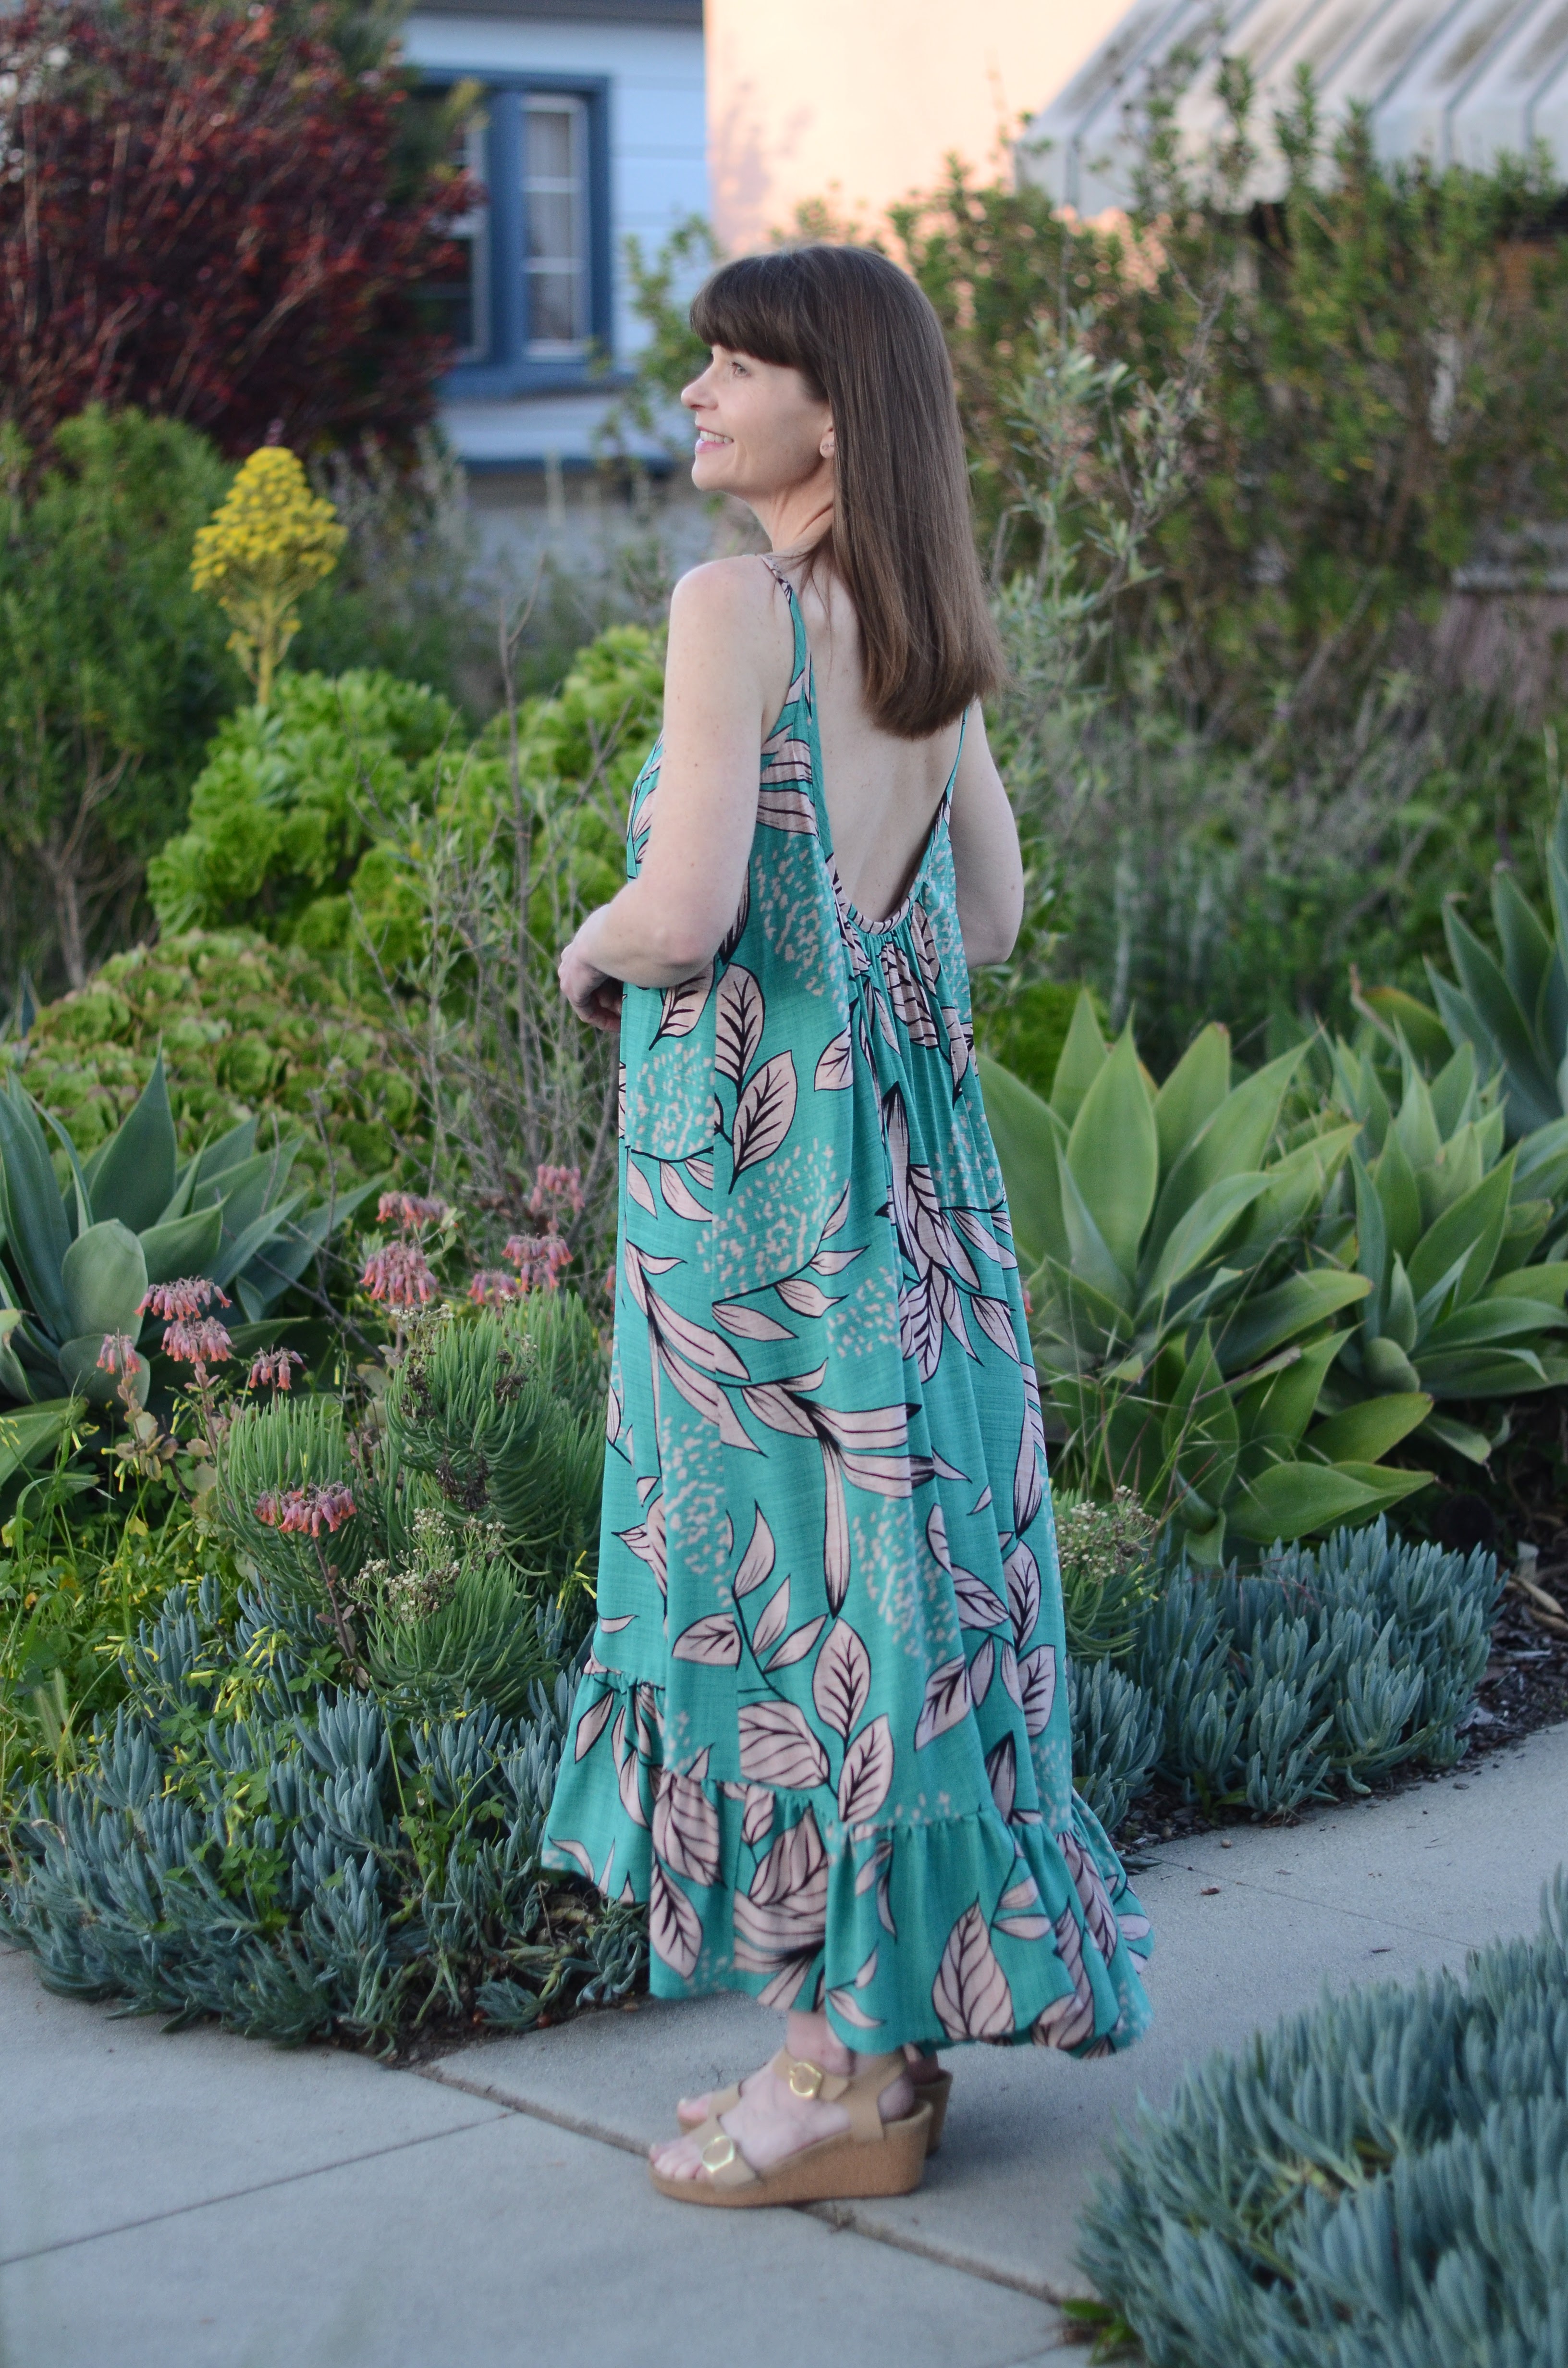
Second on the docket was this show-stopping rayon challis. Any shade in the teal family ranks as my favorite color, and this glorious design was made to be a full-length swishing dress. The black-outlined leaves are so distinct and vivid, and just a touch 60s and stylized. They are made to be noticed!


The challis is very lightweight and gathers easily. The airy weight is really wonderful for a voluminous style like this, despite this being nearly three yards of material, the dress moves and swishes with ease.

For this fabric, I chose the Hallon Dress from Paradise Patterns in View A. The drama is spectacular! This pattern released a couple of years ago and is a darling on social media, so there are loads of incredibly gorgeous examples to be seen. I have sewn this once before so I knew the size 4 was a great fit on me. However, I found myself rarely wearing my first version because the back dips quite deeply and doesn’t pair well with a bra, and I never feel quite comfortable enough without one.

However, there has since been a glorious and fairly simple solution! I followed the built-in bra tutorial by @whatbellamade. I actually used a perfect lining fabric in tan that I got years ago in a Fabric Mart craft bundle. This also serves to keep the back from offering a peep show.

Aside from the bra inclusion, I made no changes to the pattern itself other than to add a half inch strip of interfacing inside the arm bindings for strength because I had concerns about the challis stretching out from the weight of the dress. Worked very well!

This exposed back is absolutely stunning with all the gathers, and this amazing fabric is such a marvelous pairing with the style, I feel unbelievably regal and sophisticated in this sweeping gown.

You can find me joyfully wearing my new frocks and pretending to be a lady of leisure throughout the next few seasons.
Happy sewing, friends!
Unfortunately Fabric Mart Fabrics sell out quickly!
You can find similar fabrics by shopping the following categories SATEEN, COTTON, & CHALLIS.
Lovely makes!
ReplyDeleteThank you! ❤️
DeleteSuch beautiful dresses!
ReplyDeleteI love these dresses and they look fabulous on you. You have done a professional job on the sewing!
ReplyDeleteGreat idea on interfacing the binding, looks so nice!
ReplyDelete