
Hi Fashionistas!
So, here I am sharing with you a project that did not go as planned.. but I could hear Tim Gunn say the entire time "Make it work".. so I did!
I was so excited to be making a pair of pants since I have not made one in a while. I had high hopes for the perfect pant. I had the most amazing fabric and such a cute pattern picked out. But alas.. it just did not go as planned.
So long story short, after I sewed up the pants, I did my first fitting before applying a facing.. and I knew right then and there that the pants would not work for me. I did not even want to attempt the numerous alterations I knew it would take.. so my sewing adventure took a plot twist. I turned the pants into a skirt.


We all have projects that don't go as planned.
Sometimes I feel these projects are good because they challenge our creativity. I am happy with the skirt, the only thing I don't like is the center front seam. If I were to draft this skirt from scratch, I would have only two front darts.


So now let's talk about this project. I started out making a pair of pants. I was convinced these would be the cutest pair of pants and that the fit would be amazing? Why?!! Because the pattern envelope told me so. Maybe it was overconfidence or my optimism (that's what I chose to believe - I'm just always thinking positive haha ). I seriously expected to sew up these pants, do one alteration and end up with a fabulous fit. Boy, was I wrong. If you have had the same experience with this pattern, do share. The pants seemed extremely high waisted, and also very long. (I am 5 feet 4 inches) This was the longest crotch ever. I knew right away that this could end up being that projects that got very frustrating very quickly. I heard my inner critic say "You should have made a muslin". Anyways, the reality was, that I did not make a muslin. I was still so in love with the fabric, I wanted to salvage the project. The only thing that fit me on the pant was the waist, so I decided to turn the pants into a skirt. I had to take in the side seams, back seam, and front seam in order to get a better fit. I do love these pants so much. I am going to attempt them again, but next time I am going to make a sloper. The fit is amazing on Mimi G.
Here are the Simplicity Pants I started out with.

Have you sewn this pattern? Or have you had to hack something up like I did? I would love to hear about it!
This is my last summer pattern before I jump into sewing for fall! I am so looking forward to long sleeves! I hope that you are having a lovely summer. I am SO ready for back to school (aka back to sewing!)
XOXO
-Vatsla from Fashion Behind The Seams
So, here I am sharing with you a project that did not go as planned.. but I could hear Tim Gunn say the entire time "Make it work".. so I did!
I was so excited to be making a pair of pants since I have not made one in a while. I had high hopes for the perfect pant. I had the most amazing fabric and such a cute pattern picked out. But alas.. it just did not go as planned.
So long story short, after I sewed up the pants, I did my first fitting before applying a facing.. and I knew right then and there that the pants would not work for me. I did not even want to attempt the numerous alterations I knew it would take.. so my sewing adventure took a plot twist. I turned the pants into a skirt.


Here is the back view:


We all have projects that don't go as planned.
Sometimes I feel these projects are good because they challenge our creativity. I am happy with the skirt, the only thing I don't like is the center front seam. If I were to draft this skirt from scratch, I would have only two front darts.
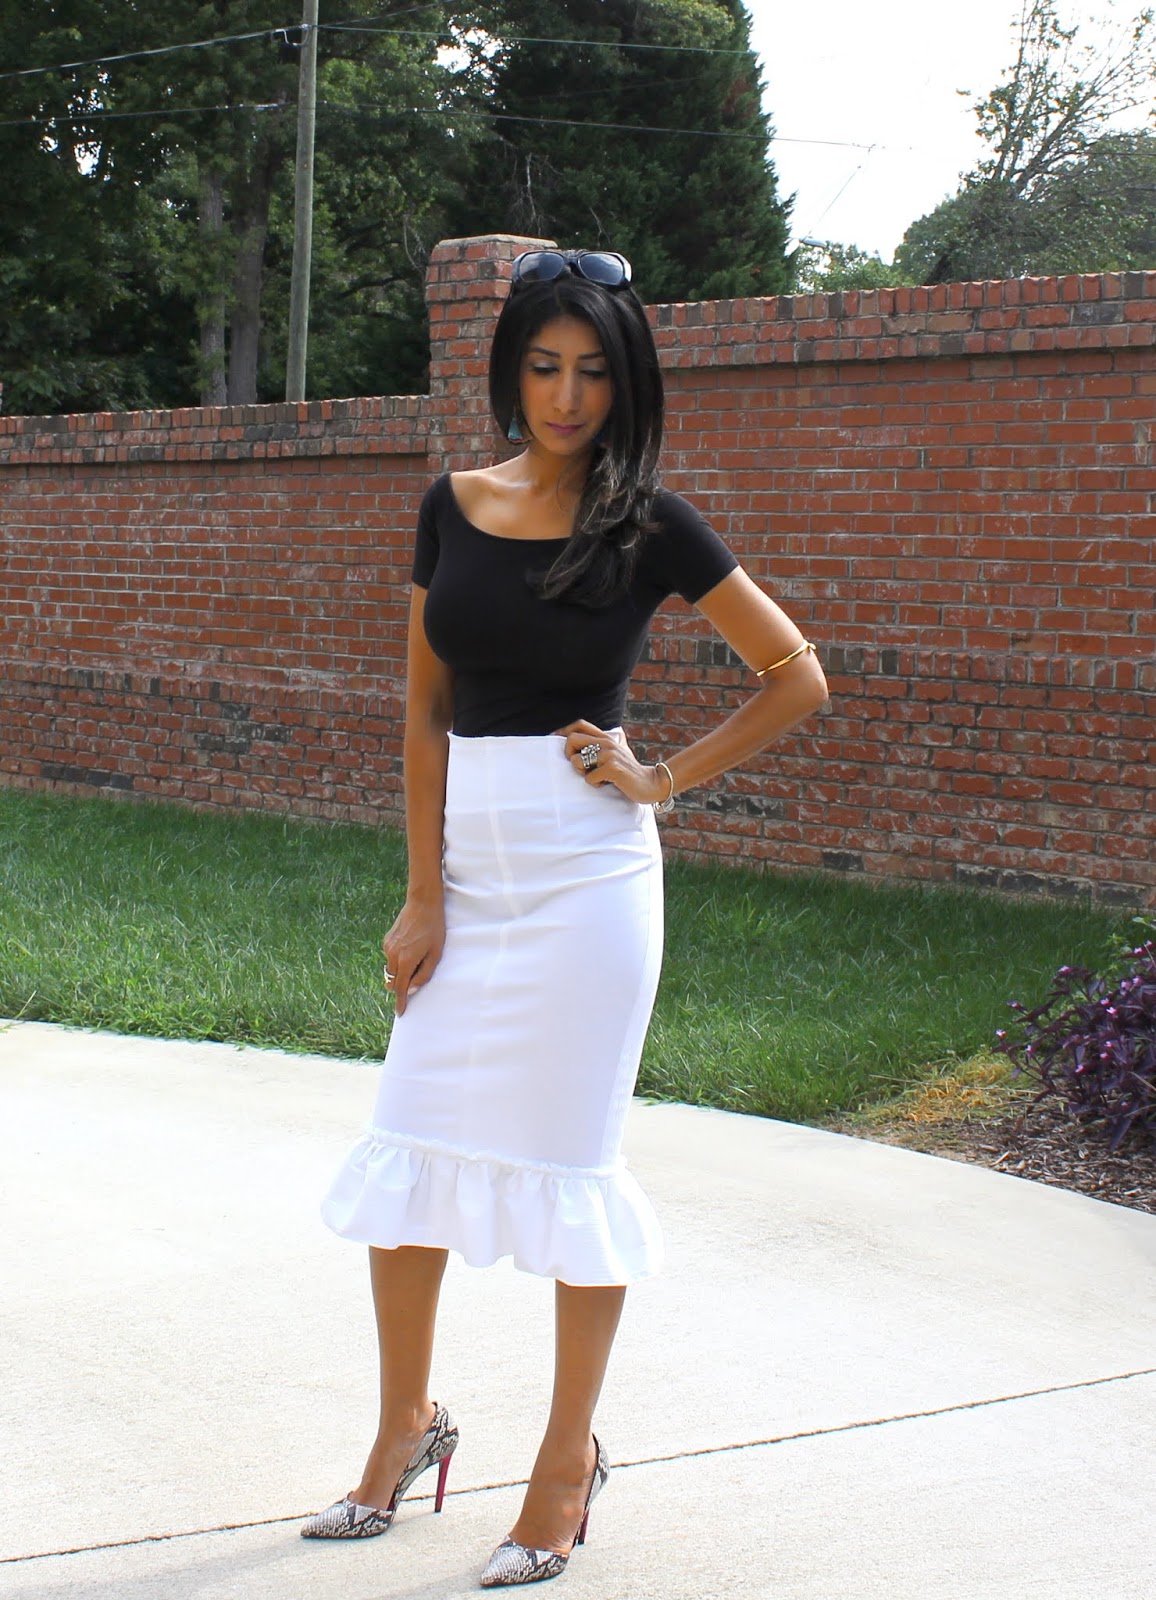
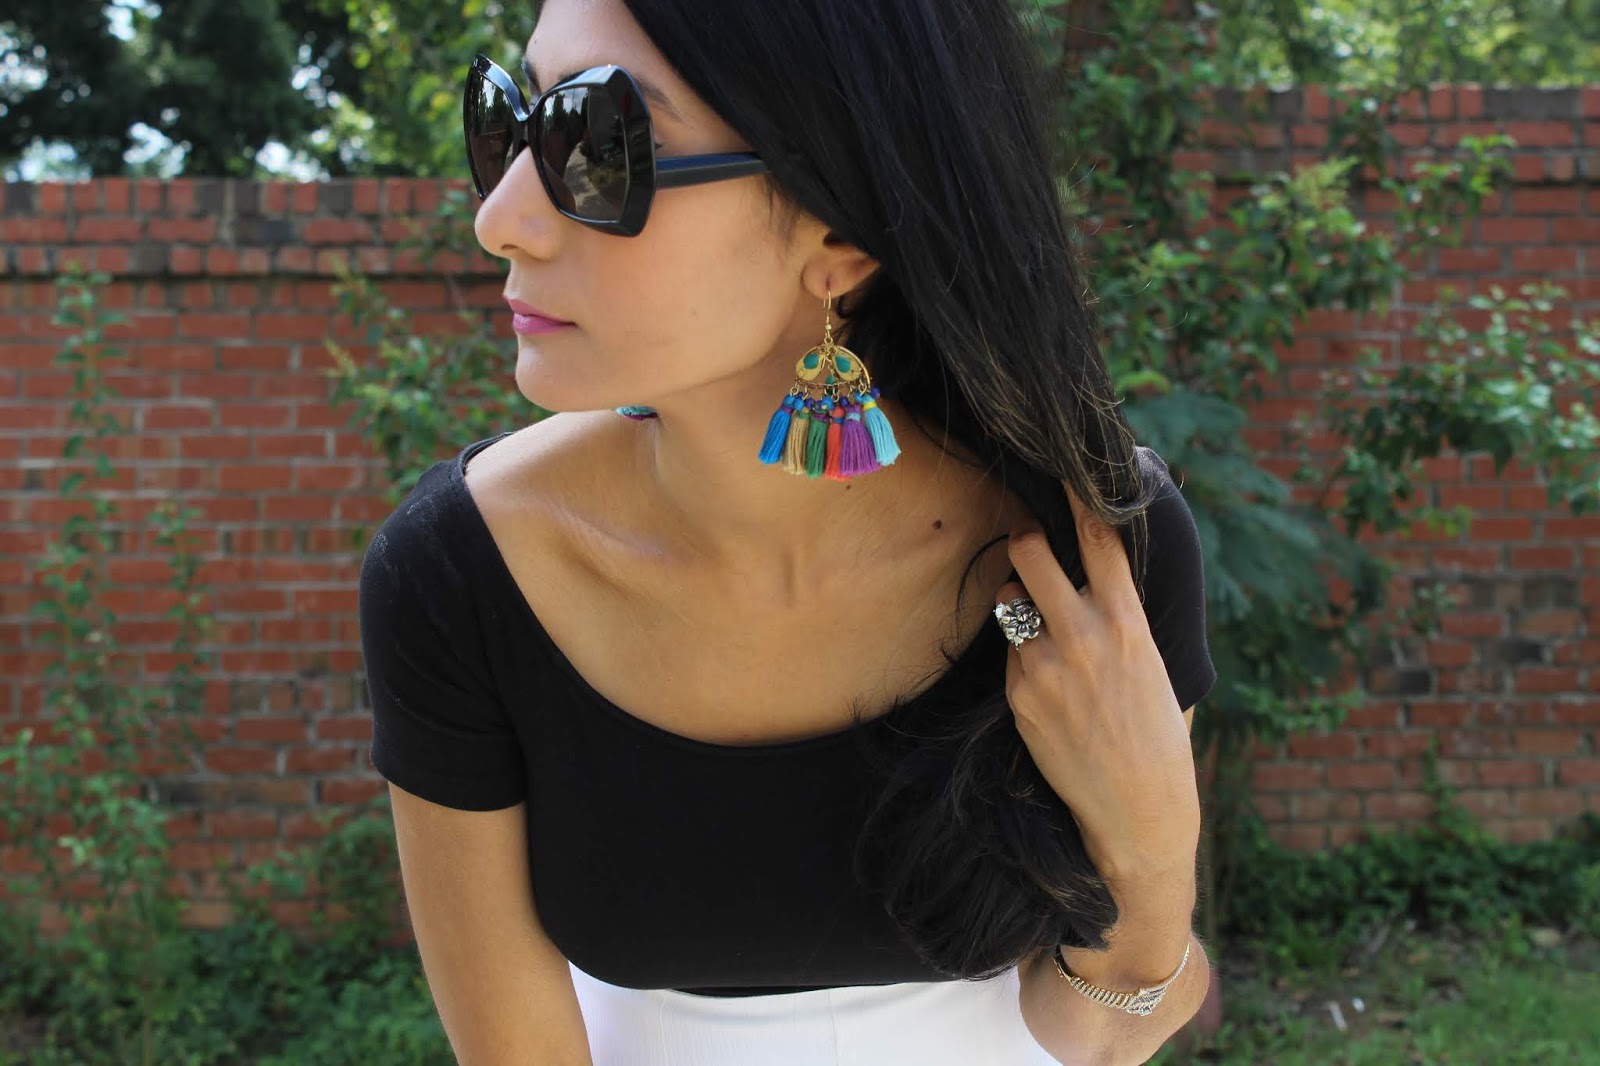
I styled this skirt with a black tee and snakeskin pumps and tassel earrings. My daughter picked these earrings out for me last weekend. Aren't they so happy?

For the ruffle, I took wide strips of fabric cut on the cross grain. I did some freehand pleating along the selvage edge of the fabric because it would not fray. I then topstitched it to the skirt. I also cut the ruffle along the cross grain instead of the straight grain.

So now let's talk about this project. I started out making a pair of pants. I was convinced these would be the cutest pair of pants and that the fit would be amazing? Why?!! Because the pattern envelope told me so. Maybe it was overconfidence or my optimism (that's what I chose to believe - I'm just always thinking positive haha ). I seriously expected to sew up these pants, do one alteration and end up with a fabulous fit. Boy, was I wrong. If you have had the same experience with this pattern, do share. The pants seemed extremely high waisted, and also very long. (I am 5 feet 4 inches) This was the longest crotch ever. I knew right away that this could end up being that projects that got very frustrating very quickly. I heard my inner critic say "You should have made a muslin". Anyways, the reality was, that I did not make a muslin. I was still so in love with the fabric, I wanted to salvage the project. The only thing that fit me on the pant was the waist, so I decided to turn the pants into a skirt. I had to take in the side seams, back seam, and front seam in order to get a better fit. I do love these pants so much. I am going to attempt them again, but next time I am going to make a sloper. The fit is amazing on Mimi G.
Here are the Simplicity Pants I started out with.
Have you sewn this pattern? Or have you had to hack something up like I did? I would love to hear about it!
This is my last summer pattern before I jump into sewing for fall! I am so looking forward to long sleeves! I hope that you are having a lovely summer. I am SO ready for back to school (aka back to sewing!)
XOXO
-Vatsla from Fashion Behind The Seams
Beautiful skirt! I have this pattern but I have not made any pants yet. I need to get have the fear of messing up and just do it!
ReplyDeleteGreat SAVE!! I would have probably just dumped it and call it a day, not knowing that you can create a pants. Thanks for sharing.
ReplyDeleteGreat save! I have a few of Mimi's pants patterns but haven't tried them yet. Hers always look amazing! I too will be creating a muslin for any of her pants patterns--or any pants pattern! Love your skirt! I always enjoy your posts!
ReplyDeleteSue