
Happy Saturday All! How have you been coping with this sudden change? 2020 is the year of adjustments and most of us will probably never forget due to the Covid-19. I am in the acceptance phase and the first 2 weeks were challenging for me to cope at first. I honestly adjusted around week 3 and have learned to cope and made the best out of it.

To get my daughter Arielle out of the house after not leaving for a month, I decided that I would make a few pieces that were on my to-make list and convince her to dress up so that I can shoot. She has been begging for a few palazzo pants since January and since we both have been home since March and I had no excuse, I just did it.

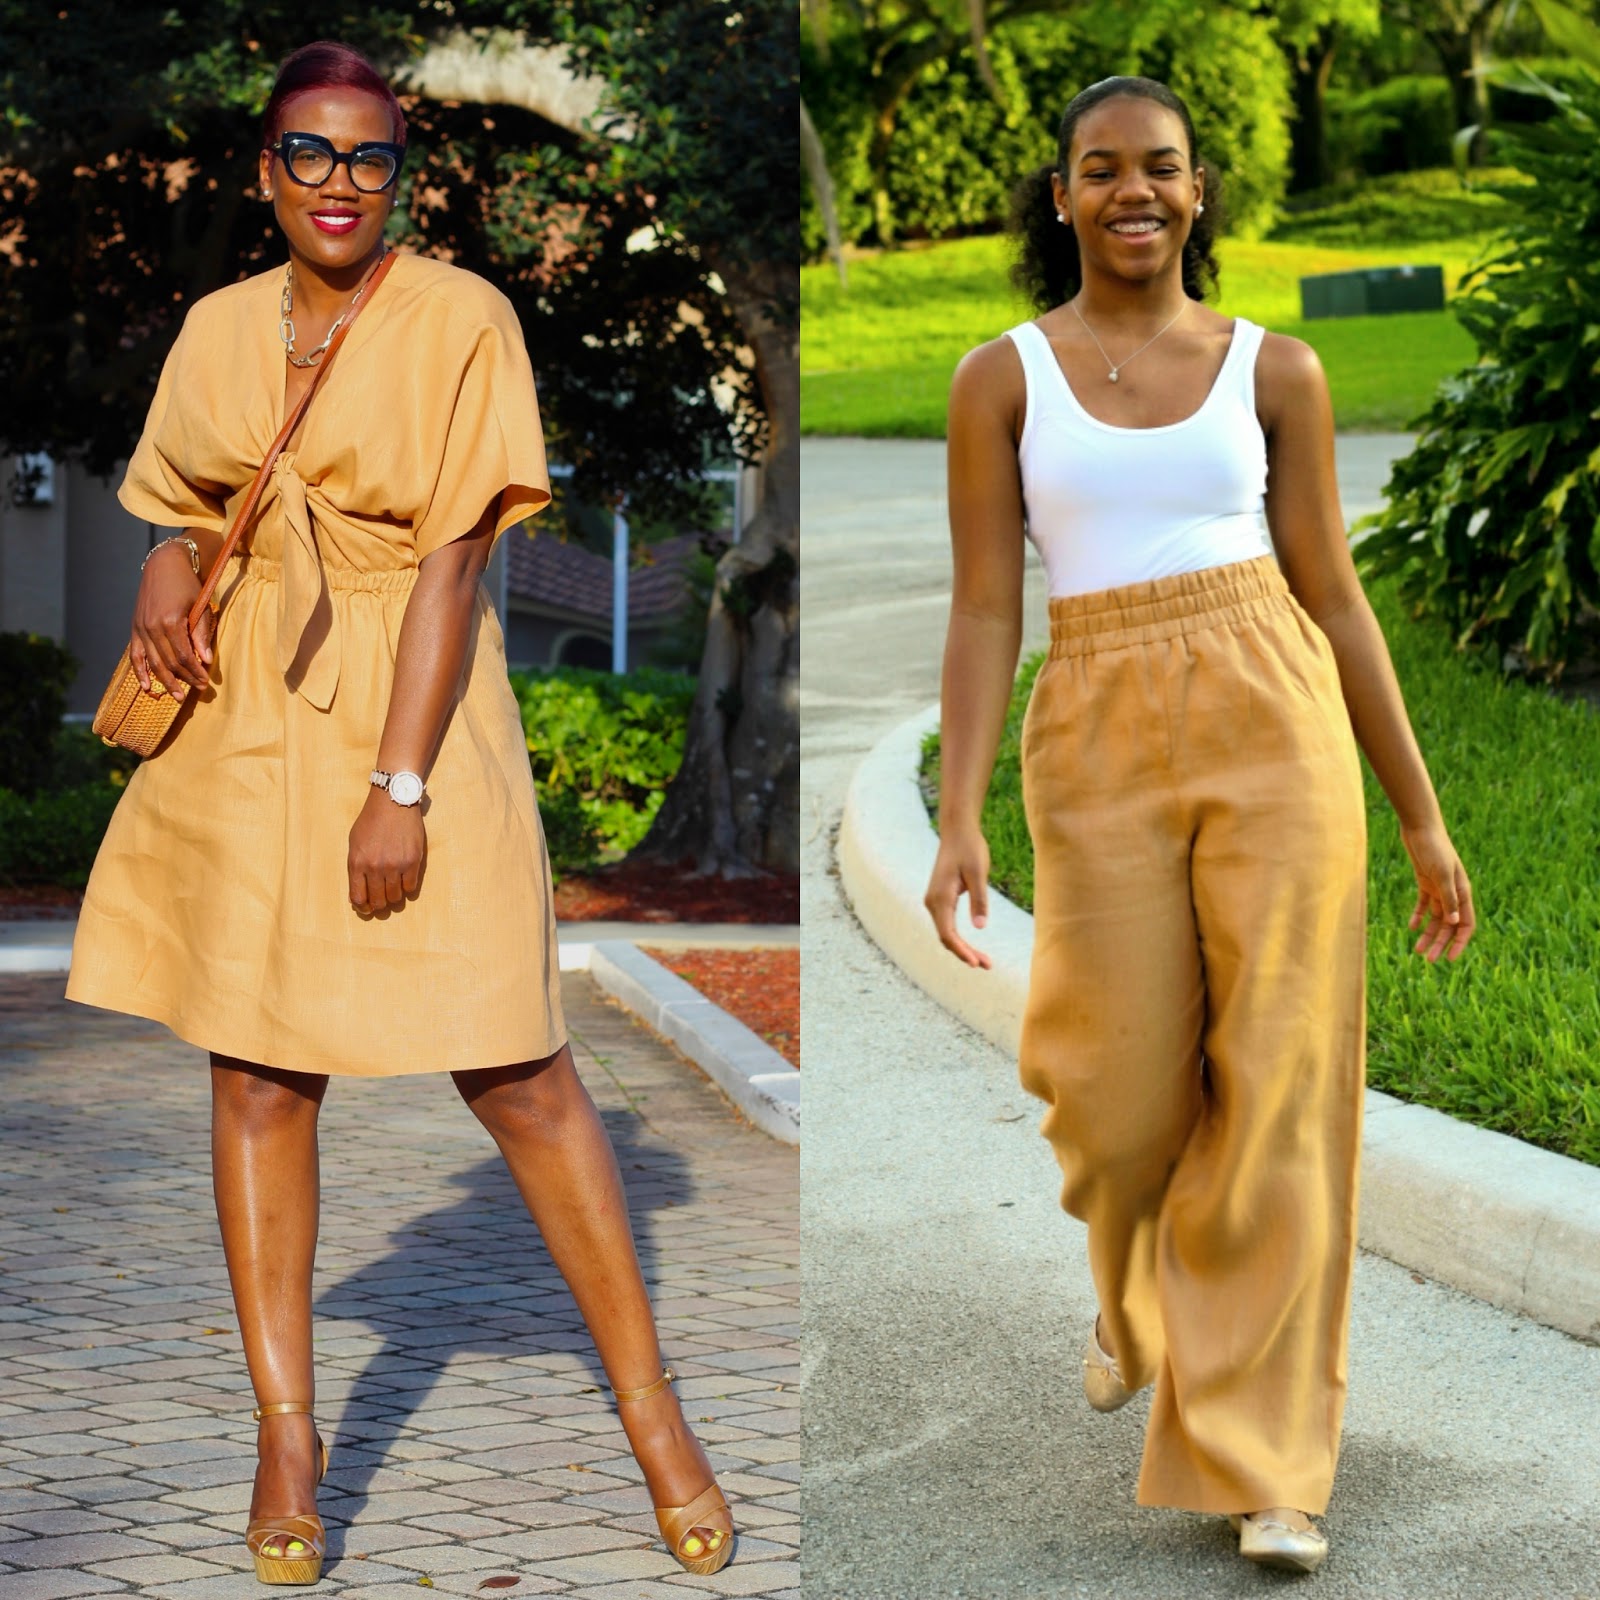
Arielle fell in love with the linen I used for my last Fabric Mart make in March and I had promised her that I would use the remaining linen in bright tan here to make her something.

It came out perfect and the size extra small (XS) with a few crotch adjustments and an extra 3 inches to the length was all she needed. I also modified the waistband and widened it to create a 3-row casing and opted not to make the belt for both pants.

My original plan with this apricot chambray linen (here) was to make a jumpsuit using Mimi G Simplicity pattern 9097. I was a bit hesitant because chambray linen is a bit lightweight compared to the regular 100% linen and has no stretch. I decided that a cotton sateen or 100% linen would be a better fabric choice so instead, I decided to make palazzo pants using the same pattern Simplicity 8605. I actually love pants and knew it would be perfect to rock when things return to normal.

For my size, I cut the medium (M) with the same crotch adjustments as my daughter except I added 4 inches to the length. I absolutely forgot to make my usual adjustments to the back pattern piece and will make it the next time around.

This pattern is definitely my favorite easy to sew wide-leg palazzo pants. I have shared and saved a few videos in my Instagram highlights on how to achieve a flat waistband. For a 3 case elastic waistband, I typically use 3/4 inch elastic but if I run out, I may add 1 casing using a 1-inch elastic. For Arielle, her waistband had 3 rows of 3/4 inch while mine has 2 rows of 3/4 inch and the middle with 1 inch.
 1. Measure carefully using the elastic before you stitch the casing to determine what size elastic will work for your waistband. I knew I only had enough for 2 rows of 3/4 inch and 1 row of 1 inch so I modified my waistband to match. Leave a minimum of 1/8 to 1/4 inch of each for the elastic casing.
 2. Use the elastic as a guide if necessary to create the first casing seen here. I typically always use the elastic to guide the bottom casing and then my seam allowance guide on the machine for the top casing.
 I absolutely love this method and change all patterns to use a wider waistband especially for elastic casing pants. I can rock it with a shirt tucked in or out and it lays just right. I have made this pattern several times and definitely recommend it using challis, linen, or chambray linen.

 Thank you so much for reading! I hope you are coping well and you and your family are safe during this pandemic. Don't forget to stop by my Instagram page and my blog to see my latest make.
One Love,
Marica - Overdriveafter30


 |
This waistband is 3 inches wide and uses 3 rows of 3/4 inch elastic and 1-inch casing Here are some quick visual steps to follow: |


One Love,
Marica - Overdriveafter30
Beautiful finished pieces Marica! I envy your skills!
ReplyDeleteThe fabric both drape and color look wonderful. Thanks for the info re- the elastic in the waist line. I will be back for that info.
ReplyDeleteGreat tips on sewing the three band elastic casing, Marcia !
ReplyDeleteLove the pants and the waistband treatment wonderful. I prefer pants to skirts or dresses these days. The elastic is interesting. What kind, what source?
ReplyDeleteLooks so nice. You must be rather tall because never have I ever added length to a pattern let alone an entire 4 inches. Either way, it’s nice to have pants that fit! I’m about to make this one, thanks for the really great inspiration.
ReplyDelete