
Made by a Fabricista: Handkerchief Hems


I've always been fond of unusual hemlines- high/low, asymmetric, and handkerchief.  This month, I was particularly drawn to handkerchief hems, and tried out new to me patterns in a top, skirt and shirtdress.  A handkerchief hem has four corners- as if you had cut a hole in the middle of a handkerchief and put it over your head.   It's been around since the ancient Greeks, and had a heyday in the 1920's. 
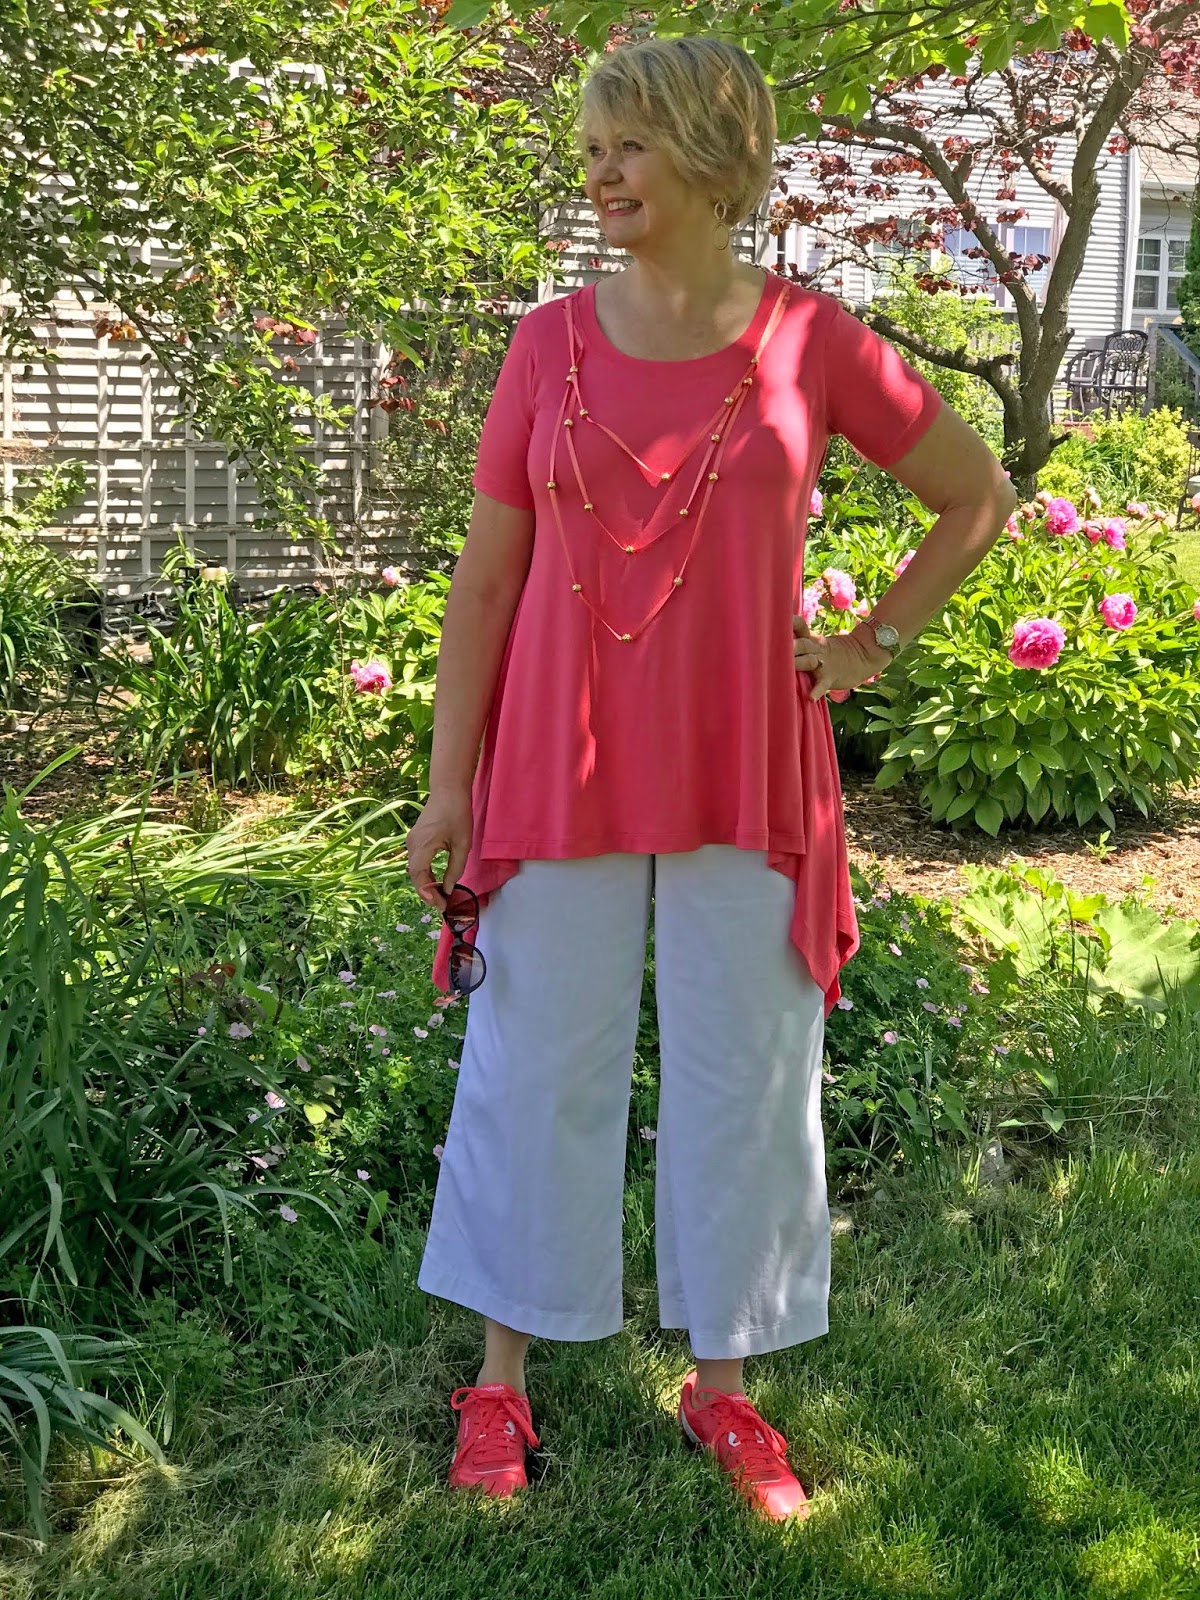

This handkerchief hem knit top is from out of print Vogue 8651, and I used a coral bamboo knit to make it with along with Milly notions of coral ribbon and gold beads.


Fabric Mart is out of this knit, but I think any of the rayon/lycra knits would have a similar drape.  I got the idea of making an attached necklace from another reviewer on Patternreview.com.  I only purchased this ribbon in coral, and now I wish I had gotten several colors, as I've found many uses for it, as you'll see!


How I created this look was by taking three lengths of ribbon, and then spacing the gold beads on the ribbon until I had a pleasing arrangement.  To hold them in place, I put a dot of hot glue on the inside of each bead.


To make sure that I didn't get any hot glue on the shirt, I stuck a heavy canvas bag in between, as I left the top on the dress form.  I then sewed the ribbon into the shoulder seam, and I reinforced the shoulder seam with a piece of twill tape.  The beads are actually pretty heavy.  I imagine that I will have to hand wash this one.  But I don't mind- I like how it turned out!


My next project was a skirt from out of print McCalls 6126, View A, using this floral peachskin.


The top that I'm wearing was a knit tank dress, that I had a permanent oil stain on the front of the skirt.  So, I chopped off the stained part and made a handkerchief hem tank!  For this skirt, I accentuated the handkerchief hem by adding the coral ribbon around the perimeter.  I used Steam-a-Seam strips to do this, rather than sewing the ribbon in place. You just put the strips where you want the ribbon to go, press the ribbon on top, and then iron it in place.  It's very sturdy.


To be honest, when I first got this fabric, I had been expecting to make a dress out of it, but it felt like a nylon windbreaker fabric, and I just couldn't envision it as a dress.  It is fine for this skirt, as the style isn't too close fitting.  So when my sewing plans changed directions, I had enough left over to actually make a windbreaker from it too!


The wide legged crop pants are from Simplicity 8556, that I had made a couple of years ago out of a white twill. I used the ribbon again as a drawstring for the hood, and the beads at each end.  I also put the ribbon on the hood seamlines.
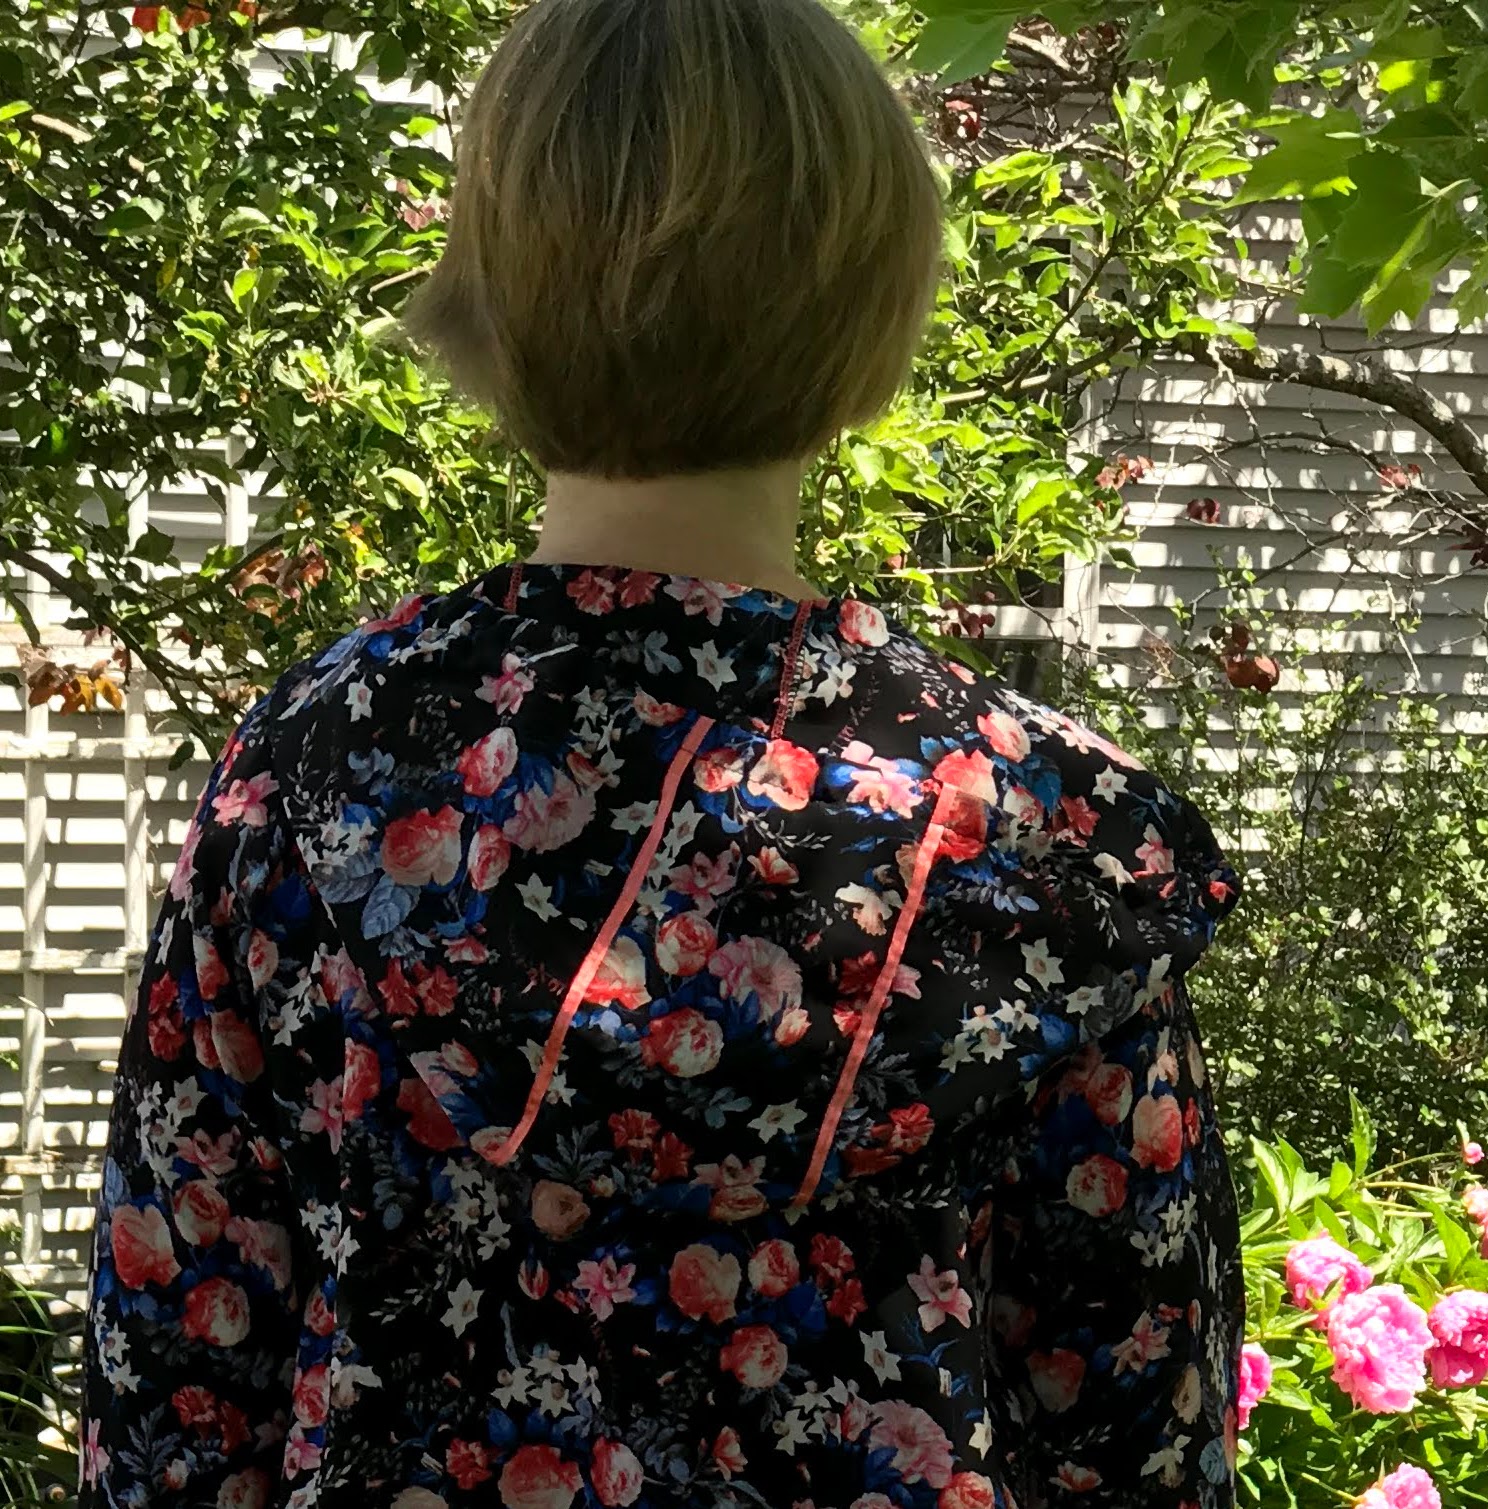


And here is the jacket with some more athletic wear.  I wasn't sure if I'd like the floral in a sporty style, but I really do!  I used Butterick 6533 for the jacket, with modifications of putting in zippered pockets, ribbed knit cuffs, and elastic waistband.


My last handkerchief hem item is a shirt dress, using a stretch poplin with a double border.  I love getting a piece of fabric like this where you really have to use your imagination to figure out how to use the border, and in this case, stripes too!   Fabric Mart is sold out of it, but this is what it looked like before I cut into it.  It had a bit of a stretch to it in one way, so I used that stretch to go horizontally around the bodice.  But if I wanted the border to show on the hem, I had to place the skirt so that the stripes went horizontally.  I also place the front band, and the sleeve hems on the solid part of the fabric.  I used these buttons.


Here is a photo of the dress in-process.  Sometimes I get people who don't believe that I really made something, so I take a picture of it in-process on the dress form for proof!  For the pattern, I used McCalls 7351.

I didn't have a belt to go with it, so I used a red and white striped webbing and two of the Milly gold rings.  Fabric Mart is out of the specific rings that I used, but they have others in the  Buttons and Findings category.  One of the more frustrating aspects of being a home seamstress is not being able to find good quality notions.   I can often find beautiful fabric, and the perfect pattern, but am left without the little extras that really make a garment pop.  The Milly notions that have been available have been so exciting for that very reason.  I've bought quite a few of them because you just never know if you will see something like that available again.  Check them out if you haven't already.


I'll leave you with this peaceful image of a bleeding heart flower in my garden.  I have to say that writing a blog post about sewing during this time of intense social upheaval feels very strange.  The photos of myself smiling for this post belie the fact that my heart is breaking for the black community and the injustice that they have had to endure.  I stand with the protesters and support change in our justice system and equality for black lives in our society. 

With compassion,

Ann


Comments

  1. Another fabulous collection Ann! It's hard to pick a favorite, but the poplin was just made for the handkerchief hem, and the added necklace is so inventive!

    ReplyDelete
  2. All of your makes are beautiful and well done. The standout for me is the floral jacket. It is so pretty and in transitional seasons can be worn everyday.

    ReplyDelete

Post a Comment

Thanks for leaving a comment! All comments are reviewed before posting to help us eliminate spam. Your comment will be posted within 24 hours.

Recent Posts You Might Like

Made by a Fabricista: What to Make with Silk Taffeta

You may have noticed that Fabric Mart has a *HUGE* selection of silk taffeta right now.  A lot of it is either large plaid or large stripes.   I was curious about it, and not really sure what I could make with it, but I just knew it would be gorgeous fabric and had to play around with it.  Turns out, it's actually great for quite a range of projects!  The dress above is my third project. Let me show you the first two. My first was to make some queen size pillow shams.  They are the plaid ones in the back of the photo.  I also made the two printed ones in the center from another Fabric Mart home dec fabric special!  I wanted to make the covers removable with a zipper, and include a braided trim.  As luck would have it, I found a whole card of braided trim at an estate sale that worked with my taffeta for just $2! To start, I used a zipper foot to stitch down the braided trim all around one side of the pillow. Then I serged ...

Made By A Fabricista: Mechanic Chic!

When it comes to buying ready-to-wear garments as a sewist, I only ever spend in three categories: heavy duty winter jackets (life in Maine!), bras… and jumpsuits! I love a good jumpsuit, but unfortunately the ones I used to buy have been impacted by the tariff situation and I can’t get them affordably anymore. This can only mean one thing, folks: it’s time to roll up my sleeves and sew my very first jumpsuit!  When I started planning for this project, I knew I wanted to use a heavyweight linen for cozy comfort in the fall and breathability in the summer. I wanted something that would wear beautifully and soften with age, and something with neutral tones that could go with everything. Naturally, when I came across this 100% linen canvas on Fabric Mart, my heart skipped a beat! I love the ikat-inspired geometry and something about it reminds me of leopard spots too. Bold yet wearable! I am pretty sure this fabric was intended for home decor which I don’t mind at all and in fact of...

Made By A Fabricista: Tried and true summer basics that fit.

Happy Summer Friends! As I am writing this, we are headed into a nasty heat wave…so the timing could not be better to share two of my favorite summer patterns and fabrics.  But first, let me tell you about the fail I had heading into this month’s blog… As Fabricista’s, we get to pick out fabric for each of our blog submissions. I fell in love with this gorgeous lilac jacquard knit that I thought would be perfect for a pop of color in my summer wardrobe. But I made a fatal error - I grabbed a pattern I haven’t made for years, quickly went up one size to account for a few new pounds, and sewed them up. And they don’t fit, will NEVER fit, and will never be worn. Sigh…when will I learn?? Here’s a flat lay pic so we can at least look at the lovely fabric: The lesson I learned (relearned!) is that just like with off the rack clothes, the things that worked well for me years ago don’t work well for me today.  And that’s the case with both tops and bottoms. So I went back to two patt...

A Yard And Change

Do you have a fabric that you love and has been hanging around but is too small to use? Maybe you found a wonderful fabric with a super cute print but there's only a yard left.  I've got a few projects I worked on all with roughly a yard of fabric. And I have a few tips for making that yard and change go further! Cutting Layout: You can get a lot more mileage out of a yard of fabric if you can get creative with how you lay out your fabric. Cutting things single layer will give you the most control. My favorite thing to do is unfold the fabric and fold the selvages in to meet in the middle. That gives me two folded edges to work with. I had to overlap these to get enough width for the tank top. Just make sure that your pattern pieces don't also overlap!  This one was especially fun for me because I really loved the print on this swimwear knit but am not yet up to sewing swimwear. But a nice flowy hiking tank is perfect for this! In the future I'd love to experiment with...