


I've been eyeing the Michael Kors Wool Blend Coatings for some time now. Fabric Mart had the most gorgeous array of coating colors that I have ever seen! During COVID stay at home time, I've been letting my gray grow out, and I thought that even though those gorgeous sherbet shades like apricot and apple green would be beautiful, the heathered gray shade would be the most flattering to my gray hair and the most versatile. Apparently, others thought the same, as the gray is sold out now, but there are still many colors available here: Coating Category

When I received my fabric, I was just astonished at how soft it was and what a beautiful drape it had. I searched and searched for the perfect pattern- changing my mind at least a dozen times before I settled on Simplicity 3672. This is one of the few patterns that only was available in sizes 18-24, and not in smaller sizes. It is about 10 years old, but there are definitely copies available on the internet.

I made a cross between View B and C- cutting about 5 inches longer than View B, using the belt for closure instead of buttons. This is a pretty simple coat design, and at the same time very classic. It is lined, and for the lining, I was lucky that I had received a cut of stretch satin in silver gray when I had ordered the Mystery Woven of the day. It turned out to be a great color for lining this coat.

For a brief time earlier this fall, there were also some professional quality shoulder pads and sleeve heads from Milly on the Fabric Mart site. Both of those things are rare to find available for home sewists, so I had ordered a few, and had them on hand when I started this coat. Using shoulder pads and sleeve heads makes such a huge difference in how the coat hangs on you. Here is what they look like in progress. The sleeve head is the white/tan piece that is sewn in on the sleeve side of the armscye. The black piece is the shoulder pad, which is sewn in on the shoulder side of the armscye.
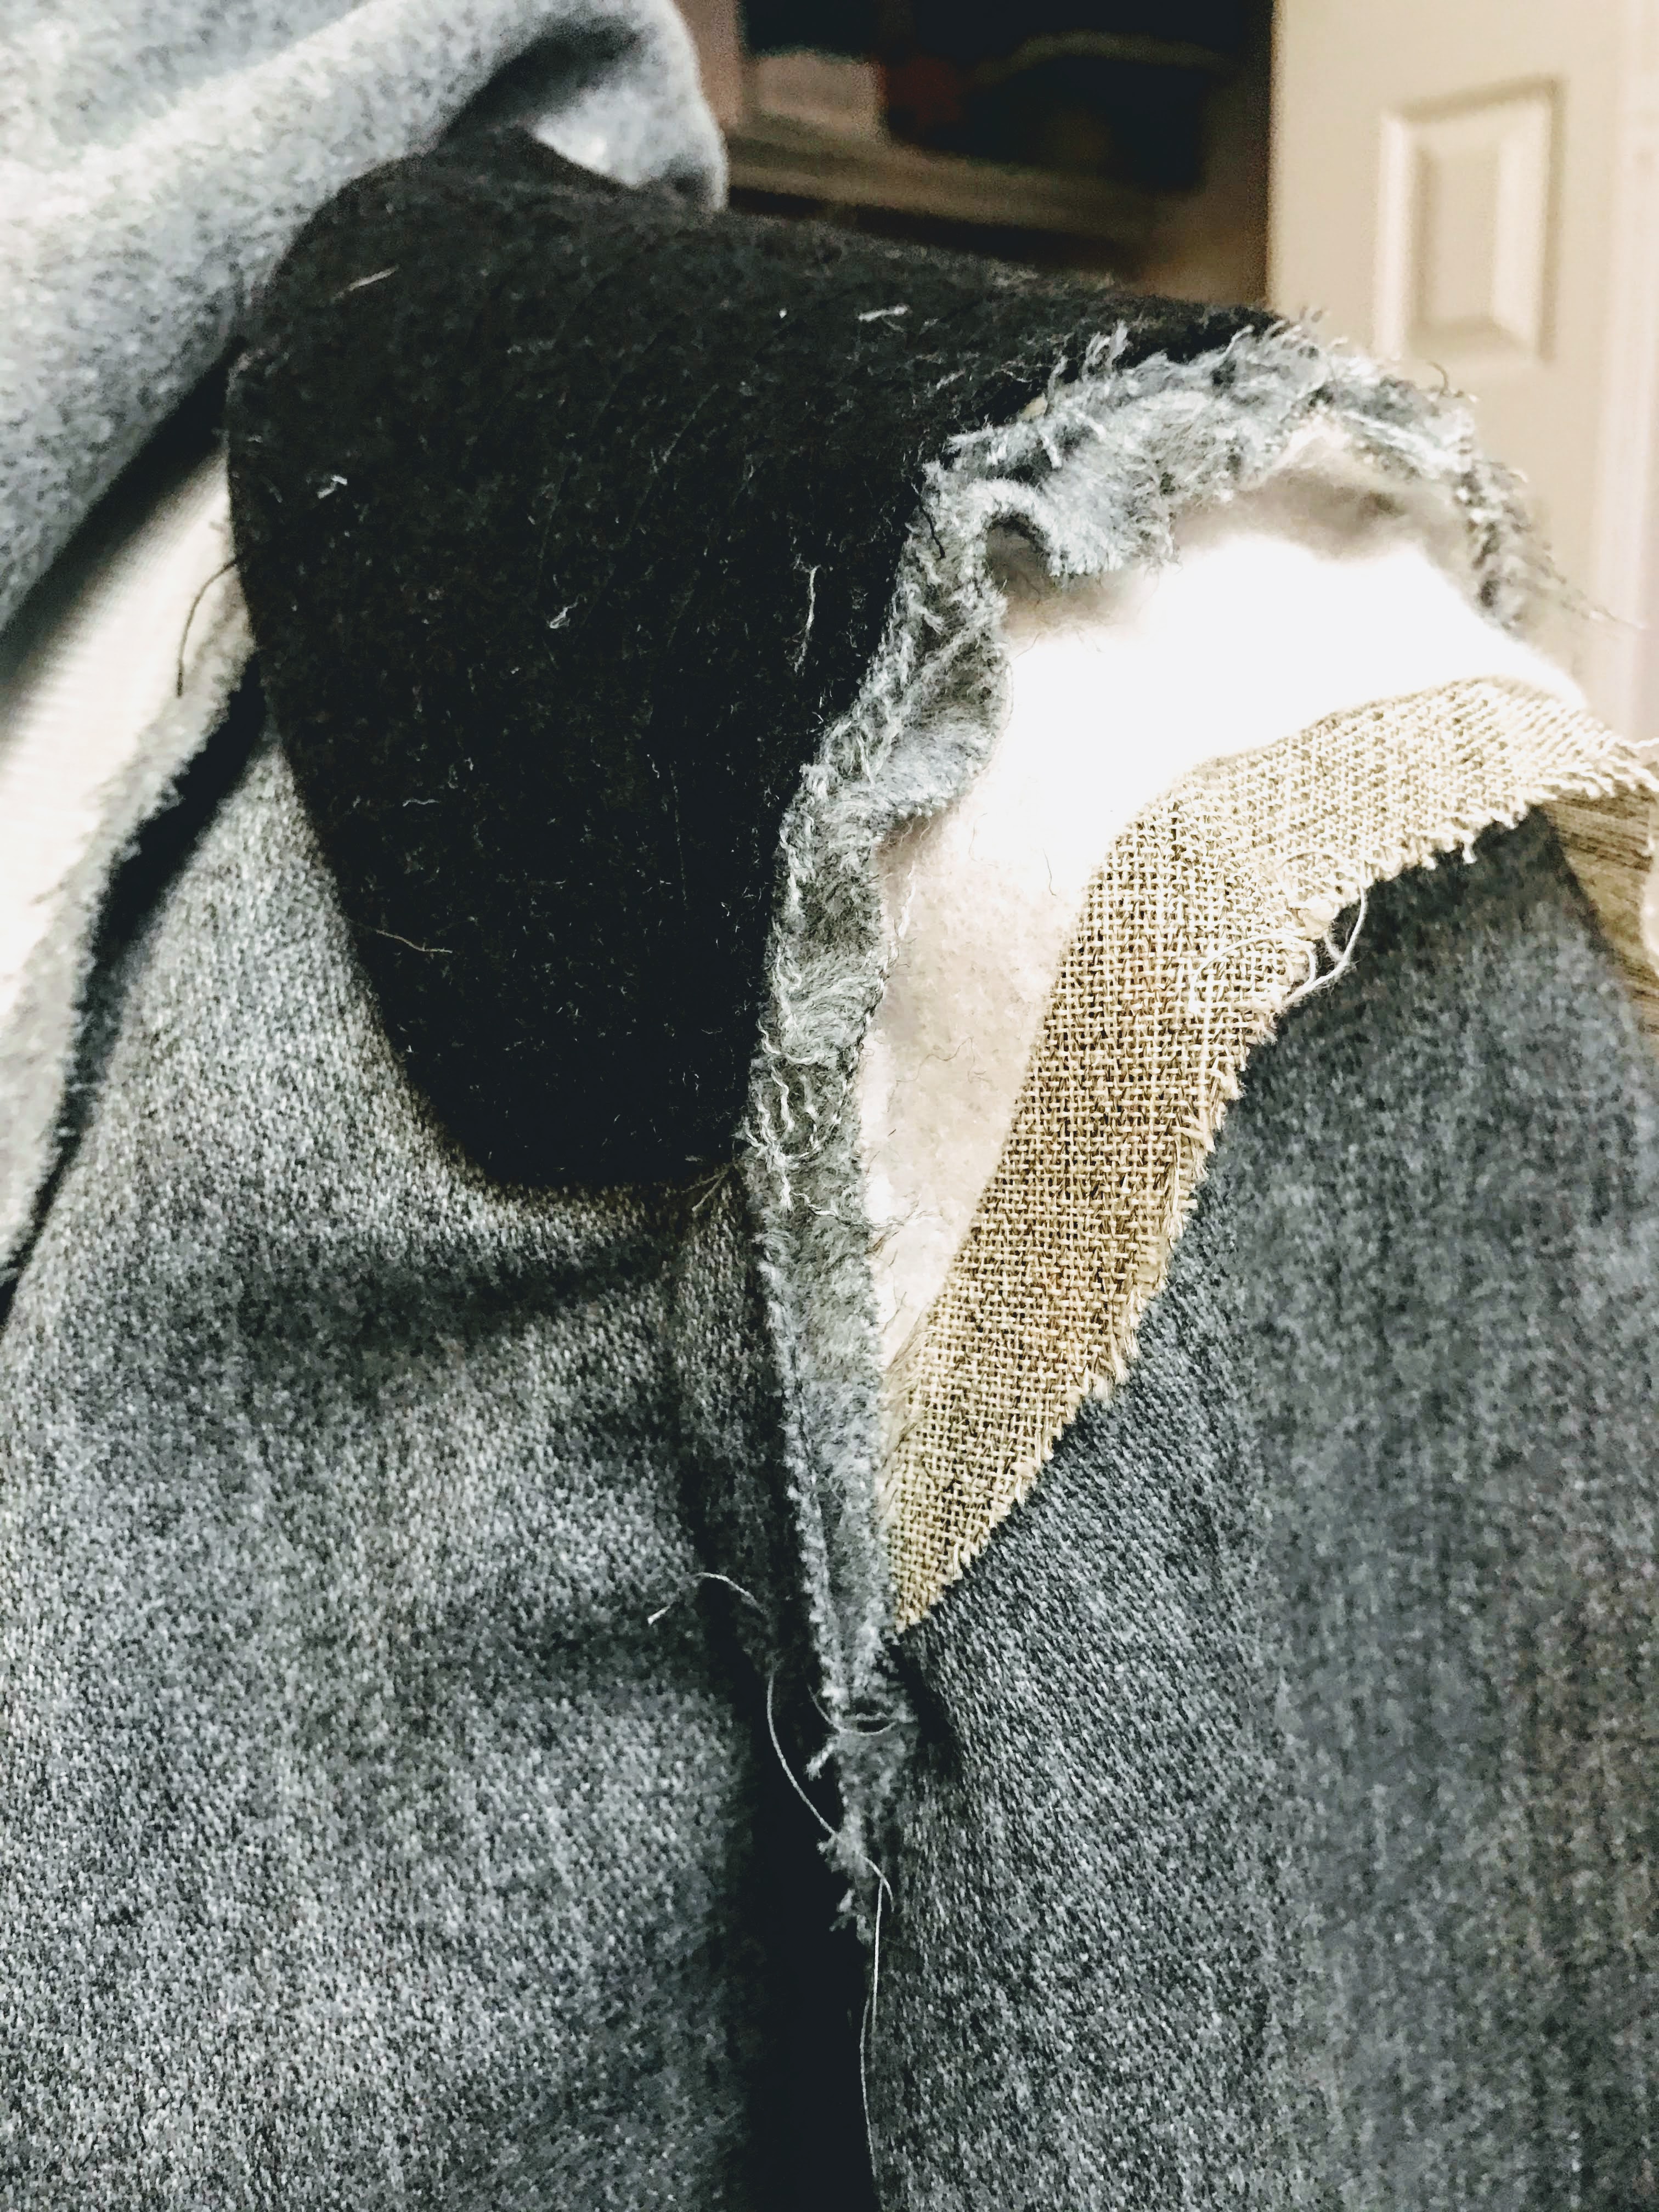
This view also shows you that there is a definite wrong/right side to the wool. The wrong side doesn't have a brushed finish and right side does. Here's a close up to try to capture the texture of the right side. It is sooo soft! This also has a very distinctive nap, which means that all of your pieces have to be laid out in the same direction.

And a view of the back princess seams.

I added the belt loops- they weren't in the pattern which was silly! I really can't imagine having to worry about your belt falling on the ground everytime you take off your coat! I found that this style with the wide collar is pretty popular. Here is one that is very similar:

The only thing that I would change if I make this pattern again is to raise the pocket placement up about 1 inch. They are slightly too low in my opinion. And I am tall. If you are shorter, you might want to move them up 2 inches.

I just absolutely love making coats- and when the fabric is this special, it is really so satisfying to see it all come together. I don't really do full tailoring, although I do know how. I think if you use quality interfacing, shoulder pads, and sleeve heads, you'll get the most bang for your buck. Also, don't skimp on the lining. For a winter coat, you don't want a flimsy lining.


It was nice to get out of the house on a beautiful fall day to take these photos. The park was relatively empty, which was strange to see, but I guess everyone is being as cautious as possible these days. Just me, my neighbor who was the photographer, and tons of geese! The geese must be wondering what has happened to all of the people!

Have a wonderful Thanksgiving, even if it is virtual, and stay safe! Sew something warm and snuggly if you can.
Happy Sewing!
Ann
Such a beautiful coat. You are an inspiration. Side note: I find that the lower pockets are easier to access when in the car, because they fall below the seat belt.
ReplyDeleteThank you! That's a great point about the pockets- I'll pay attention to that when I get in the car next time.
DeleteGORGEOUS coat! Loke your hair, would like to grow out my white, but hubby, normally so accommodating, has fits at the idea. This coat is my favorite of all your makes.
ReplyDeleteThank you so much! Just tell him how much money you'll save on hair appointments! Of course, if you are like me, you'll just spend it on fabric. LOL!
DeleteThat is a beautiful coat. The color looks lovely with your hair color. Thanks for the tips on sleeve details. Hope you have a great Thanksgiving also.
ReplyDeleteThis coat is just fabulous!
ReplyDeleteBeautiful coat! When it's really cold, how do you keep the cold off your neck with this style of collar? Do you wear a scarf? Thank you.
ReplyDeleteIt hasn't been really cold yet, so I guess I will find out soon! I do have several scarves that would work with it. But I also think that you could just turn up the collar higher if a scarf isn't readily available.
DeleteLove the coat. I have coat fabric and lining in my fabric stash, as well as thinsulate. Have you ever added thinsulate to a dress coat? It is quite cold here and I want more warmth. I am planning to spend isolation sewing soon. Your hair looks fantastic because of your skin tone and beautiful skin. Also your shade of grey hair just works.
ReplyDeleteHi and thank you! I have not added thinsulate- I think it would be too thick with a wool coating. Probably best with something thin. I know that I did underline a wool coat with flannel once, and it ended up being extremely heavy, so I've avoided trying that. Thanks for your grey positive comments!
Delete