
Made by a Fabricista: Papercut Patterns Stacker Jacket

Hello sewing friends! I'm truly delighted to join the wildly talented Fabricistas to share some of my sewing projects in 2021. Sewing has been very helpful for me with the lockdown happening; each project forces me to focus on something specific and completing each garment goal is highly satisfying. My wardrobe is definitely coming out of this whole era the most impressive it's ever been! 

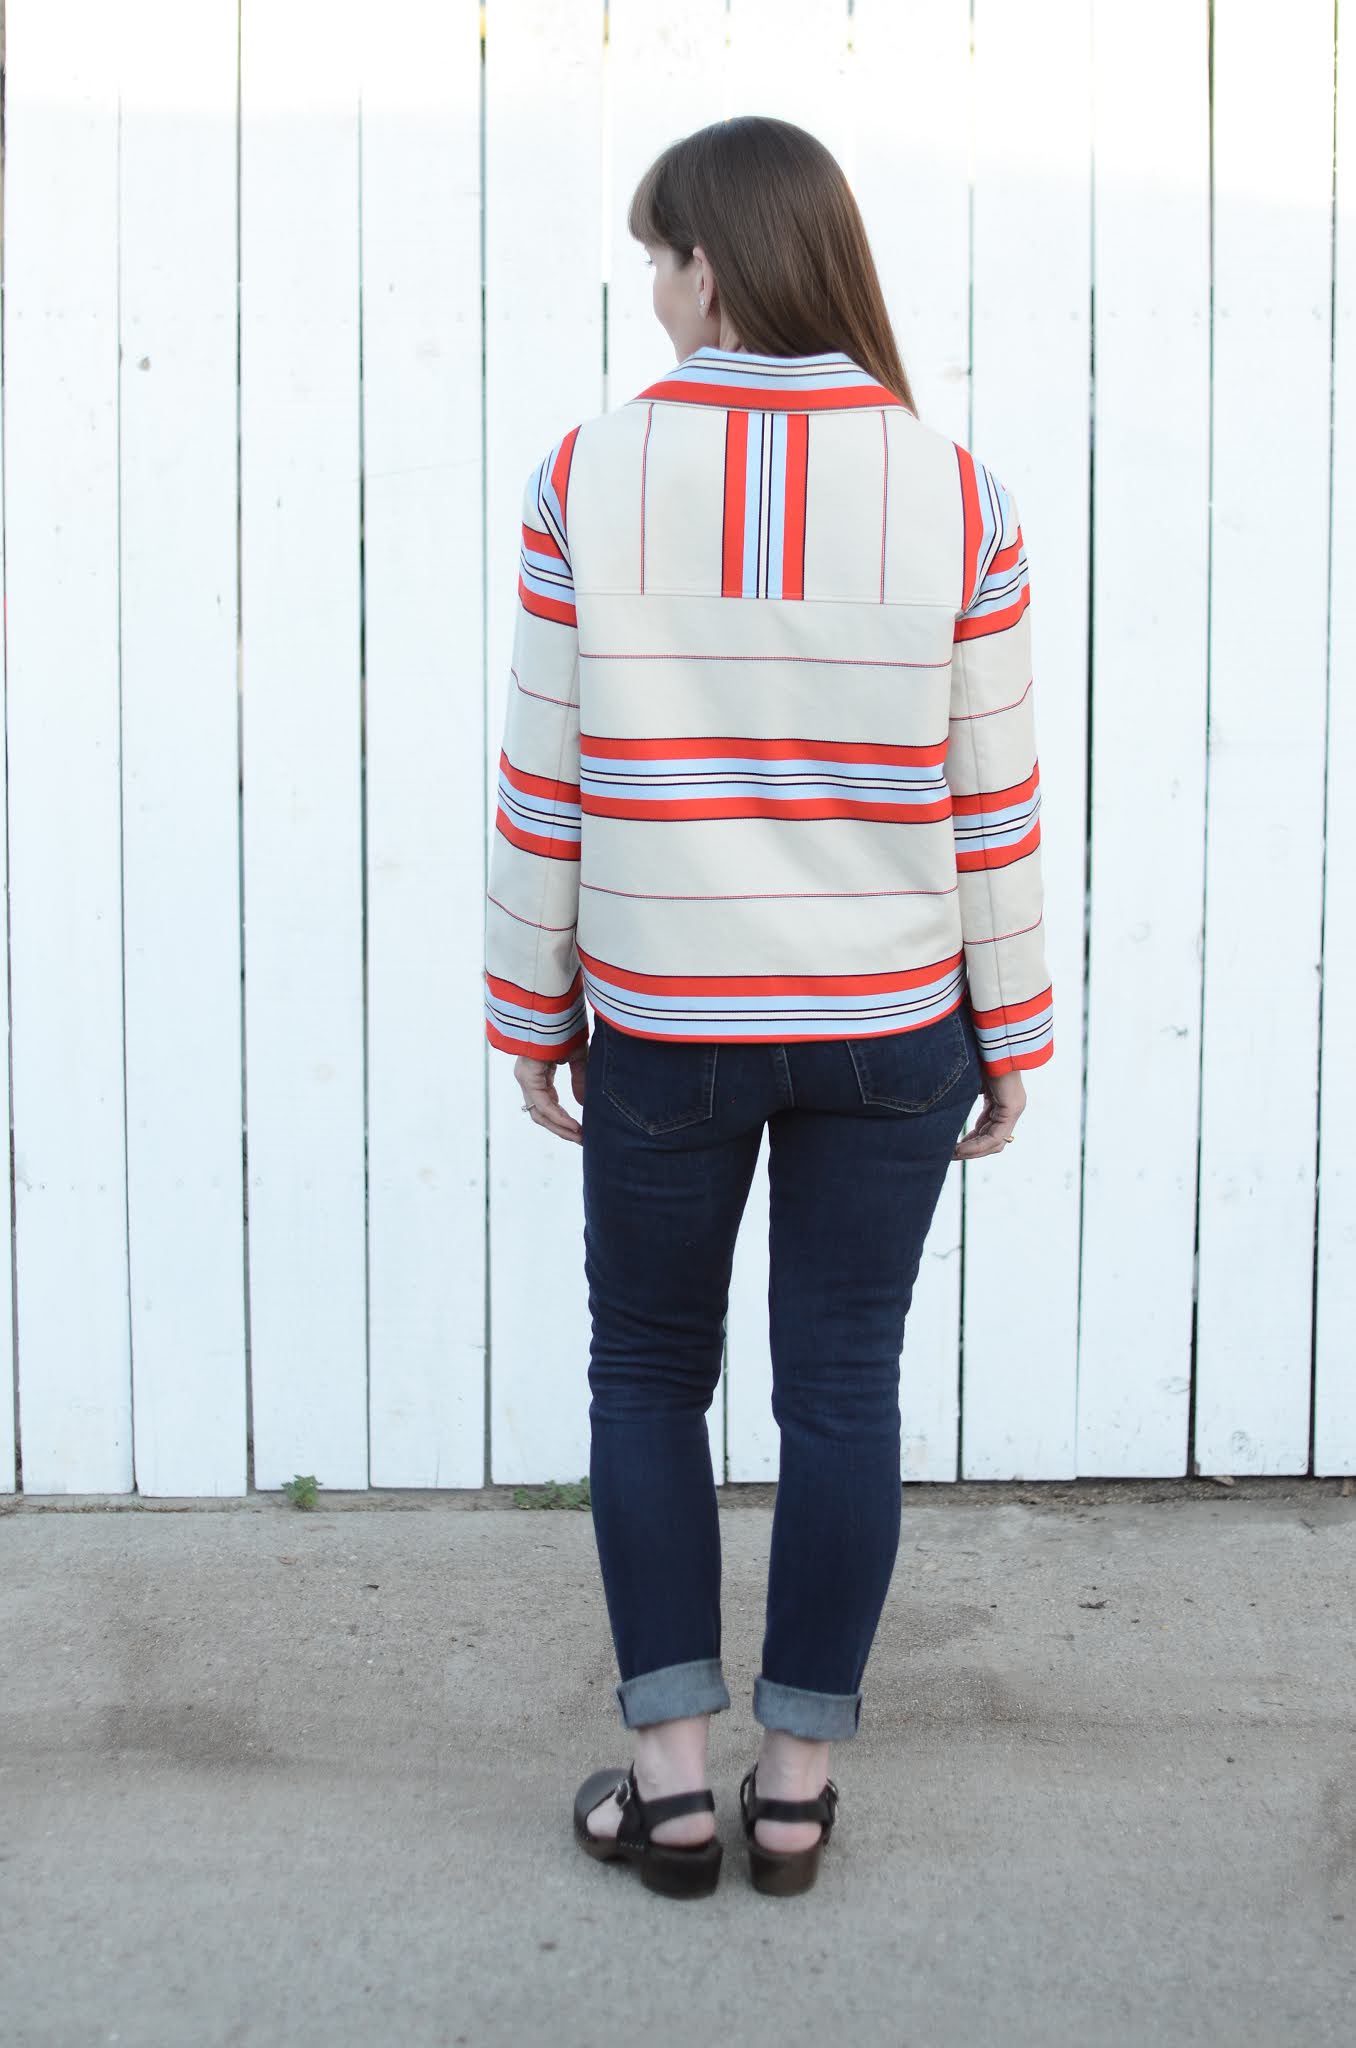
Lately I've been eyeing some lighter jacket patterns. Living in southern California means that real winter weather never arrives, but I tend to run cold anyway and love to layer up to stave off the shivering. I settled on the Stacker Jacket from Papercut Patterns. The boxier style means I can throw it on over another shirt layer (or two!) without feeling like I'm too constrained, and I like the more cropped look since I don't need too much heavy coverage for weather that will soon be warming up around here. 

This was my first time using a paper pattern from an indie designer, and I'm so accustomed to printing my own PDFs that it was a huge treat to skip the taping step. The pattern and instructions come printed on midweight brown paper. I initially aimed to trace off just my size, but that quickly became more labor intensive than I had the patience for, so I went ahead and cut up the paper and saved all the scraps as neatly as I could for possible future sizing adjustments. I cut a straight size 3 since my measurements match the size chart almost exactly and I knew there'd be plenty of ease to play with. Bold times call for bold measures! I gave the paper pieces a quick iron (no steam!) to remove some of the creasing, and then I sewed a quick fit check using the lining pattern pieces before deciding to lengthen both the bodice and sleeves about an inch. You can grab your own paper copy of the Stacker Jacket here


For the outer portion of the jacket, I chose to work with a cotton sateen that's a heavier jacket mid-weight. I love these colors arranged together, they remind me of something both vintage and varsity. I would describe the hand as similar to a very soft canvas and the raised threads are a beautiful detail. I LOVE the challenge of pattern matching, and honestly, I was pretty thrilled to turn on a podcast, ignore my kids, and carefully cut out all my matching pieces. The fabric didn't fray very much as I cut out my pattern, and it was stable and pleasantly cooperative for lining up the stripes. I had fun playing with the stripe direction, too: I centered it vertically for the back yoke and patch pockets, and I flipped it for the front yoke so the tiny stripes are in the opposite order. The shape of the sleeves threw me for a bit of a loop as the seam matches up with the back yoke instead of the side seam at the armscye, so I opted to cut the cuffs to end at the same red stripe as the bodice, and overall I think that looks really cohesive.


The lining is a polyester satin that's *thisclose* to being a perfect color match with the outer stripes. The weight was a bit heavier than I anticipated and the heft works so, so well for this jacket. I'm really thrilled with the pairing of the two. This base frays more than the cotton, but overall the satin is surprisingly sturdy and stable, even across bias areas. The slick surface also makes putting on and taking off the jacket a breeze. Plus, how pretty is glowy satin peeking out from inside a jacket? 

I'm always dying to see the glorious guts and details of everybody's sews, so indulge me as I show a few inside shots and close-ups here. The bias cut under collar is like a fabulous secret detail, and although the pattern calls for hand sewing the sleeve cuffs to the lining, I also bagged the sleeve lining when I bagged the bodice of the jacket. I guarantee this gives a much lovelier finish than what I myself could accomplish with a needle. Let me say it now, I'm all for machine-sewing as much as possible. I reserved the necessary hand-sewing for the shank buttons. 


Thanks for reading! I'm quite happy to have this excellent new jacket to keep me warm for the next few months. Please check out my Instagram page for many future sews. 

KATIE  @kak513


Unfortunately Fabric Mart Fabrics sell out quickly!
You can find similar fabrics by shopping the following categories...

SATEEN, JACKETING, COTTON, & LINING.

You can also shop our stock of Papercut Patterns HERE.

Comments

  1. I love how you used this fabric! When we first got this fabric in stock, I loved it but wasn't sure what to make. This is perfect. AND added bonus that the lining matches almost perfectly. Great job!
    ~ Julie - co-owner, Fabric Mart

    ReplyDelete
  2. Replies
    1. Thanks so much! Jackets are so satisfying to make.

      Delete

Post a Comment

Thanks for leaving a comment! All comments are reviewed before posting to help us eliminate spam. Your comment will be posted within 24 hours.

Popular Posts You Might Like

Made By A Fabricista: Pattern Emporium’s Lyrical Top Featuring Fabric Mart Fabrics

 Sewn in a lightweight  rayon challis , this top combines style, comfort, and fluidity. There’s one thing I love in a summer sew: effortless drape—and the Lyrical Top by Pattern Emporium delivered just that. This pattern is a new release, and when I spotted this dreamy rayon challis from Fabric Mart Fabrics, I knew it was the perfect pairing. Lightweight, breathable, and with just the right amount of movement, the fabric really brought the pattern to life. Today, I’m sharing all the details—from fabric choice and construction to styling and fit—plus a few thoughts on why this top might just become a repeat sew. Pattern Overview: The Lyrical Top by Pattern Emporium The Lyrical Top is a relaxed-fit design with bloused sleeves and a gently flared frill cuff. It comes with three sleeve lengths and two neckline variations. I chose the tie-neck view, but there’s also a collar option for a slightly different vibe. I’ve been looking to add more stylish tops to my wardrobe this year, a...

Made By A Fabricista: A matching set and a happy error.

 Hi sewing friends! Today I’m sharing a new outfit I made inspired by looks I’ve been seeing pop up in my Facebook and IG feeds a LOT this year. I’m talking about those monochromatic matching top and bottom outfits, sometimes in linen, sometimes in a flowy knit - the ones that advertise they go effortlessly from loungewear to office wear to going out wear. So I decided to “sew the look” using Fabric Mart fabric and a few patterns I already in my massive pattern library. First, let me share that I have very few solid color pieces in my closet. I’m so taken in by whimsy and geometric prints that this is still a gaping hole in my wardrobe -  a matching solid color set was actually a practical addition for me.  So let me walk you through how I created this look, and also tip you off to an error I made while cutting that worked out pretty well after all. Can you spot the error? Hint - it’s somewhere in the top: Here’s how I went about building my matchy match outfit. And here’...

Made By A Fabricista: Birthday Dress

May is my absolute favorite month, we get to enjoy spring weather and it is my birth month.  The birthstone for May is Emerald. I think emerald is such a gorgeous color so when I saw this beautiful ombre charmeuse I thought it would be the perfect fabric to make for my birthday dress.  To be honest it took me a while to narrow down on a design.  After a lot of back and forth I ended up going back to my first sketch that I created. I love to sketch out my ideas to figure out the patterning and materials. To create the design I used the method of draping on my dressform.  I used the lightweight muslin that Fabric Mart offers.  It is always best to use a muslin or material similar to your final fabric.  I started first by marking my style lines with some draping tape on my dress form.  I tore out pieces of muslin to fit within those lines making sure I am always marking my grainline. I also used the muslin to determine how I will create the rosettes onto...