

Since I prefer to sew for my children, my own closet gets seriously neglected! I decided to put my own needs first for my Fabric Mart make this time, and create a pair of comfy shorts and two tops for ME!

I started by looking for bottom-weight fabric, and settled on some mid-weight stretch denim. I realized that all of my shorts patterns were for non-stretch fabrics, so I bought the Itch to Stitch Hermosa Shorts for this project. The Hermosa's come in three different lengths (short, mid, long) feature patch pockets on both front and back, and have options for a button or zipper fly.

I do usually shy away from making pants because I often have trouble with them, but the Hermosa's fit was pretty much perfect, and I'm eager to make more pairs in various lengths!
For this pair of Hermosa's I used my waist measurement (4) and blended out to between the 6 and 8 for my hip. My hip was closer to the size 8, but since the fabric was quite stretchy, I decided to go between the two sizes to account for that. While I did interface the waistband, I found the buttonhole area a little unstable, and would use an extra layer of interfacing in that area next time. (I love all the stabilizers at Fabric Mart, especially the SewkeysE tapes and Palmer & Pletch interfacings!).

I've been loving all the statement sleeve tops I've been making my girls lately, so was eager to make some puff sleeve tops for myself too! I thought I'd try the FREE Paddington Top by Peppermint Patterns with some polyester bubble crepe in this striking jungle green color. After looking at a number of reviews, I learned that this pattern ran extremely short, so I added 1.5" at the lengthen/shorten line, and removed the button placket so there were no closures. The sleeve hem was very fiddly, so I modified the construction, using 1/2" elastic rather than 1", creating a narrow channel for it. I then folded the elastic hem over and tacked it at the quarter points. This last step was probably unnecessary, but I wanted to create a similar effect to the Peony Patterns Jasmine Dress sleeve.

Fabric Mart also sent me some royal blue 100% cotton jersey and for this I settled on the Pattern Emporium Hello Gorgeous Puff Sleeve Tee. This top has multiple neckline options and sleeve lengths, and can be mix and matched with some other top and dress patterns in their collection. I did find the neckline didn't sit quite right, and I think this may be from the lack of Lycra in the fabric - if I used the same fabric next time, I would size down the neckband to fix that. I also made this top in the "long" length, which is perfect for most of my low-rise pant outfits, but since my Hermosa Shorts are high-rise, I definitely could have got away with a shorter top.

Overall, I love my new outfits, and I can see myself wearing these pieces throughout the summer season!
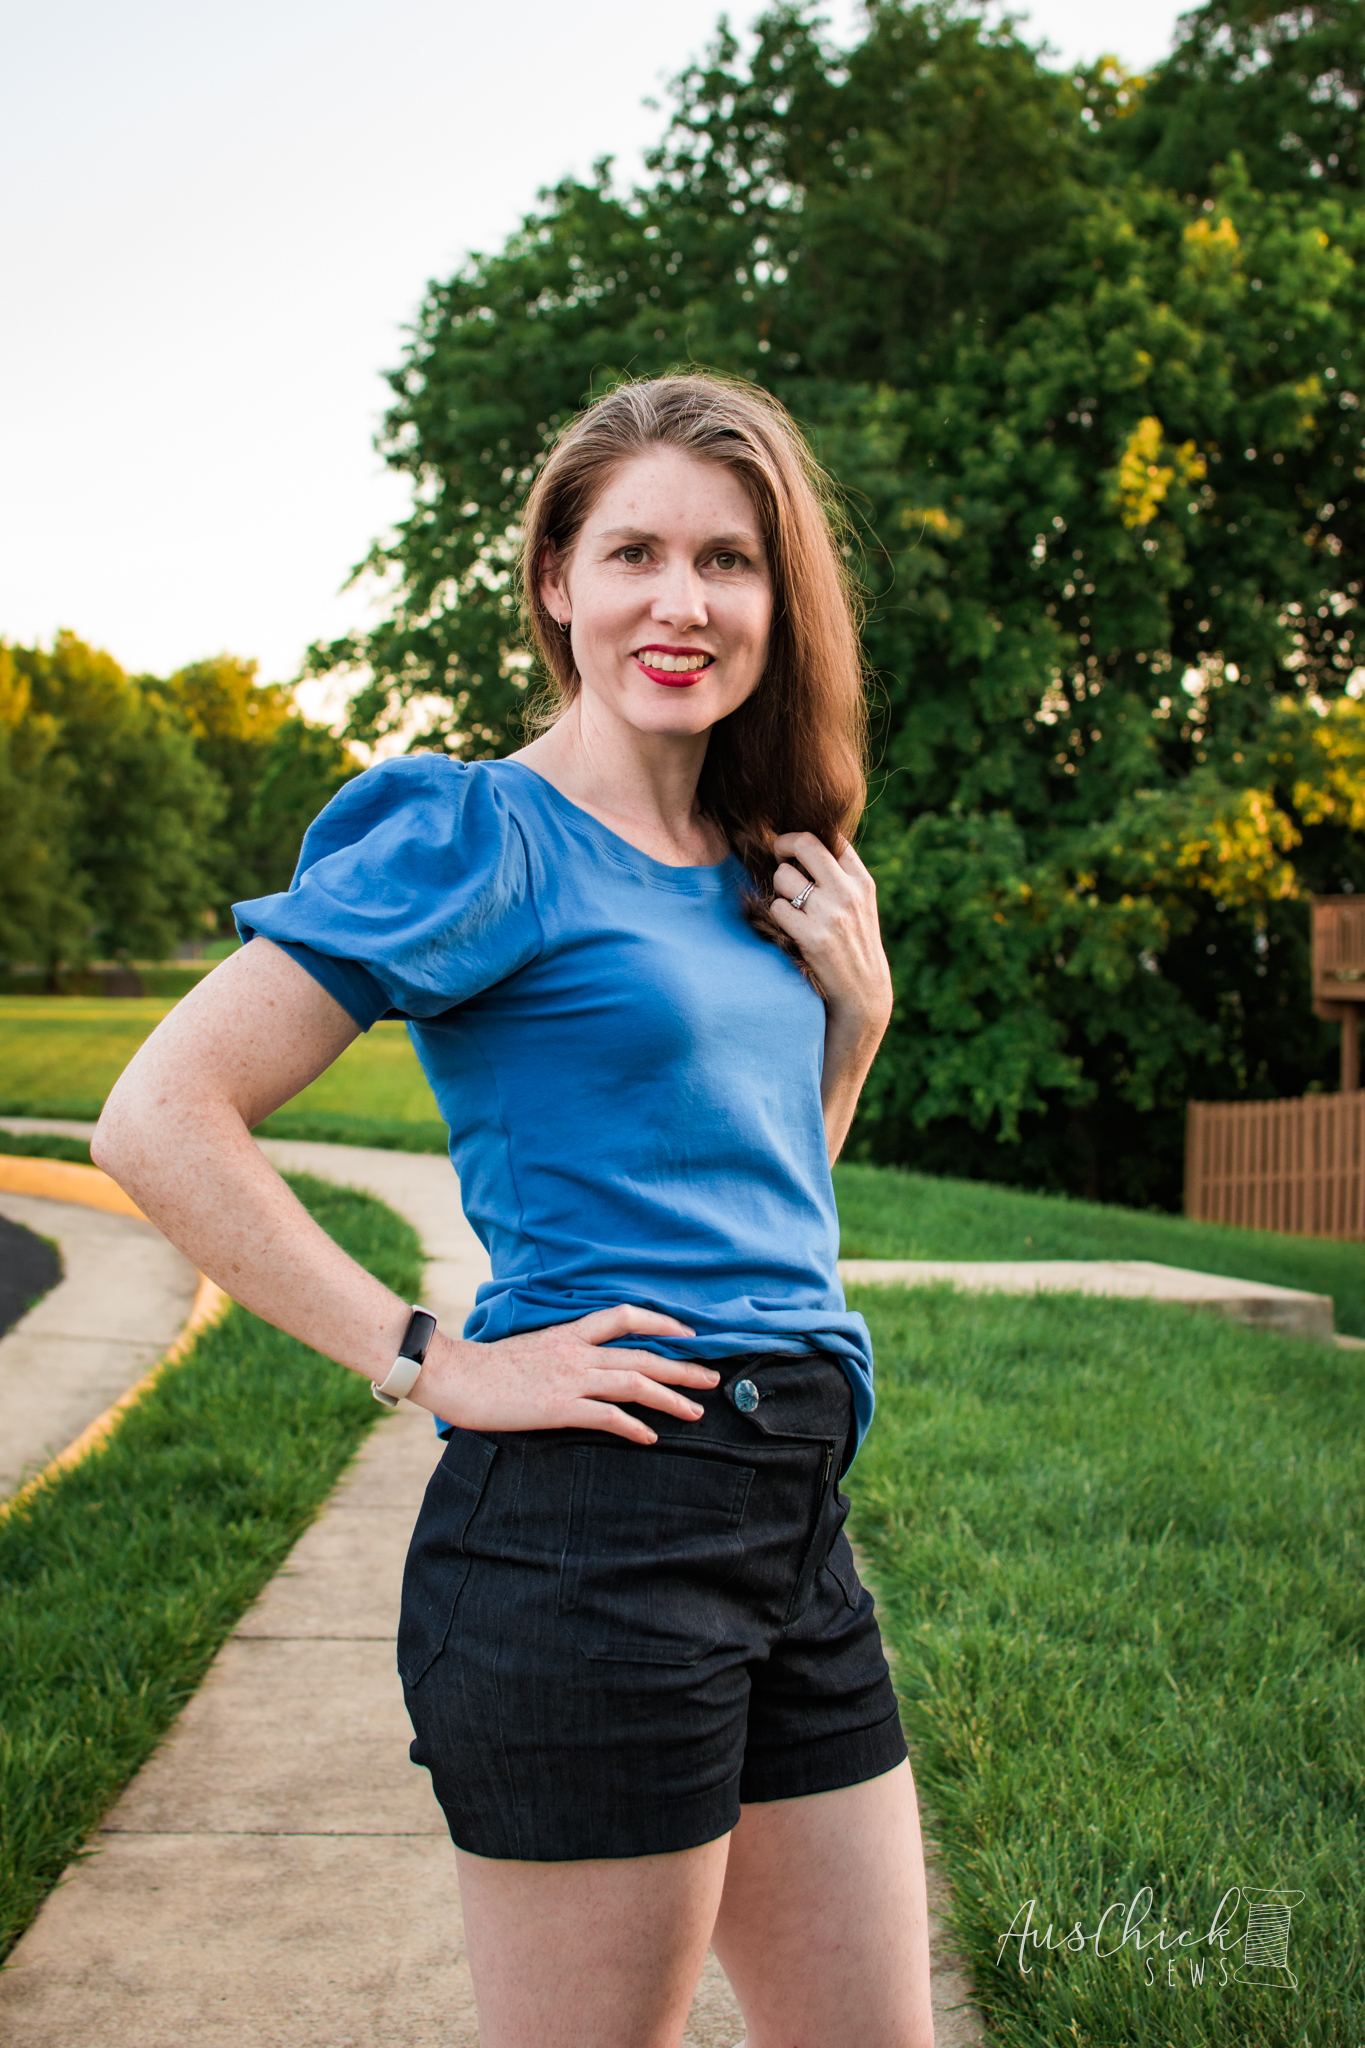
NATASHA | @auschicksews
Unfortunately Fabric Mart Fabrics sell out quickly!
You can find similar fabrics by shopping the following categories CREPE, DENIM, & COTTON KNITS.
Comments
Post a Comment
Thanks for leaving a comment! All comments are reviewed before posting to help us eliminate spam. Your comment will be posted within 24 hours.