

Hi Guys! I know what you might be thinking. Why is this woman still sewing summer clothes? Well, the issue is that I live in South Florida and we don’t really have seasons. It’s either hot or cold. I think I ran across Vicki Sews sometime during the summer and I’ve been on the fence about purchasing one of their patterns. They are very much on trend and I loved just about all of the patterns I saw. My issue is that this is a Russian company and I was worried about the pattern instructions. The other main issue is that you do not get all of the pattern sizes when you purchase the PDF pattern. I’m usually in between sizes and there’s almost always some grading in between patterns going on. I need all of my pattern sizes! I then found out that they sell printed patterns on Amazon that contain all of the pattern sizes. That’s just for your information. I went with the PDF because I have no patience to wait for a pattern to arrive in the mail. Lol
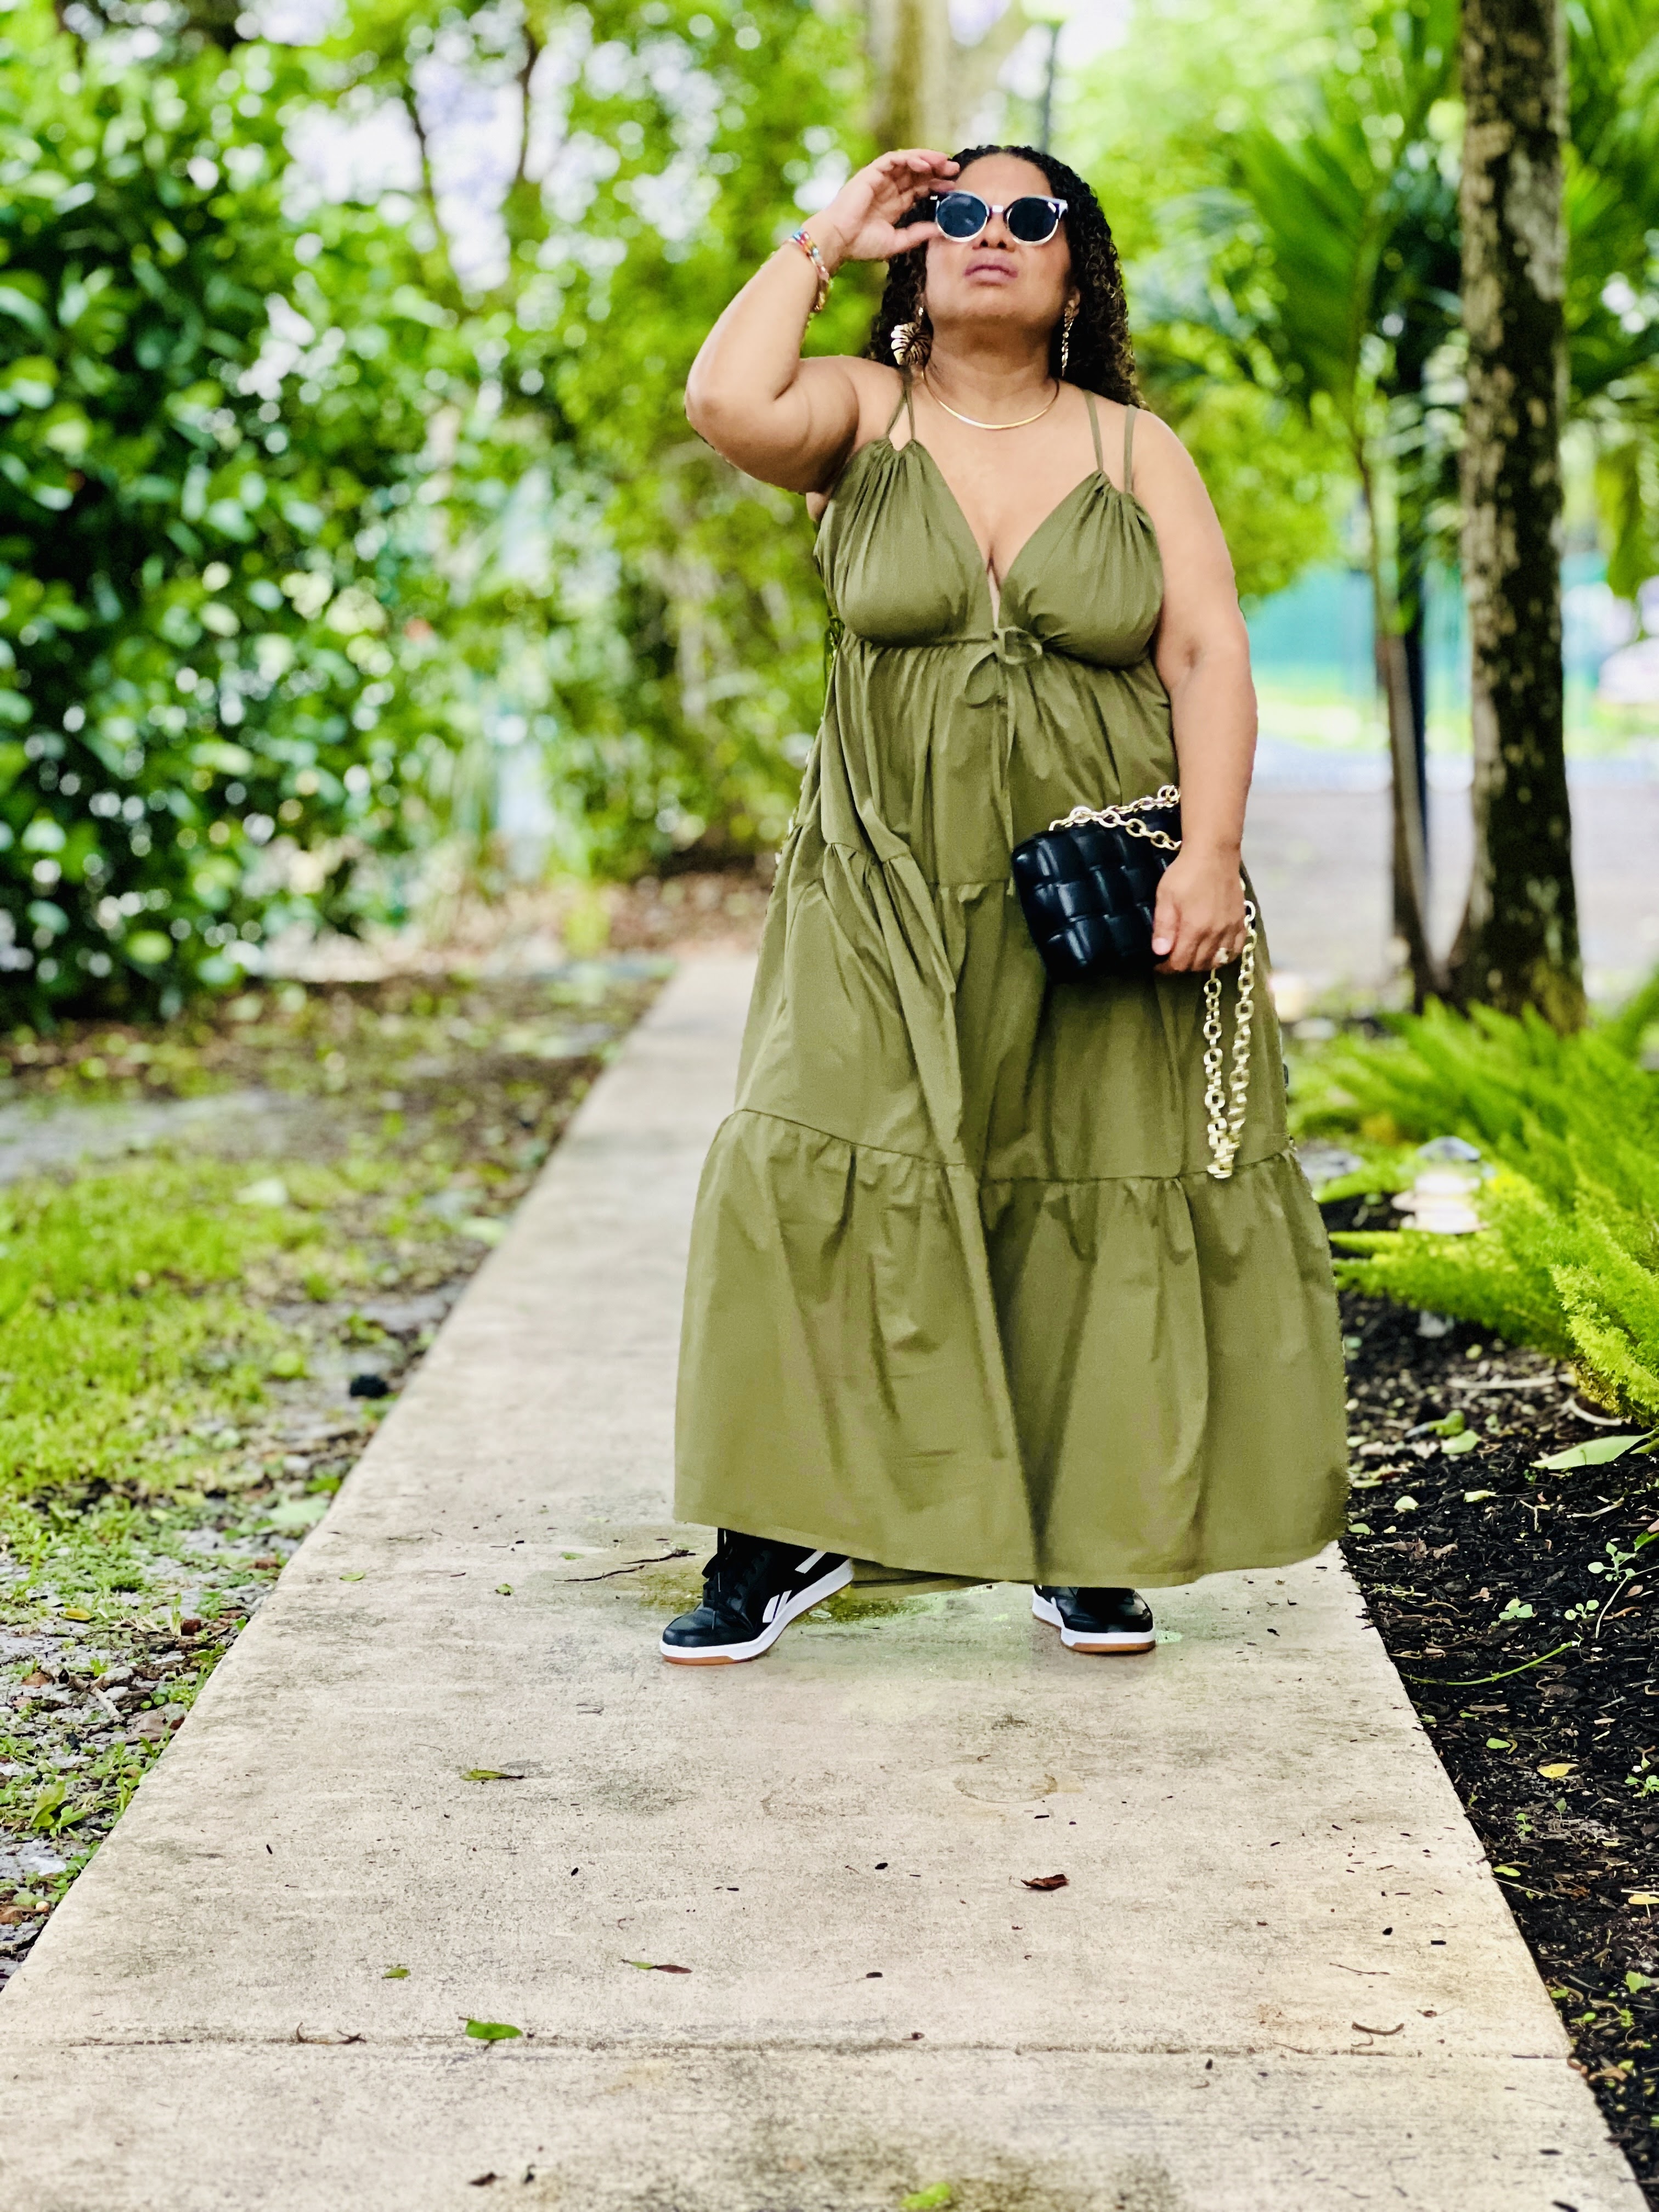
The Vicki Sews website has a size chart that I basically studied to make sure I purchased the correct size. I went with a size 46 based on my bust measurement. The bodice and waist have ties that make them adjustable and there is plenty of ease in the hips since the dress is a flowy maxi. As I mentioned, I was very concerned about only having access to the pattern in one size, but there was nothing to worry about. I love how the dress fits and I especially love how the waist and top has ties that you can tie as tight as you like.
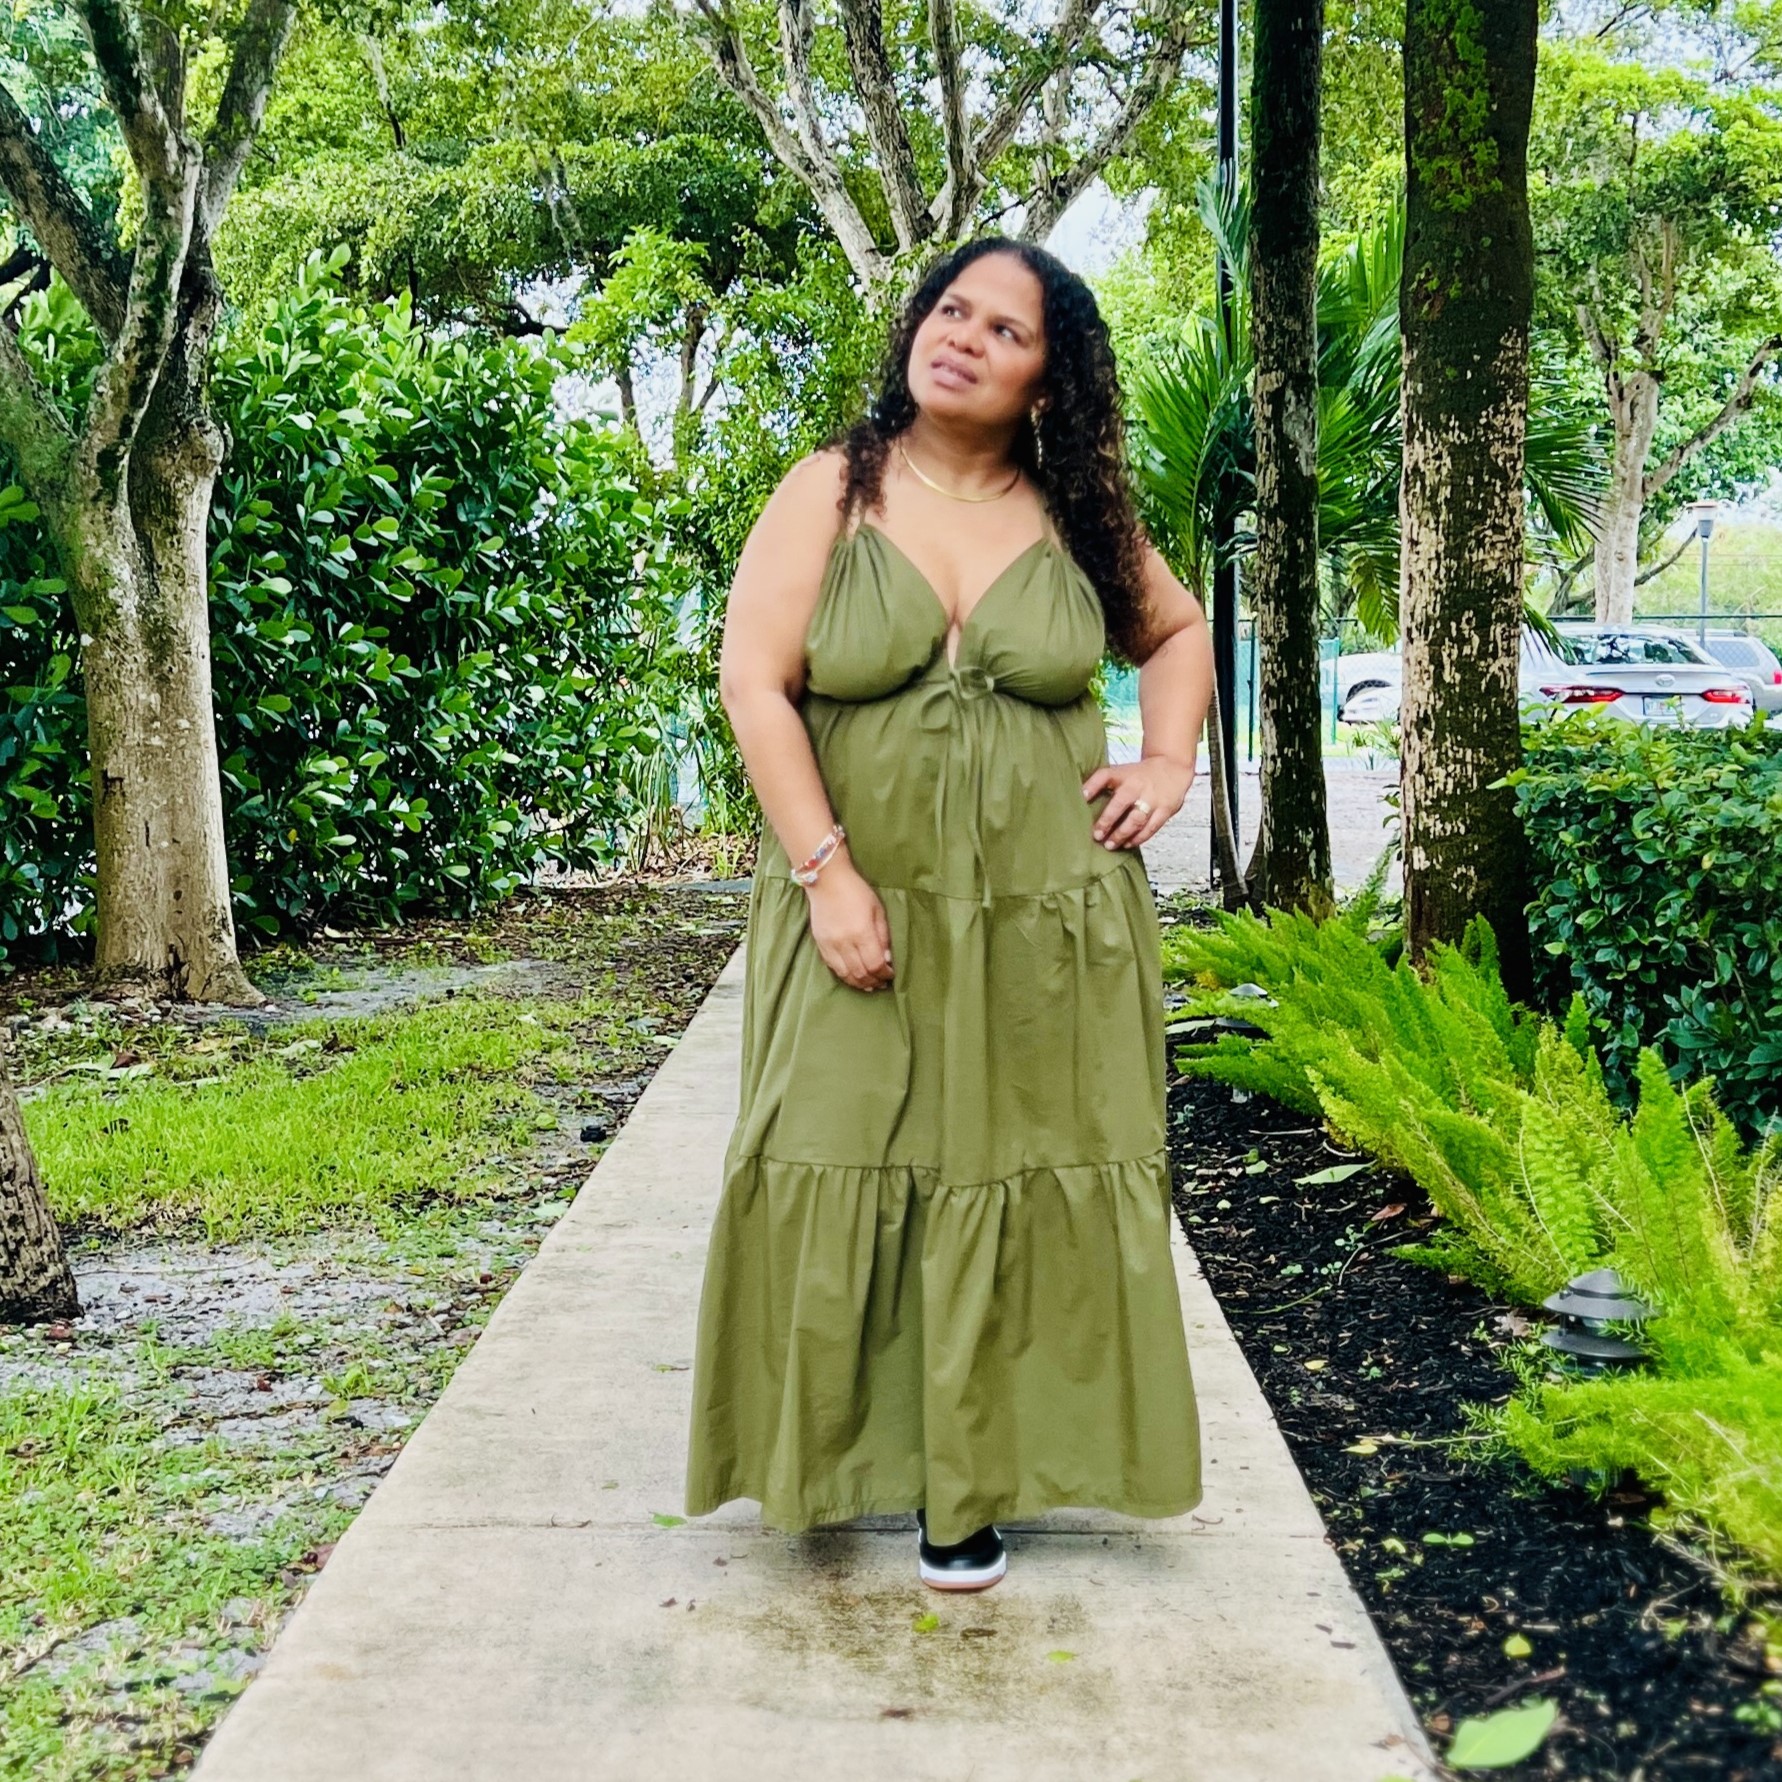
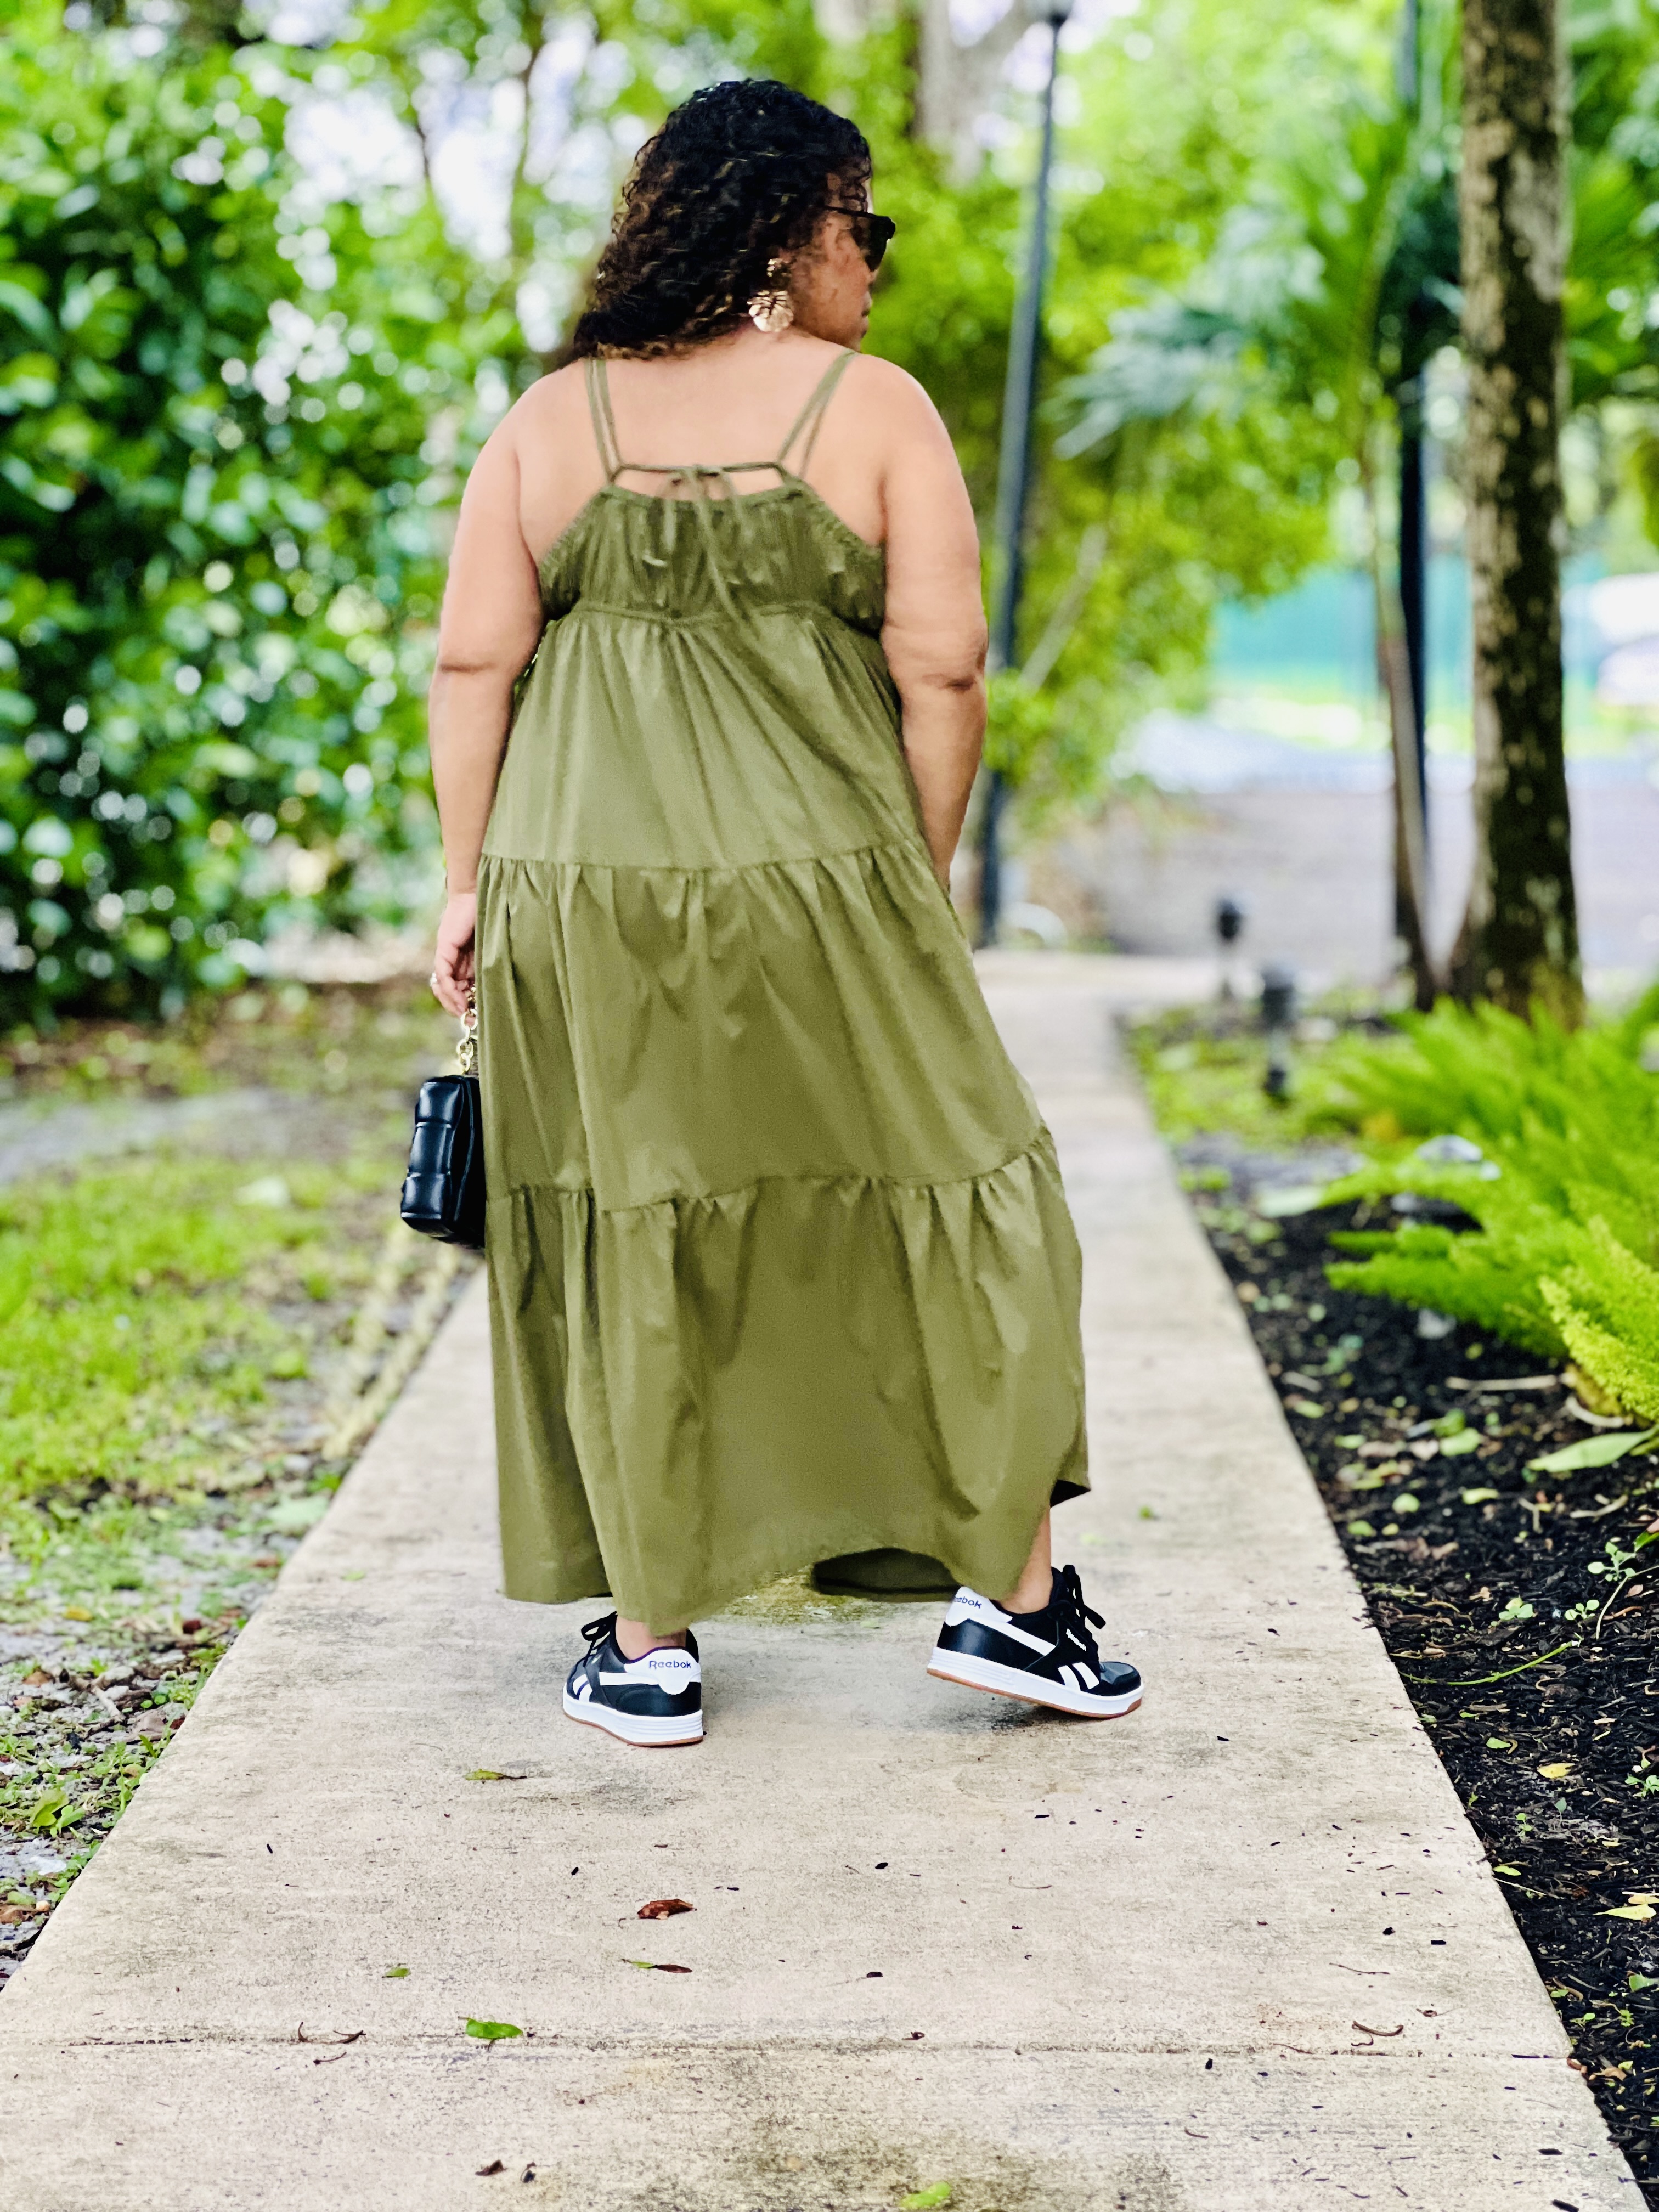
Although this dress is pretty simple to put together, I decided to write a list of sewing tips for the Celine dress. The pattern instructions are very detailed and each step has a photo to illustrate what to do so I would advise to definitely use the pattern instructions. They are your friend. Next, I would also suggest to batch sew all of the same pattern pieces at the same time. For example, sew all the ties at the same time as well as serge all of your pattern edge pieces. Speaking of ties. I used my bias tape making tool to make it just a little easier on me. If you have one of these, give it a try. My last tip is part confession. While I was serging the bottom tier to my dress, I noticed that some of my fabric got caught up in my serged edges! I was so lucky that I didn’t cut too much of the actual fabric. I only had a little split in my dress. After calming down and trying to figure out what I was going to do, I got to work on repairing my almost complete dress. I used a piece of stitch witchery and a small piece of the same fabric and pressed it on the underside of my boo boo. No one will ever know!


I also really enjoyed how the pattern instructions tell you how to make the dress look so finished on the inside. I am a true believer in that the inside of your garment should look as beautiful on the inside as it does on the outside.


Now let’s talk about this super fun fabric. In the past I’ve shared my process of selecting fabric. I usually look for pretty fabric and let it speak to me as to what it wants to become. Well, I did it a little differently this time because I already had the pattern I wanted to make. I also knew that I wanted it to be in a solid green fabric. I found exactly what I was looking for in this Mute Olive Green 100% Polyester Poplin Jacketing. This fabric is perfect for the dress I made. This fabric is light and airy, but it is not too thin that you can see through it. It has a really nice drape to it. The only way I can describe this fabric is that it kind of makes noise like a windbreaker, but it doesn’t feel like a windbreaker, if that makes any sense. You’ll just have to take my work for it and give this fabric a try. It would make great cargo pants or even a pair of shorts.

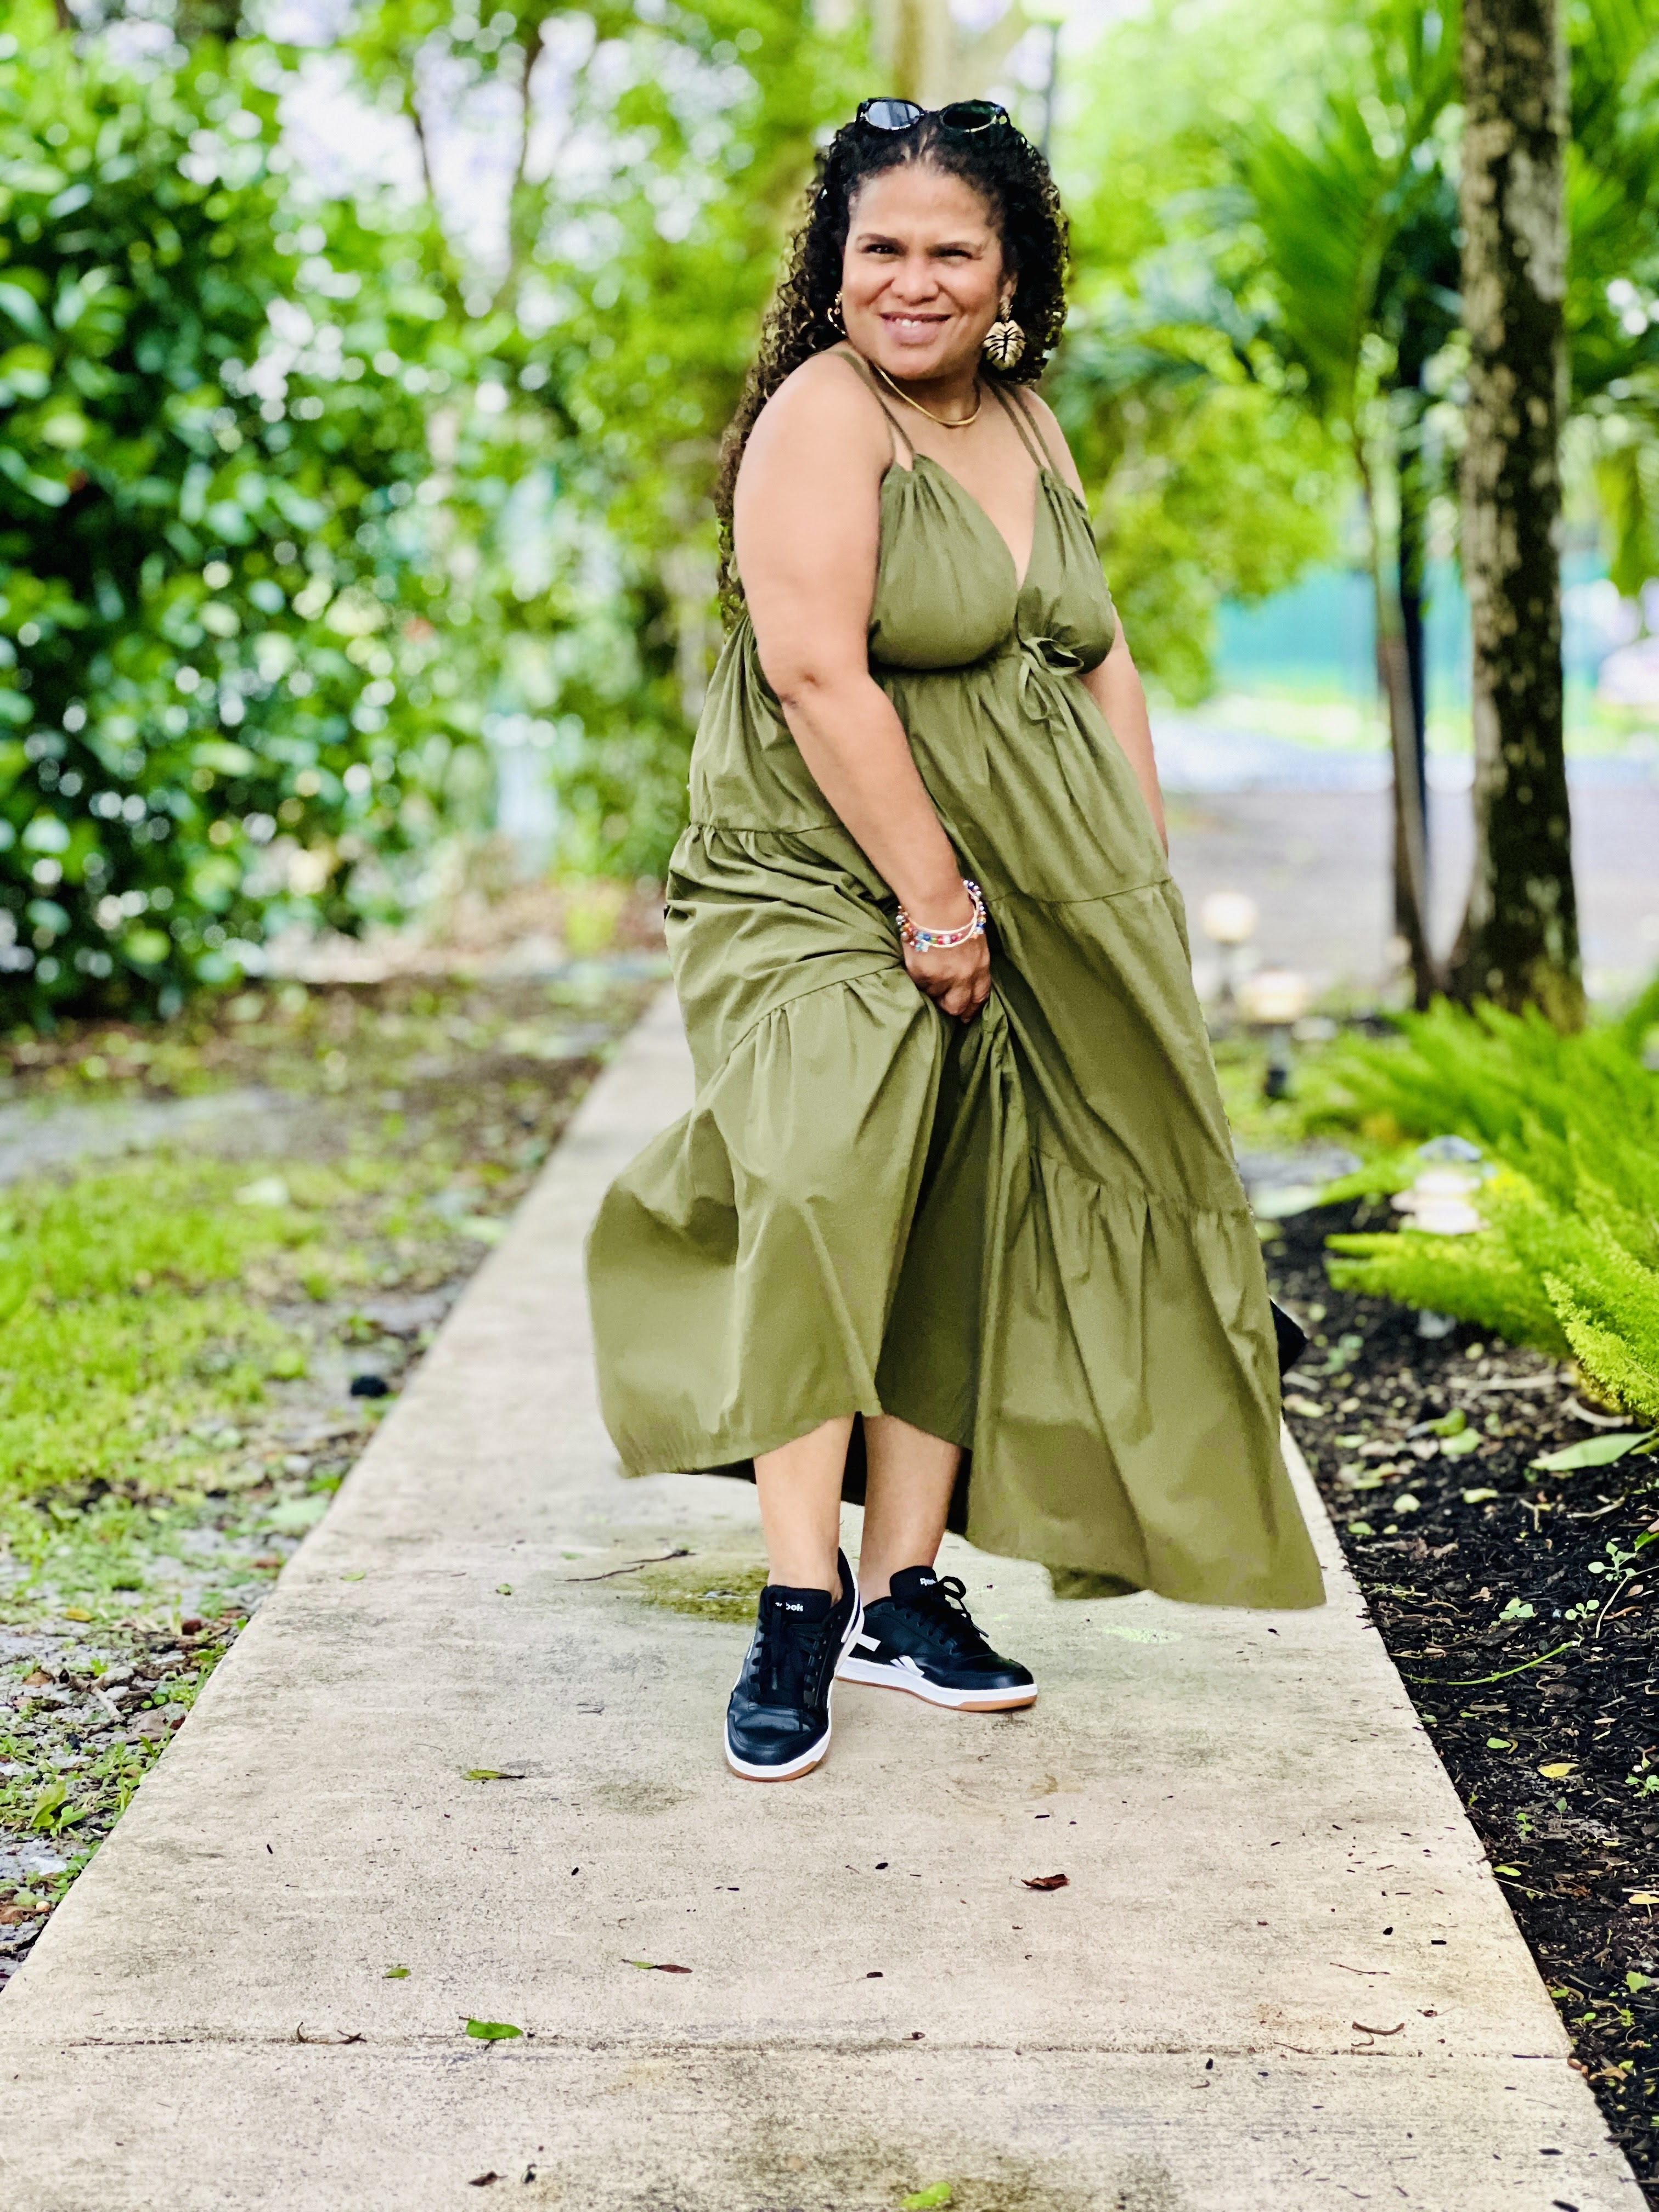
I really hope you all enjoyed my Celine Maxi Dress from Vicki Sews as much as I did. I am here to say that I really enjoyed making this dress and I will be purchasing more Vicki Sews patterns in the feature without hesitation. Also, give this poplin jacketing fabric a try. It really is fun.
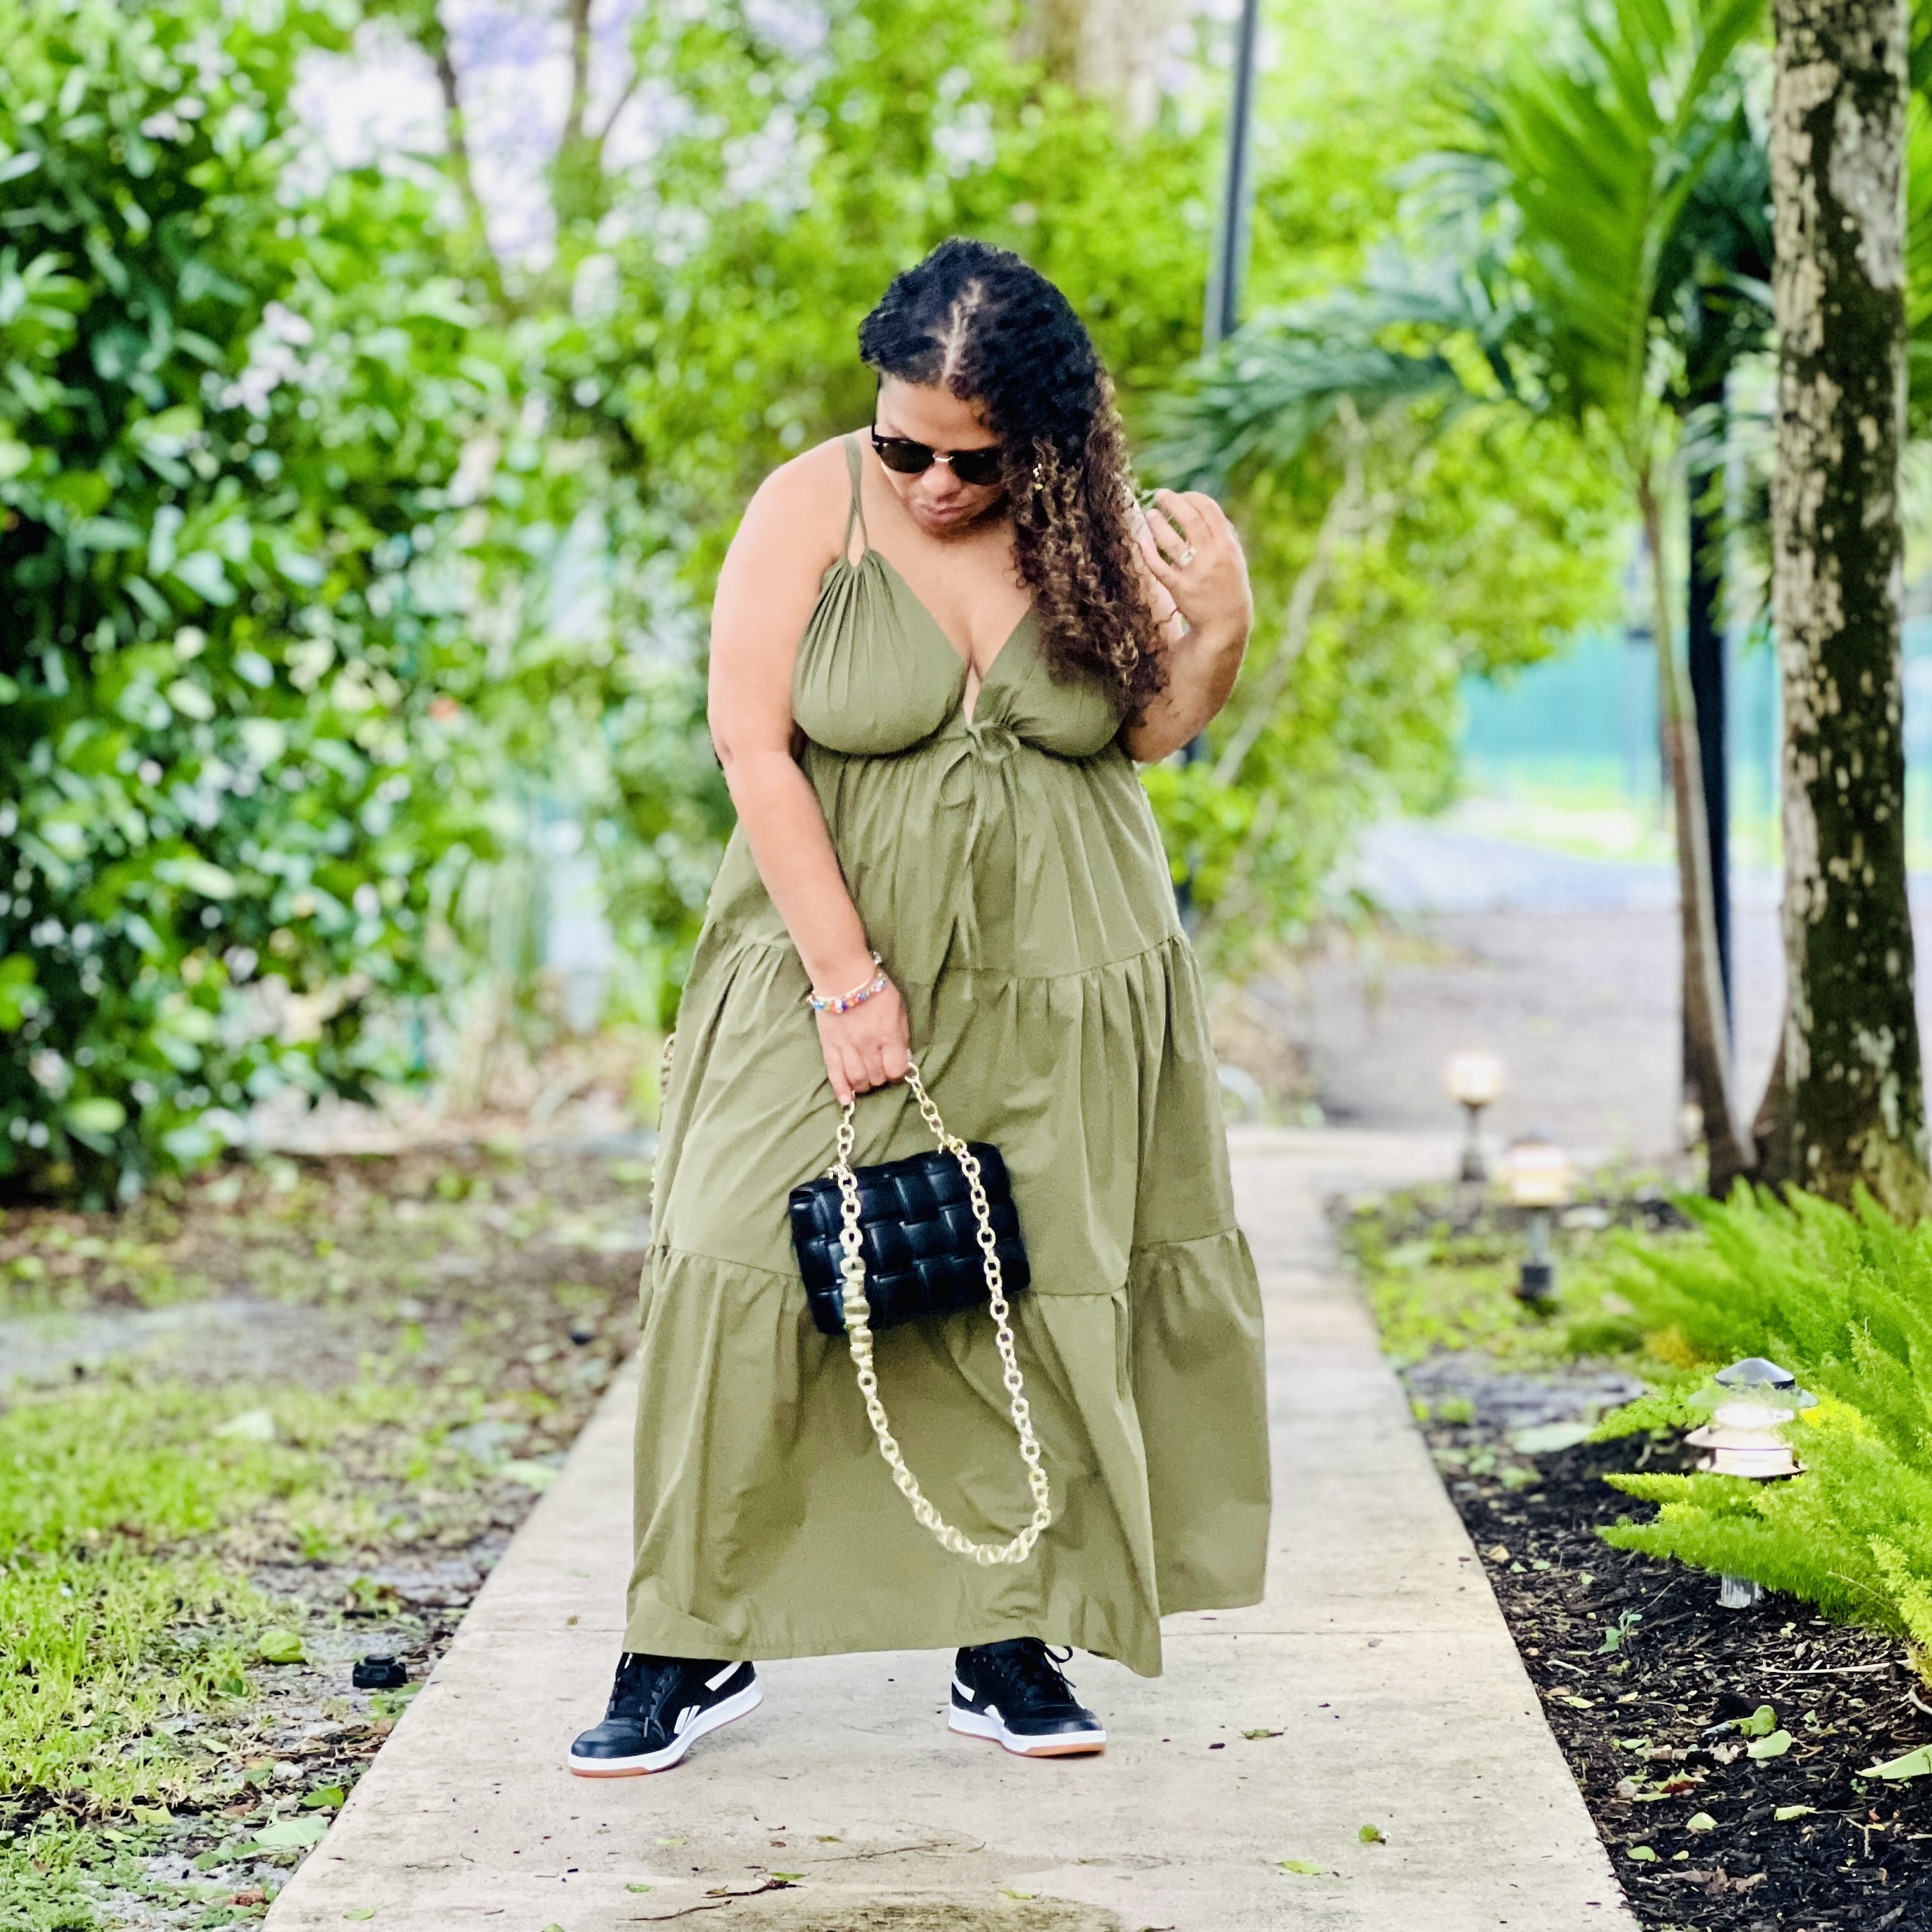
Well folks, the year is almost over! I can’t believe it. I have one more post left for the year. It will be dropping the first week of December and then I believe that the Fabric Mart blog is going on vacation until the new year. I will be sourcing fabric as soon as this post comes out. I’m thinking holiday party attire. Do you all have any suggestions? Let’s see what I come up with. Until next time guys!


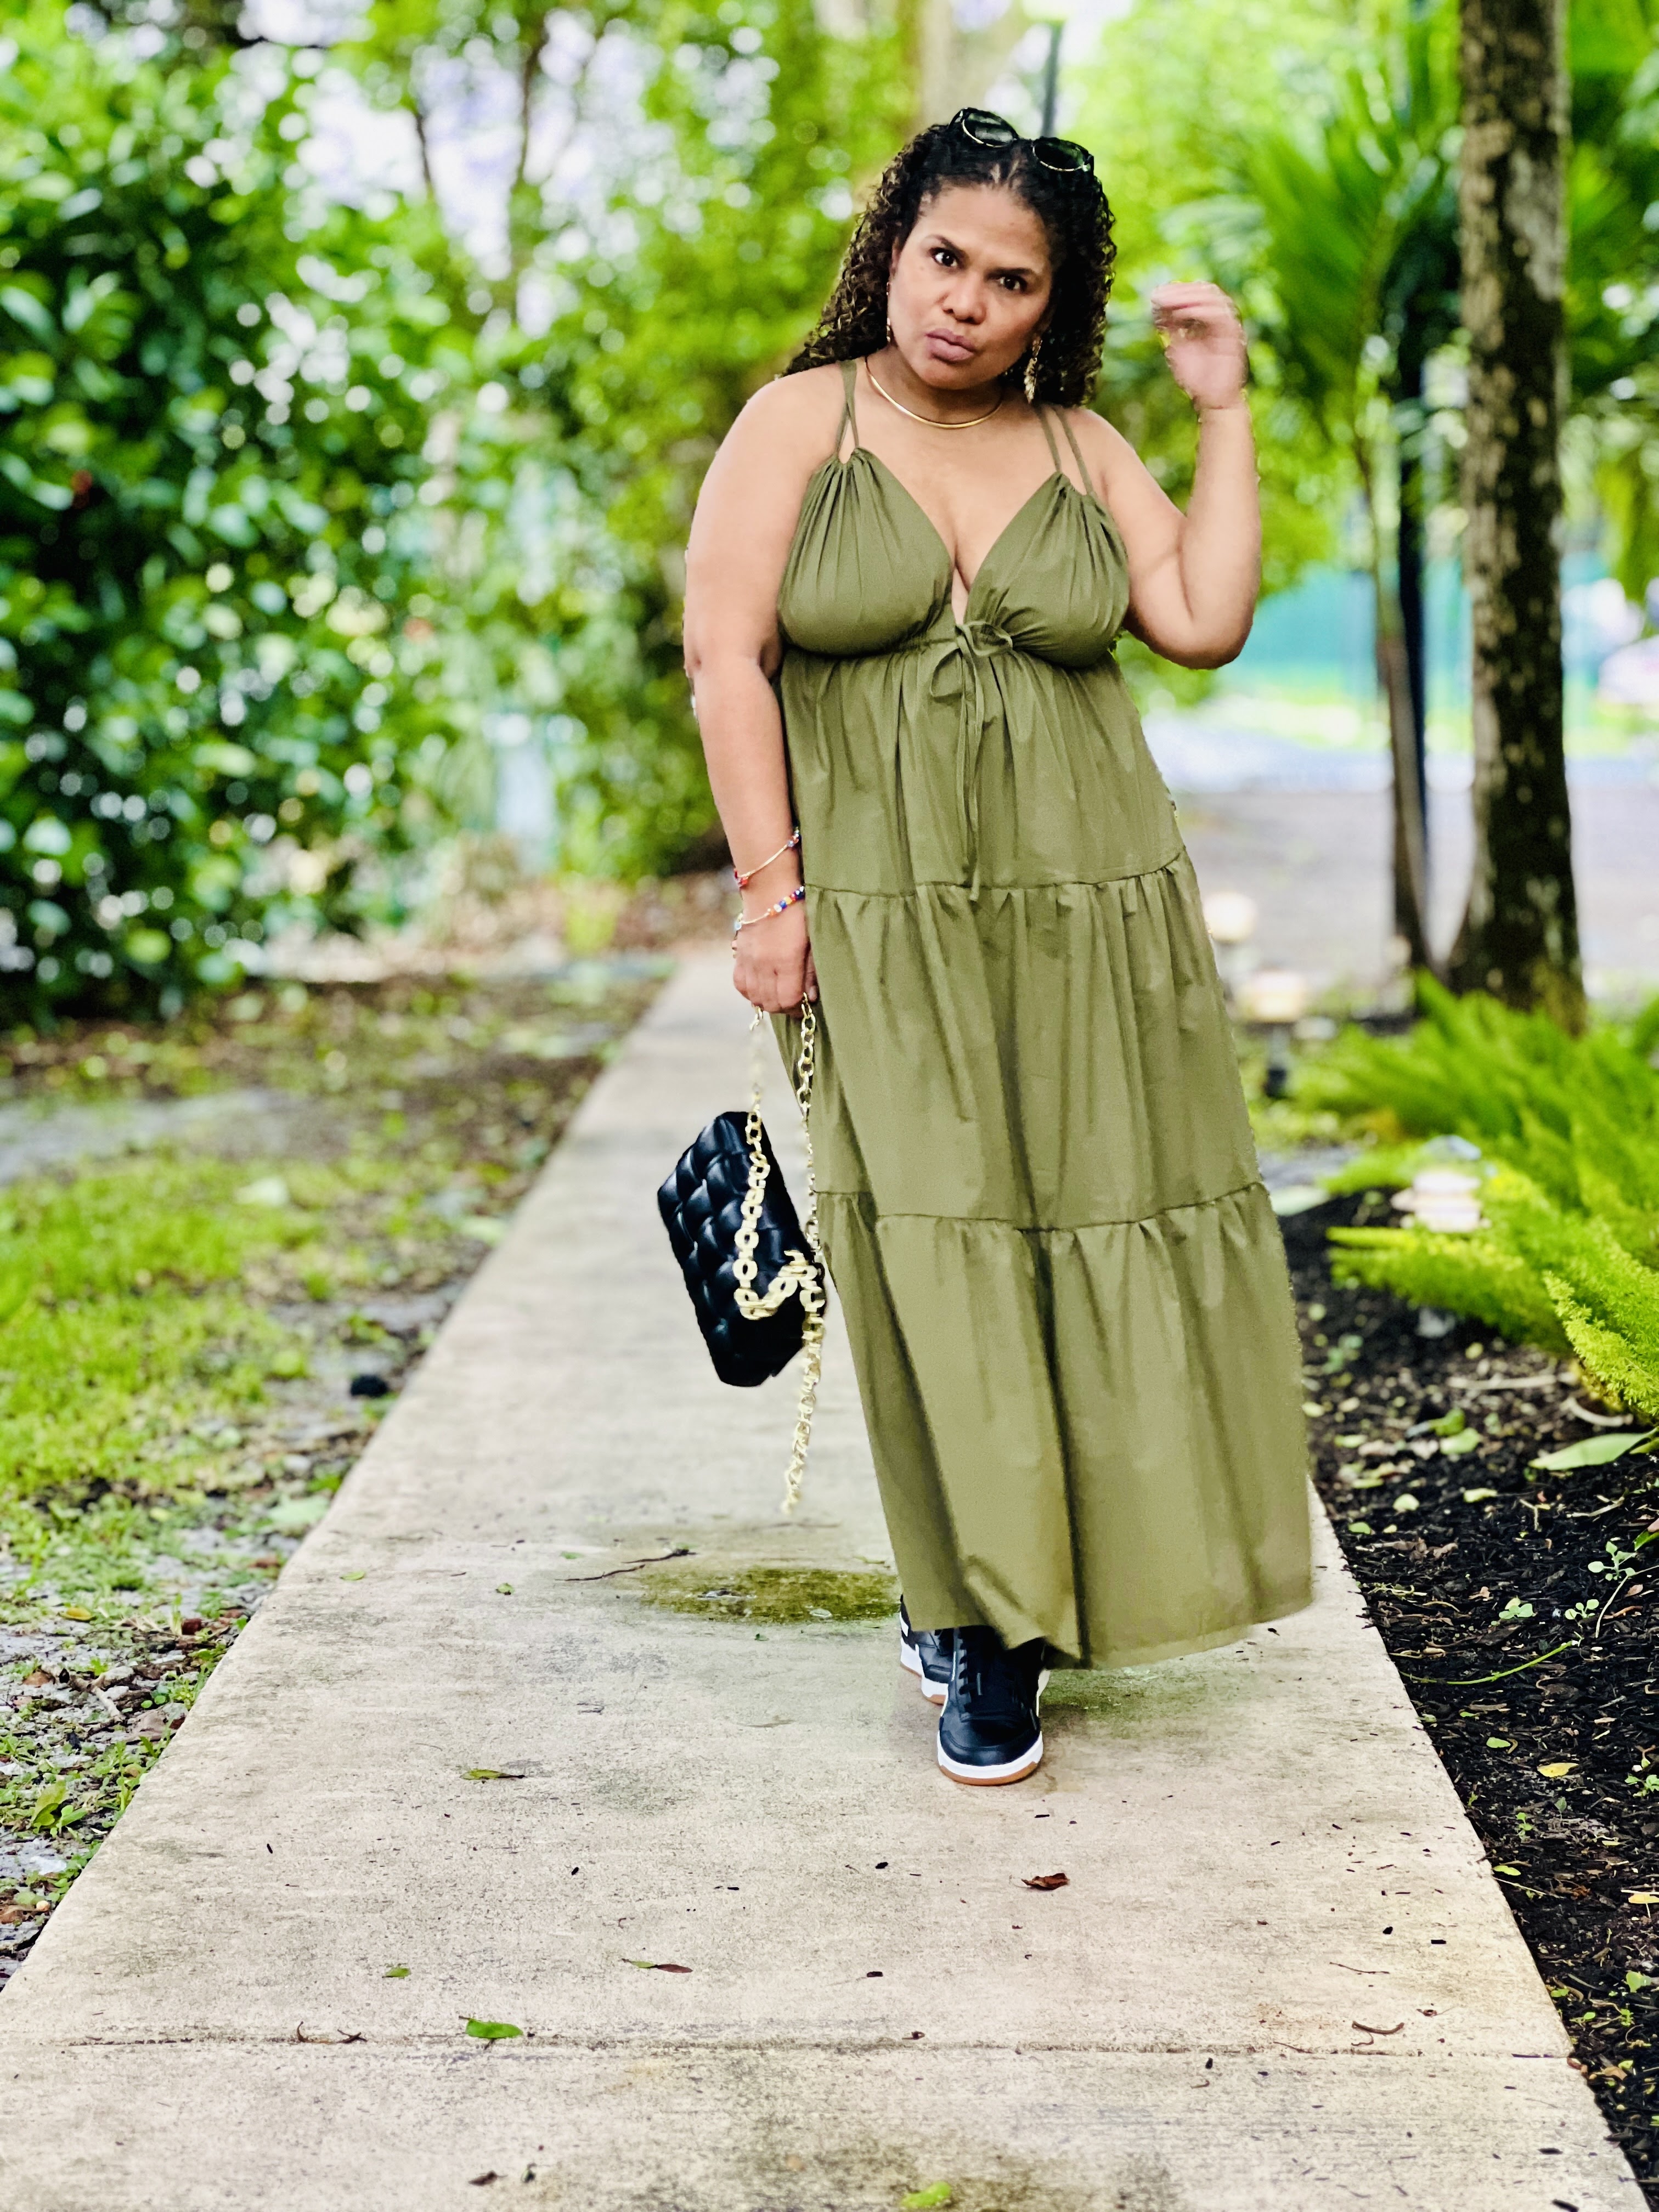
JOHANNA | @soveryjo
Unfortunately Fabric Mart Fabrics sell out quickly!
You can find similar fabrics by shopping the following categories: POPLIN & JACKETING.
Thanks for introducing me to Viki Sews. You did a great job!
ReplyDeleteThank you! They have really cute patternsZ I’m excited to try different ones.
DeleteThat looks great on you! I can't even tell you how many times my fabric gets pulled up into my serger! As a matter of fact it happened to me this morning. It's when I'm finishing the edges of an attached ruffle or tier. Makes me crazy! Thanks for letting us know about Vicki Sews. I've seen the patterns elsewhere with only 1 size, so it's good to know all sizes are available.
ReplyDeleteI honestly almost cried my eyes out, but I got myself together and figured out a way to make it work. lol
Delete