

Spring is here! Honestly, I'm still bundled up in sweatshirts most of the time, but the afternoons are getting glorious and warm and just a t-shirt will suffice for a couple of hours in the warmth on some days so I know the overwhelming heat is not far off. I love planning and organizing in all facets of my life, and spring garments for my wardrobe are on my mind. Naturally tanks are at the forefront of my strategizing for comfort in hot weather and I wanted to branch out with a little something new.

Anyone else have patterns that they've been eyeing for ages but haven't pulled the trigger? Who knows why I've kept putting off sewing the Grainline Studio Willow Tank. I've long admired the simple lines and I'm absolutely sure it would fit into my overall style. I've even tried drafting something similar myself with varying degrees of success, but never quite on the nose. A simple tank can go with just about everything from jeans to skirts to a high-waisted anything and become an utter staple. Since I had that feeling that this beauty is going to become a tried-and-true pattern for me, I wanted to ensure the fit was spot on and I took the time to make a couple of muslins (both of which I ended up finishing as they ended up very wearable). In the end, I just raised the bust dart a half inch and that was all the pattern needed to become the fit right for me.

There are two views to the pattern. View A is the simple tank top and View B is the dress which features a downward pleat at the hip line. I thought sewing both views would be a fun experiment and make great use of the pattern. I chose a fantastically gorgeous larger floral print in silk for the tank and a neutral-blue windowpane plaid in linen for the dress version. Both are fibers I love to wear and work with, so I anticipated very lovely results.

Something that irked me on this pattern are the fabric requirements. I sewed a size 2 and both the yardage for the tank and dress were far more that I actually needed and I followed the size chart for the 54" fabric widths. For the tank, 1 yard would be been ample, especially if sewing together a few shorter pieces for the bias binding, and the pattern called for 2.5 yard for the dress which left me with well over an untouched yard, even with the bias binding pieces cut in their entirety. I certainly won't complain because now I can sew more beautiful things with fabric I adore, but this is also fairly misleading and I wish they broke down the yardage requirements for different sizes more carefully.

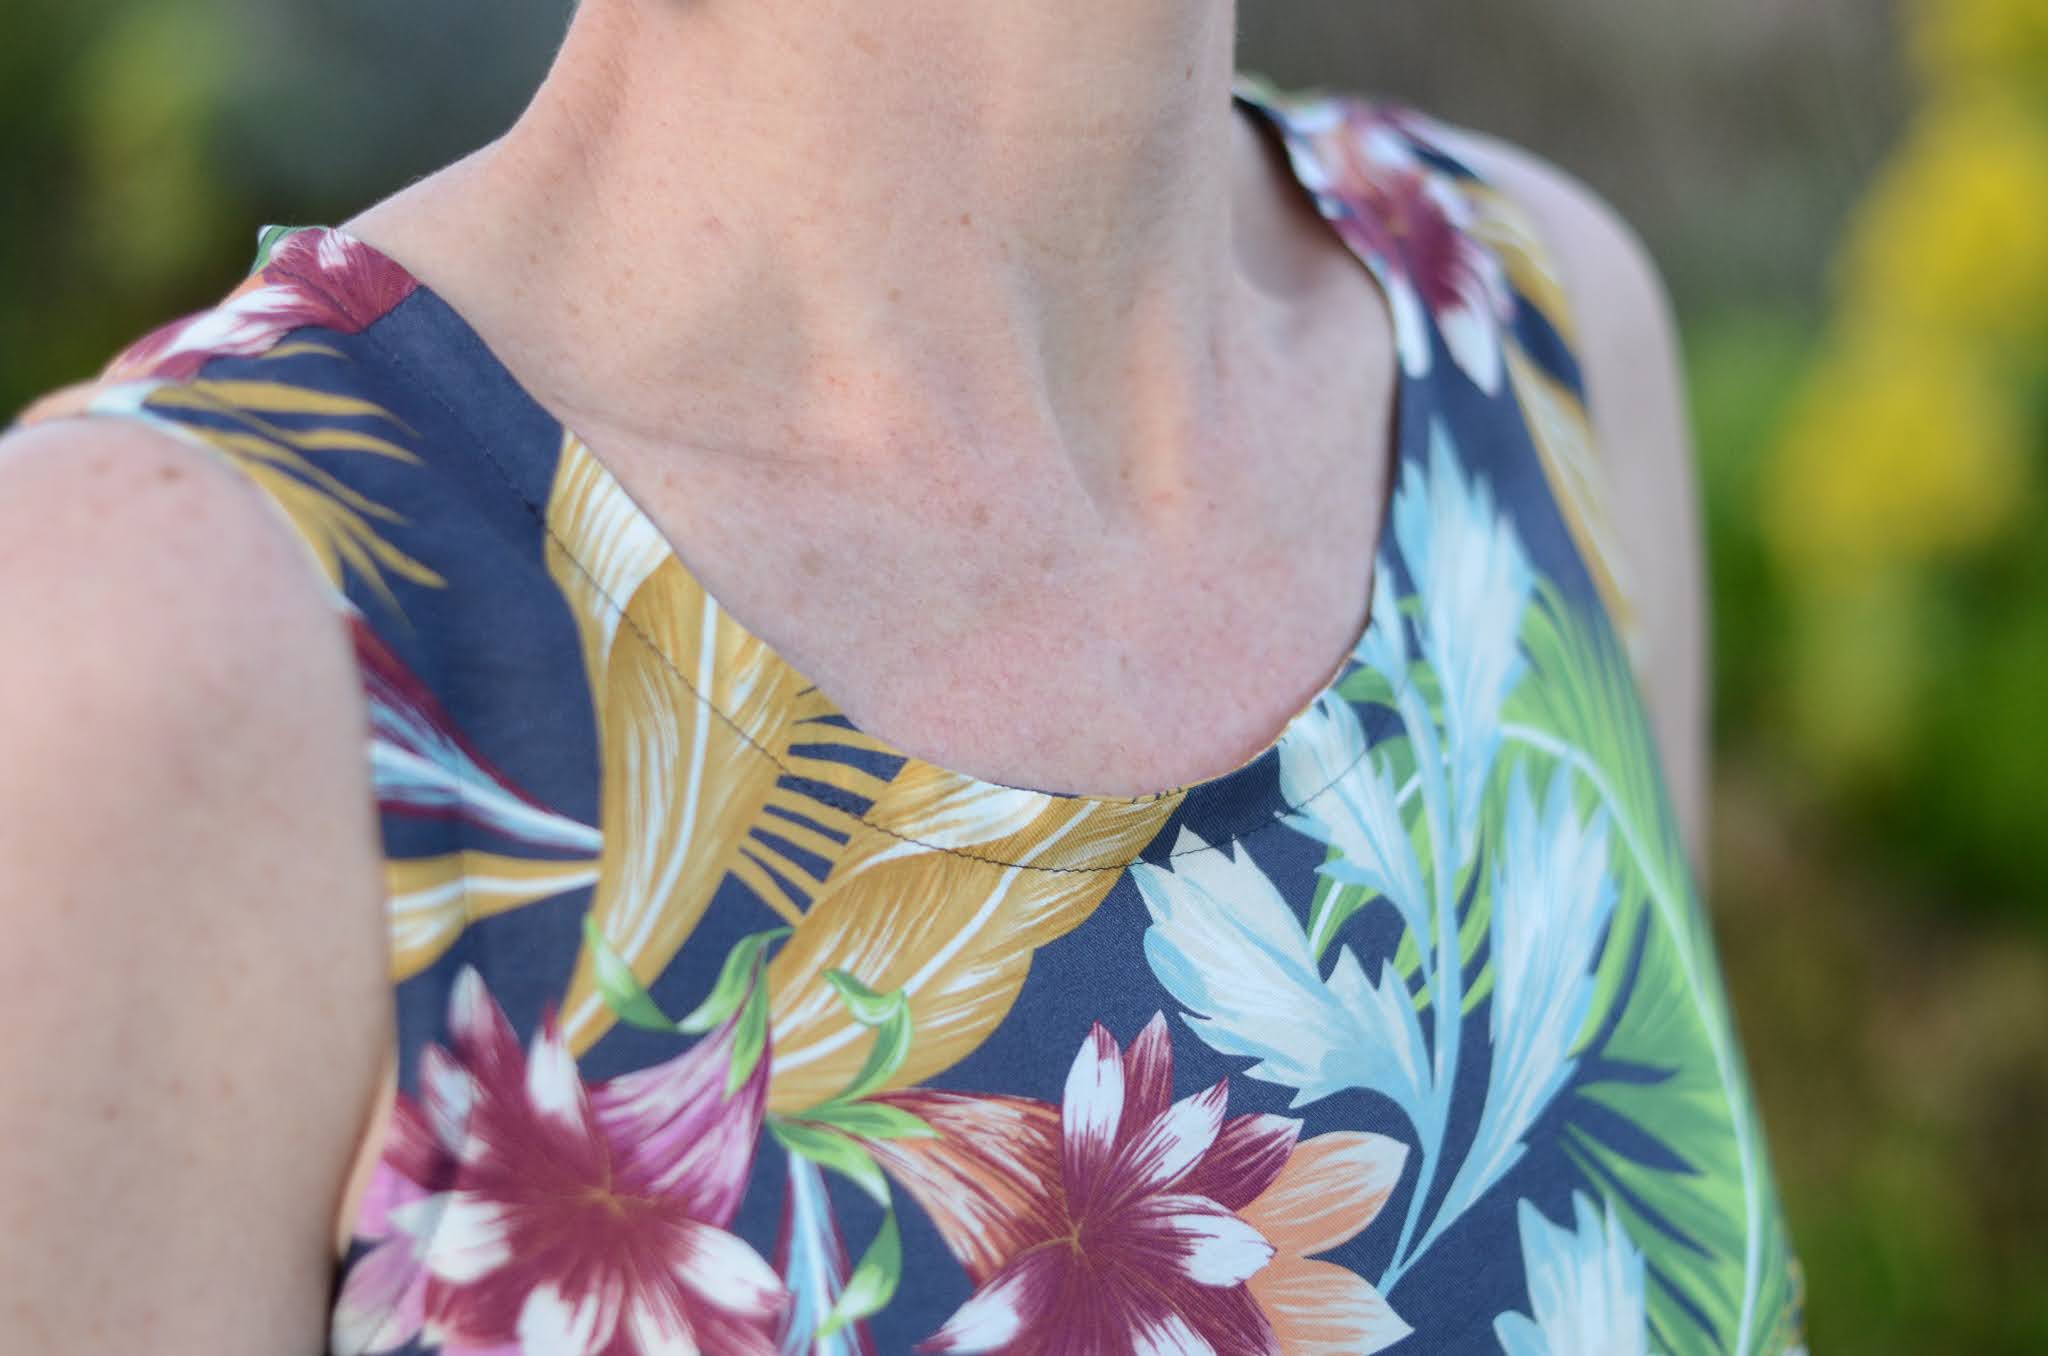
Onto the tank! The eye-catching floral is a rayon and silk twill blend and so remarkably light I know wearing this top will feel glamorous. After the initial wash, I went ahead and stabilized the yardage by giving it a gelatin soak and air dry before cutting. My only cheat with the pattern instructions was to cut the bias binding longer than the pattern requirements and not sew the ends together because I prefer to apply the bias flat instead of in the round to the neckline and armholes. I get more perfect results in the event the neckline grows a little. I used my handy yellow bias tape maker (finished width is 12mm, so I cut at my strips just shy of 1.25") ahead of time to get those wee folds on the bias strips just right. I then steamed the tape into the round against the neckline/armhole edge with my iron before pinning carefully and sewing. Don't forget your Microtex needle for delicate fabrics like this one! They really make a huge world of difference. I particularly love the wide hem on a style like this, the additional weight helps the hem hang beautifully and feel secure.

The linen felt so hearty and heavy after sewing the airy silk, but the fibers are soft and have a really lovely drape. This is a great weight for both tops or bottoms. This is a medium weight and not overly crisp, but does finger-press really well. This linen is just a treat to work with and not overly difficult to line up the plaid print at the seams. What I am really drawn to is the subtle plaid here and how the color basically mimics denim so I plan to treat it like a neutral. I truly love when a basic piece such as this has a little something special going on for interest. And since dry-cleaning has no place in my lifestyle, I went ahead and threw it in the washer and dryer; that casual linen rumple is so sophisticated and easygoing at the same time!

I am beyond delighted with the results of both fabrics sewn into the Willow Tank. I love taking this top to the height of fanciness with the gossamer silk and then trying the classy linen informal approach with the dress. Willow is an incredibly useful base pattern, too. I can see easily shortening the tank into a more cropped version, or adding a gathered waist, or omitting the pleat and lengthening the dress to a midi or maxi. Beautiful simple lines make hacking so easy! I am so happy to welcome this staple tank pattern into my wardrobe.
Thanks for reading! I know I can count on this pattern for many successful subsequent sews and I hope you're inspired to sew your own Willow Tanks in a variety of fibers. Please check out my Instagram page for many future sewing projects.
Unfortunately Fabric Mart Fabrics sell out quickly!
You can find similar fabrics by shopping the following category LINEN, SILK, & BLOUSE WEIGHTS.
You can also find our selection of Grainline Studio Patterns HERE.
Lovely! I love the simple and clean lines of your garments that highlight the beautiful fabrics and show that your garments are well made!
ReplyDeleteI like how the tank sits on your shoulders and the practicality of the linen.
ReplyDeleteThis encourages me to try sewing with dry clean fabrics ! I, too, don't have any place for dry cleaning in my life (health concerns over the toxins) and hate it that I have to pass on the silks for this reason. I was also intrigued by your gelatin wash... I'll have to look that one up !
ReplyDeleteThank you for sharing your creations and your natural methods for caring for your fabrics !
I'd not heard of this pattern so thanks for drawing it to my attention. I'd definitely make the dress.
ReplyDeleteBest practice for gauging fabric requirements would be to prepare the pattern pieces and do a mock layout before buying fabric. That, however, is a counsel of perfection and I can never be bothered. I do get annoyed though when I have more than a very little excess fabric left over.
Love your outfits. Such a simple look but easily worn plain or dressy depending on fabric choices and accessories.
ReplyDeleteJust seeing this- both garments are so lovely! I need to research the gelatin dye- is that for stability when cutting? Beautiful work!
ReplyDelete