


I’m ready for cocktail hour! This is the Belladone dress from Deer and Doe Patterns. It has been in my
pattern stash for a long time. I recently made two versions. This one is my Fabric Mart make. When I
first made this dress I didn’t think of any decade it could have looked like it came from. However, when
people saw the first version they commented it had a very Jackie O feel to it. So I thought “well, I'm
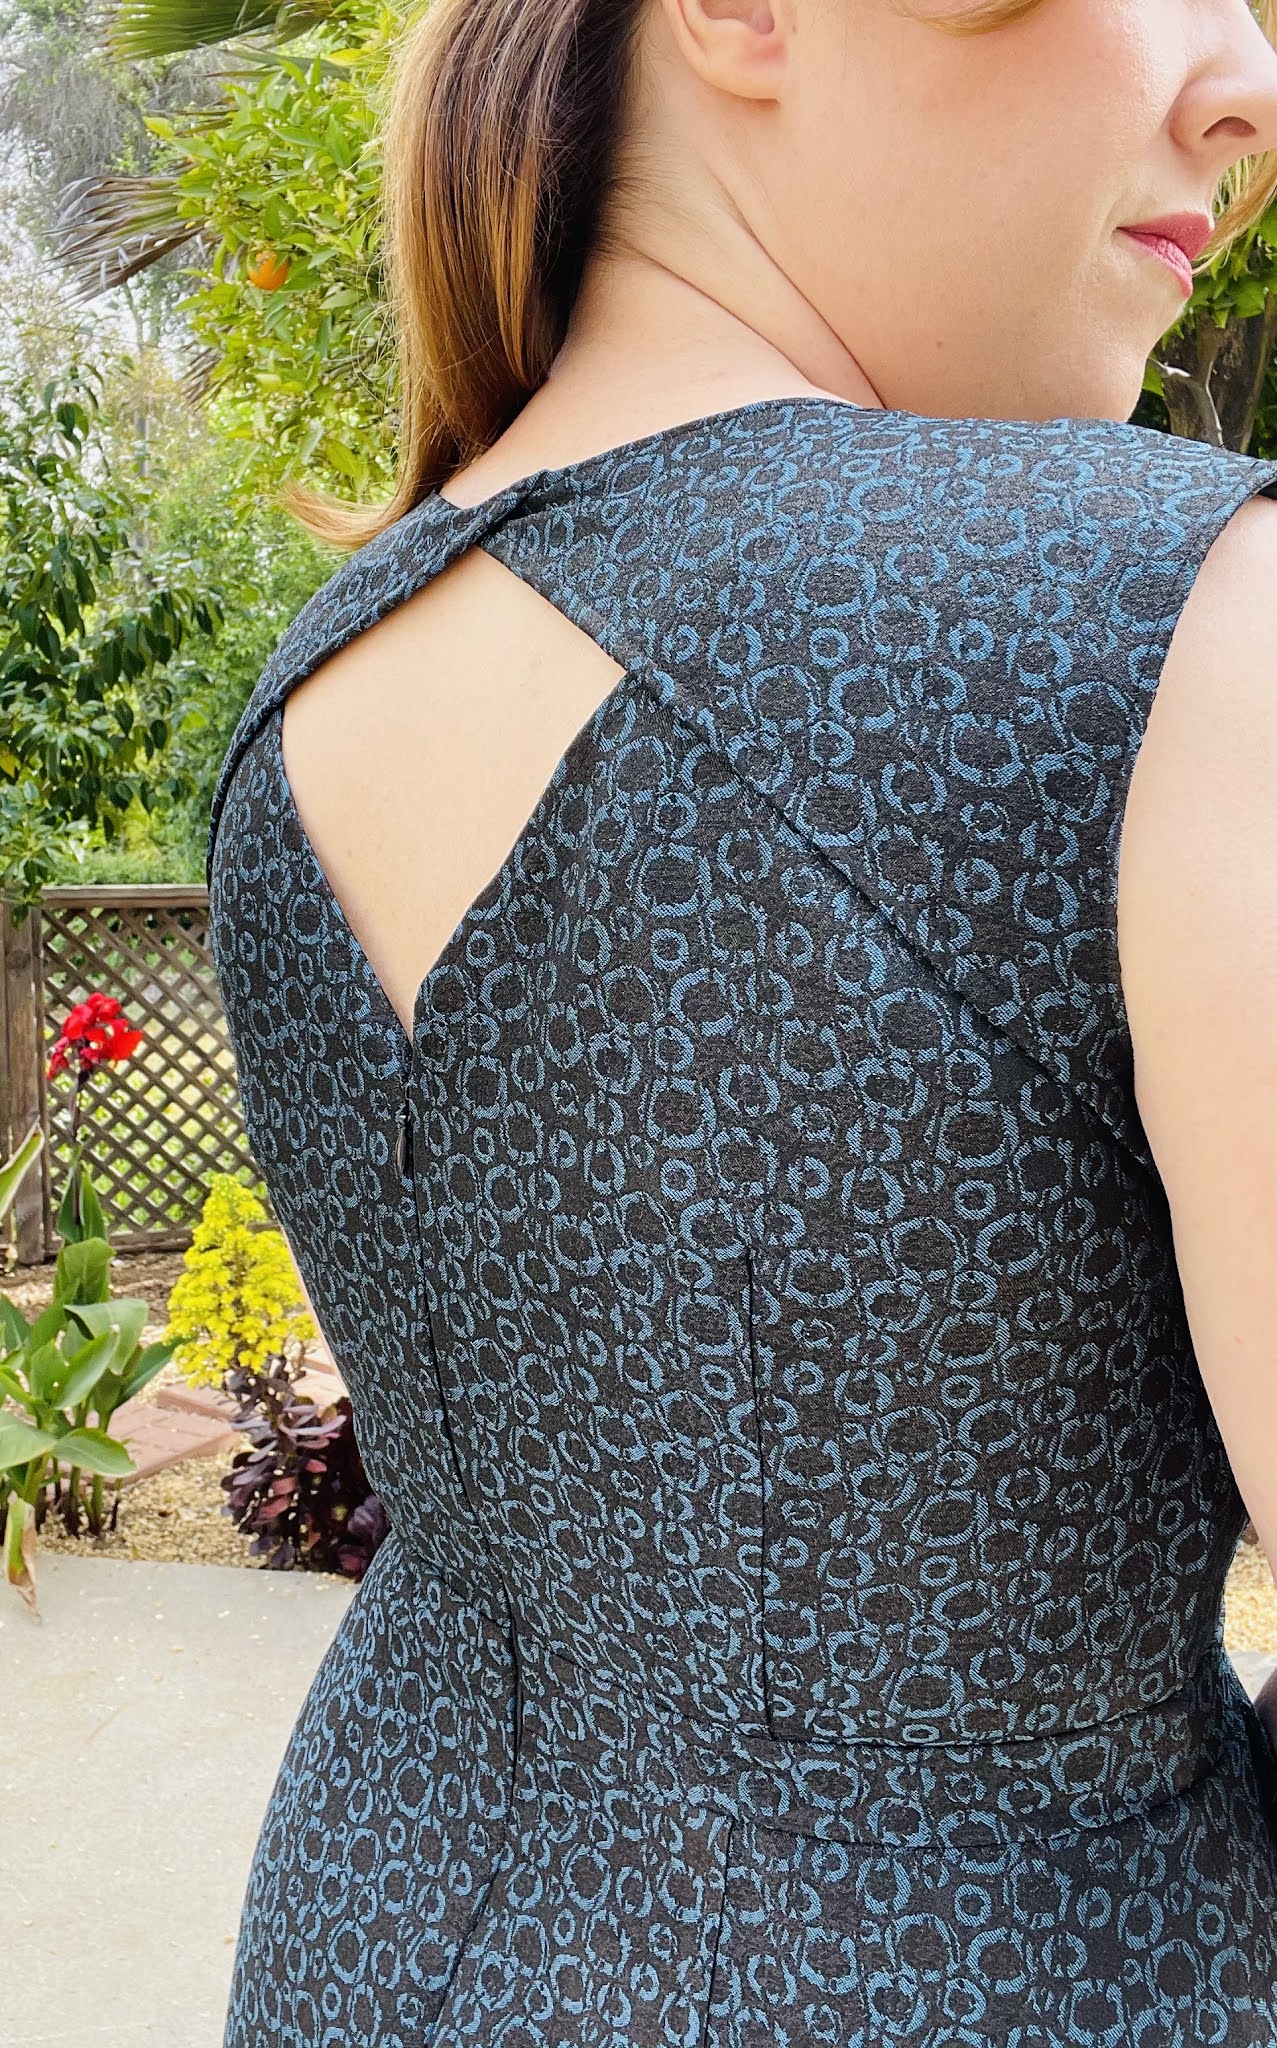
going to have to make a version for cocktail hour”. And here it is. This dress has very structured style
lines and I am here for it! From the structured bodice to the bell shaped skirt with perfectly placed
pleats. It is made of this lovely brocade that has a little simmer taking it up a level.
first made this dress I didn’t think of any decade it could have looked like it came from. However, when
people saw the first version they commented it had a very Jackie O feel to it. So I thought “well, I'm
going to have to make a version for cocktail hour”. And here it is. This dress has very structured style
lines and I am here for it! From the structured bodice to the bell shaped skirt with perfectly placed
pleats. It is made of this lovely brocade that has a little simmer taking it up a level.

Deer and Doe Patterns have wonderful instructions. Even though I did a lot of extras on the inside the
dress itself is quite simple to make. There are two versions you can make. View A has the cut out in the
back and View B give a more covered look with no cutout. With most of my dresses I start with a Full
Bust Adjustment. Deer and Doe Patterns come drafted for a C cup for reference. I like people to know
what cup size they are working with before starting a pattern so they can get a great fit! Part of doing
the FBA involved lowering the dart as well. That is always something to take into account when fitting
for the bust as you want the dart to point toward your apex. I also lengthened the dress as I like my
dresses hitting at my knee. I did opt not to do the hem facing and just did a simple narrow hem.
back and View B give a more covered look with no cutout. With most of my dresses I start with a Full
Bust Adjustment. Deer and Doe Patterns come drafted for a C cup for reference. I like people to know
what cup size they are working with before starting a pattern so they can get a great fit! Part of doing
the FBA involved lowering the dart as well. That is always something to take into account when fitting
for the bust as you want the dart to point toward your apex. I also lengthened the dress as I like my
dresses hitting at my knee. I did opt not to do the hem facing and just did a simple narrow hem.


When I start a new project I like to sometimes work with a new type of fabric or learn a new technique.
So to construct this dress I decided it needed an underlining or also known as a flat lining. What is an
underlining you say? Isn’t it just the same thing as a lining? Not totally. This is a quote taken from the
book, Hi-Fashion Sewing and Tailoring By Helen S. Jones “Underlinings and linings are often confused, they’re both shape retainers….but underlinings are “shape builders”. A lining is a separate second garment that is made and hangs inside the fashion fabric. An underlining is lining fabric that gets sewn into the seams of the main fashion fabric. Basically you cut your fashion fabric and lining fabrics pieces and then you sew the lining fabric directly onto the fashion fabric making them one new pattern piece. Then you sew the garment as you would according to the instructions. This was my first time doing an underlining and this technique really gave the dress more of a couture feel to me. I finished the inside with French Seams as well. I love a good finish on the inside of my makes!
underlining you say? Isn’t it just the same thing as a lining? Not totally. This is a quote taken from the
book, Hi-Fashion Sewing and Tailoring By Helen S. Jones “Underlinings and linings are often confused, they’re both shape retainers….but underlinings are “shape builders”. A lining is a separate second garment that is made and hangs inside the fashion fabric. An underlining is lining fabric that gets sewn into the seams of the main fashion fabric. Basically you cut your fashion fabric and lining fabrics pieces and then you sew the lining fabric directly onto the fashion fabric making them one new pattern piece. Then you sew the garment as you would according to the instructions. This was my first time doing an underlining and this technique really gave the dress more of a couture feel to me. I finished the inside with French Seams as well. I love a good finish on the inside of my makes!

This is really a sophisticated style dress. When applying the underlining technique this dress definitely
got the shape it needed to stand up to this brocade. The finishes on the inside also perfectly match the
structure of the outside. I am so pleased that I was able to make it in such a gorgeous fabric from Fabric
Mart!
structure of the outside. I am so pleased that I was able to make it in such a gorgeous fabric from Fabric
Mart!
I hope that this inspires you to try to take your sewing to the next level no matter what skill set you
have. As always you may contact me on Instagram or Tiktok if you have questions. I love to help people learn new tricks for their sewing!

HANNAH | @modistrasews
Wow! Meticulously fitted and sewn.
ReplyDeleteLove it! What a great use for a lovely fabric. You look fantastic! Great construction techniques too,
ReplyDeleteWow!! Beautiful fit, I love it.
ReplyDeleteThis is a beautiful and well fitted garment.
ReplyDeleteBeautiful fit of a very lovely fabric. Great shoes too!
ReplyDelete