

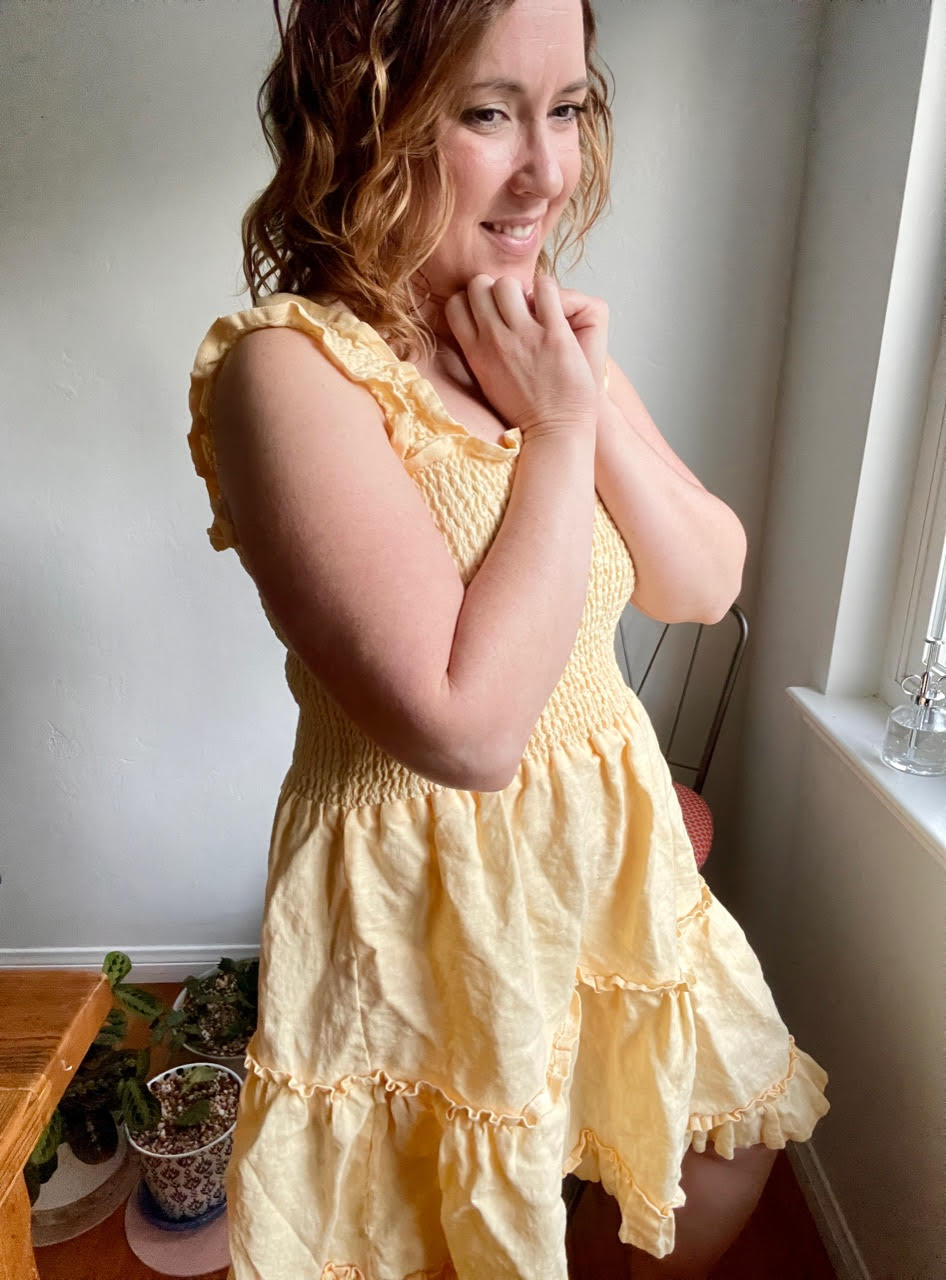
The shirred dress! Have you heard of shirring? What is it? How do you do it? Today on the Blog I will be walking you through making your own DIY shirred dress, no pattern required. Let’s get started.
Shirring is when you gather an area of fabric or part of a garment by sewing elastic thread in parallel rows. The elastic thread causes the fabric to shrink up. It is pretty easy and gives a great comfortable fit to a garment.
First let’s talk about the materials you will need. You will want to work with a lightweight fabric. I did use linen from Fabric Mart for this. I want to note, you will get different results with different weights of fabric. The linen gave me a “chunky” look with the shirring. If you use a lighter weight fabric you will get very tight shirring, which is great too. So take that into consideration when buying your fabric. I personally wouldn’t go heavier then the linen I used but if you want to experiment go for it! Next you will need elastic thread. I used the Dritz brand and really loved the results. Of course you will need matching thread and also rulers to measure all your rectangles of fabric.

Materials List:
• Lighter weight Fabric (how much you need depends on the length of your dress) I used about 3 yards for a knee length dress, it was more then I needed.
• Elastic Thread
• Coordinating Thread
• Rulers
• Marking Pen
To get started I only really took three body measurements. I measured my bust, the length I wanted my bodice to be and then after I made my bodice with the shirring I measured for my straps while wearing the bodice. When you go to mark out your rectangles you will need to measure 1.5x your body measurement. For example my bust measures 40 inches, I times that by 1.5 (40 x 1.5 =) and that give me 60 inches. So my rectangle for my bodice needed to be 60 inches wide. Then I needed to figure out the length. I liked around 12 inches (11.75 inches to be exact). Now that we have the actual width and length figured out you will need to add seam allowance in. I chose 5/8 inches for the seam allowance. So my total first rectangle need to be W61.25” x L13”. My fabric was not wide enough to just cut it out at 61.25” so I divided that in half and cut out two rectangles at W31.25”xL13”. I hope I haven’t lost you yet with the math. I promise it is an easy dress to make! I used my sewing project planner to keep track of all my measurements.


Your first tier will be the same width as your bodice and whatever length you want the tiers to be. Tier #2 will be 1.5x’s the width of the first tier and whatever length you want. Because I did a shorter dress I simply added a ruffle to finish it, that last part was 1.5x’s the width of tier #2 and I made the length 4” (that is with seam allowances added in). Because the tiers get wider and wider you will probably need to cut multiple pieces to get the width you need, especially from the ruffle. I cut 4 pieces total for the ruffle. Don’t forget to add seam allowance in to each measurement for width and length. Once you have all your measurements figured out and pieces cut you finish your raw edges depending on how you what the inside finished. Now it's time to get to the shirring!
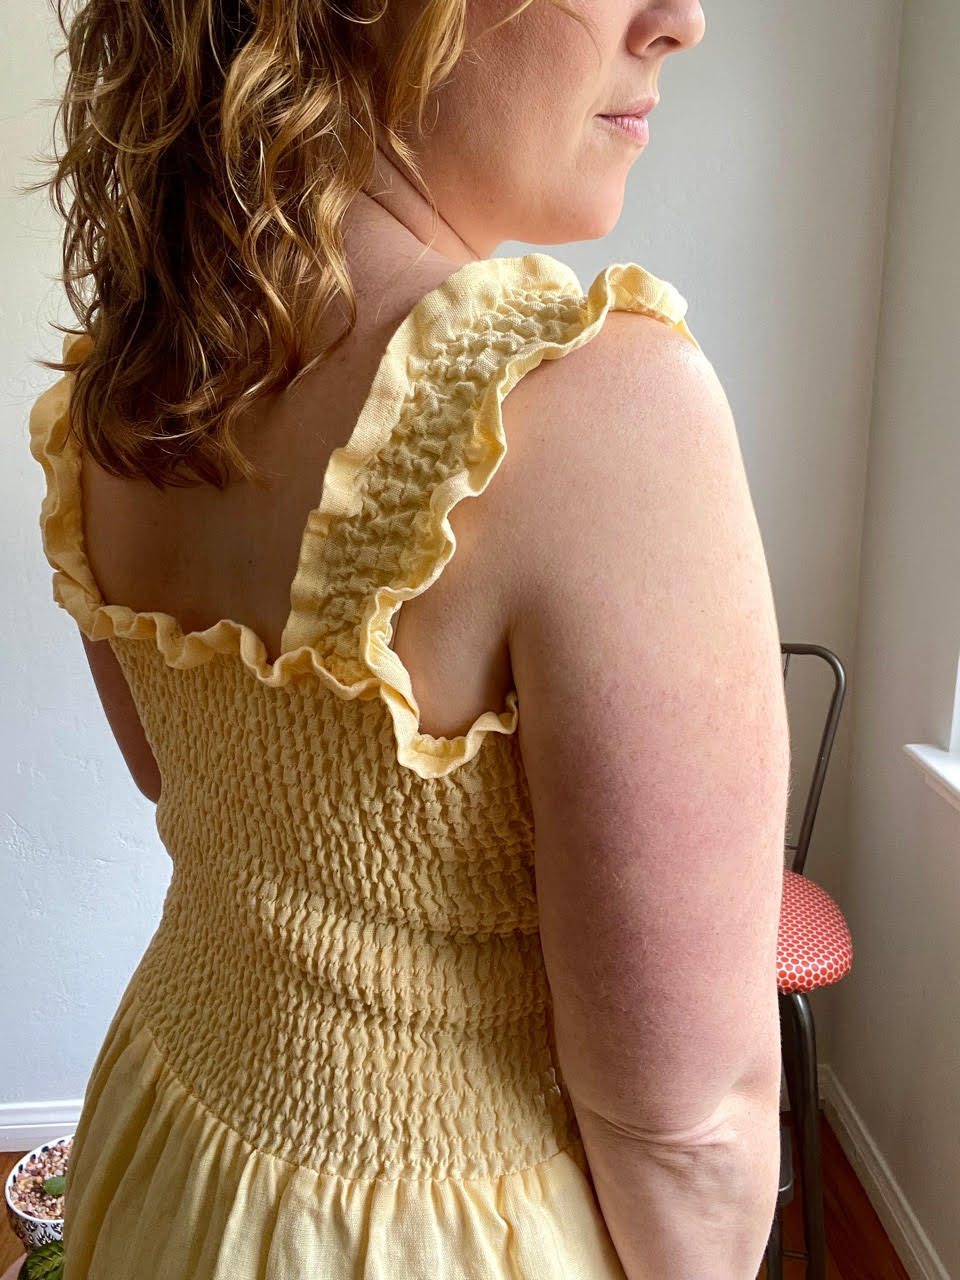
To get started with shirring your bodice, first you will need to hem the top edge. Once the top edge is hemmed you can draw horizontal lines as guides for your shirring stitches. I measured down 3/4” from the top edge of the hemmed side and drew my first line, this gave me a nice ruffle look for the top edge. I repeat this ruffle edge throughout the dress. Then I spaced all my corresponding lines 3/8” apart. Draw your lines all the way to the bottom edge.


Now you will need to set your machine up for shirring. Start by hand winding the bottom with your elastic thread. When doing this, I ever so slightly pulled the elastic thread while winding to create a small amount of tension.


You will want to have extra bobbins ready to go. Insert your bobbin and your coordinating thread as usual. At this point you may want to do some test rows. You may find that you need to adjust the tension on your machine and increase your stitch length. I found that setting my tension at 6-7.5 and adjusting my stitch length to 3.5 worked best for my machine. Once you feel you have the tension right you can start sewing your lines of shirring. The first line may not look like it is shrinking up at first. Check to make sure you elastic thread is not all squiggly on the back side of the piece you are sewing. You want a straight line of elastic thread.

You can also backstitch at the beginning and end of your rows. Once you get going your shirring should start to shrinking up. When you are done with all your rows of shirring you may feel like you want it to shrink up more. All you may need to do is lightly press or do bursts of steam from your iron to help shrink it. After ironing sew up your side seams. I used French seams to in case the lines of elastic thread. I did find that with the linen, to get it to really shrink up I needed to throw it in the washer and dryer and then is shrunk up a lot better.

To get the right length of the straps you will need to try on your bodice. I measure from the top edge of the bodice over my shoulder to the top edge of the back side. Take that measurement and add 1.5x’s the length you just measured. You can determine how wide you want your straps. For me I liked my finished strap to be around 3 - 3.5 inches. Add seam allowance in for the sides to be hemmed and for the bottom the straps to be attached to the dress. Hem both of the long sides of your straps. From there use the same method as you did for the bodice to draw on your shirring lines and then start sewing on your elastic thread. Make sure you also finish any raw edges.


To attach the straps pin them in place where you want them, I like them to cover my bra straps. Pin them to the first shirred line, sew right over the first shirred line on the bodice on the front and back. This will help hide your stitching and will not interrupt the ruffle at the very top edge of your dress.

For the skirt you will be sewing as just like any tiered skirt. Sew up the side seams for your very first tier. You will not need to do a gathering stitch for the first tier at the waist. On the second tier sew the side seams and then finish the top edge by hemming it.

Next, set your machine up to do a basting stitch (make sure your bobbin thread is regular thread, not the elastic thread). Sew two rows of basting stitches right under your hemmed edge, then gather.

To attach the tiers I laid the second tier on top of the bottom edge of tier one. So tier one would be laying face up and I place the top edge of tier two with the its back side against tier one.

I place them so that the top of tier two overlaps enough to stitch it on to the first tier. You will follow the same process for the ruffle detail on the bottom the only difference is, is that you will need to hem both sides of the bottom ruffle. This will give you a finish hem on the bottom of your dress.
To attach the skirt to the bodice you will need to stretch the bodice to fit the top edge of the skirt, pin them right sides together.


The shirring on the bodice will help gather the skirt into place. Stitch your skirt and bodice together by stretching the bodice while sewing.

Give your seam a nice press and your DIY shirred dress is complete! Make sure to show us your completed dress using one of Fabric Mart's great fabrics. Tag Fabric Mart and myself so we can see your great makes!

Unfortunately Fabric Mart Fabrics sell out quickly!
You can find similar fabrics by shopping the following category LINEN.
You look super cute in this sunshine yellow! Since I am pretty sure I had this dress as a girl, you have inspired me to change it up with just a shirred underbust. 🤔 Maybe in a Bordeaux voile? *squeal*
ReplyDeleteSo cute!
Wow, wow, wow ! This is terrific and it makes me want to try shirring a piece for myself. Love your choice of color and fabric.
ReplyDeleteSo super cute!!
ReplyDelete