
Made by a Fabricista: Preparing for the Holidays


Hard to believe the holidays are fast approaching and in six weeks we will welcome a new year!  I am determined to celebrate in a big way!!!   I picked Vogue V1722 by Designer Nicola Finetti for its statement bodice and statement sleeves. Yes, indeed, I am loving its close-fitting bodice, plunging neckline, balloon sleeves, and flared skirt. 


I dared to make this special dress in Fabric Mart’s embroidered silk dupioni, a fabric I had not sewn before. I did not prewash the silk dupioni as dry cleaning will be my method of care for the finished garment. I underlined the bodice with prewashed black cotton batiste from my stash instead of the suggested interfacing. Though not called for by the pattern, I also underlined the skirt the same way to minimize wrinkling when I wear it. I prewashed black silk charmeuse (from Fabric Mart) to use as lining. Then I lined the balloon sleeves with champagne colored organza from my stash to give it more body. For the hem band, I used French fuse as interfacing for the charmeuse. Size 60 needle was perfect for these fabrics. Believe me, with all its details, this dress is not something you can make in a hurry!

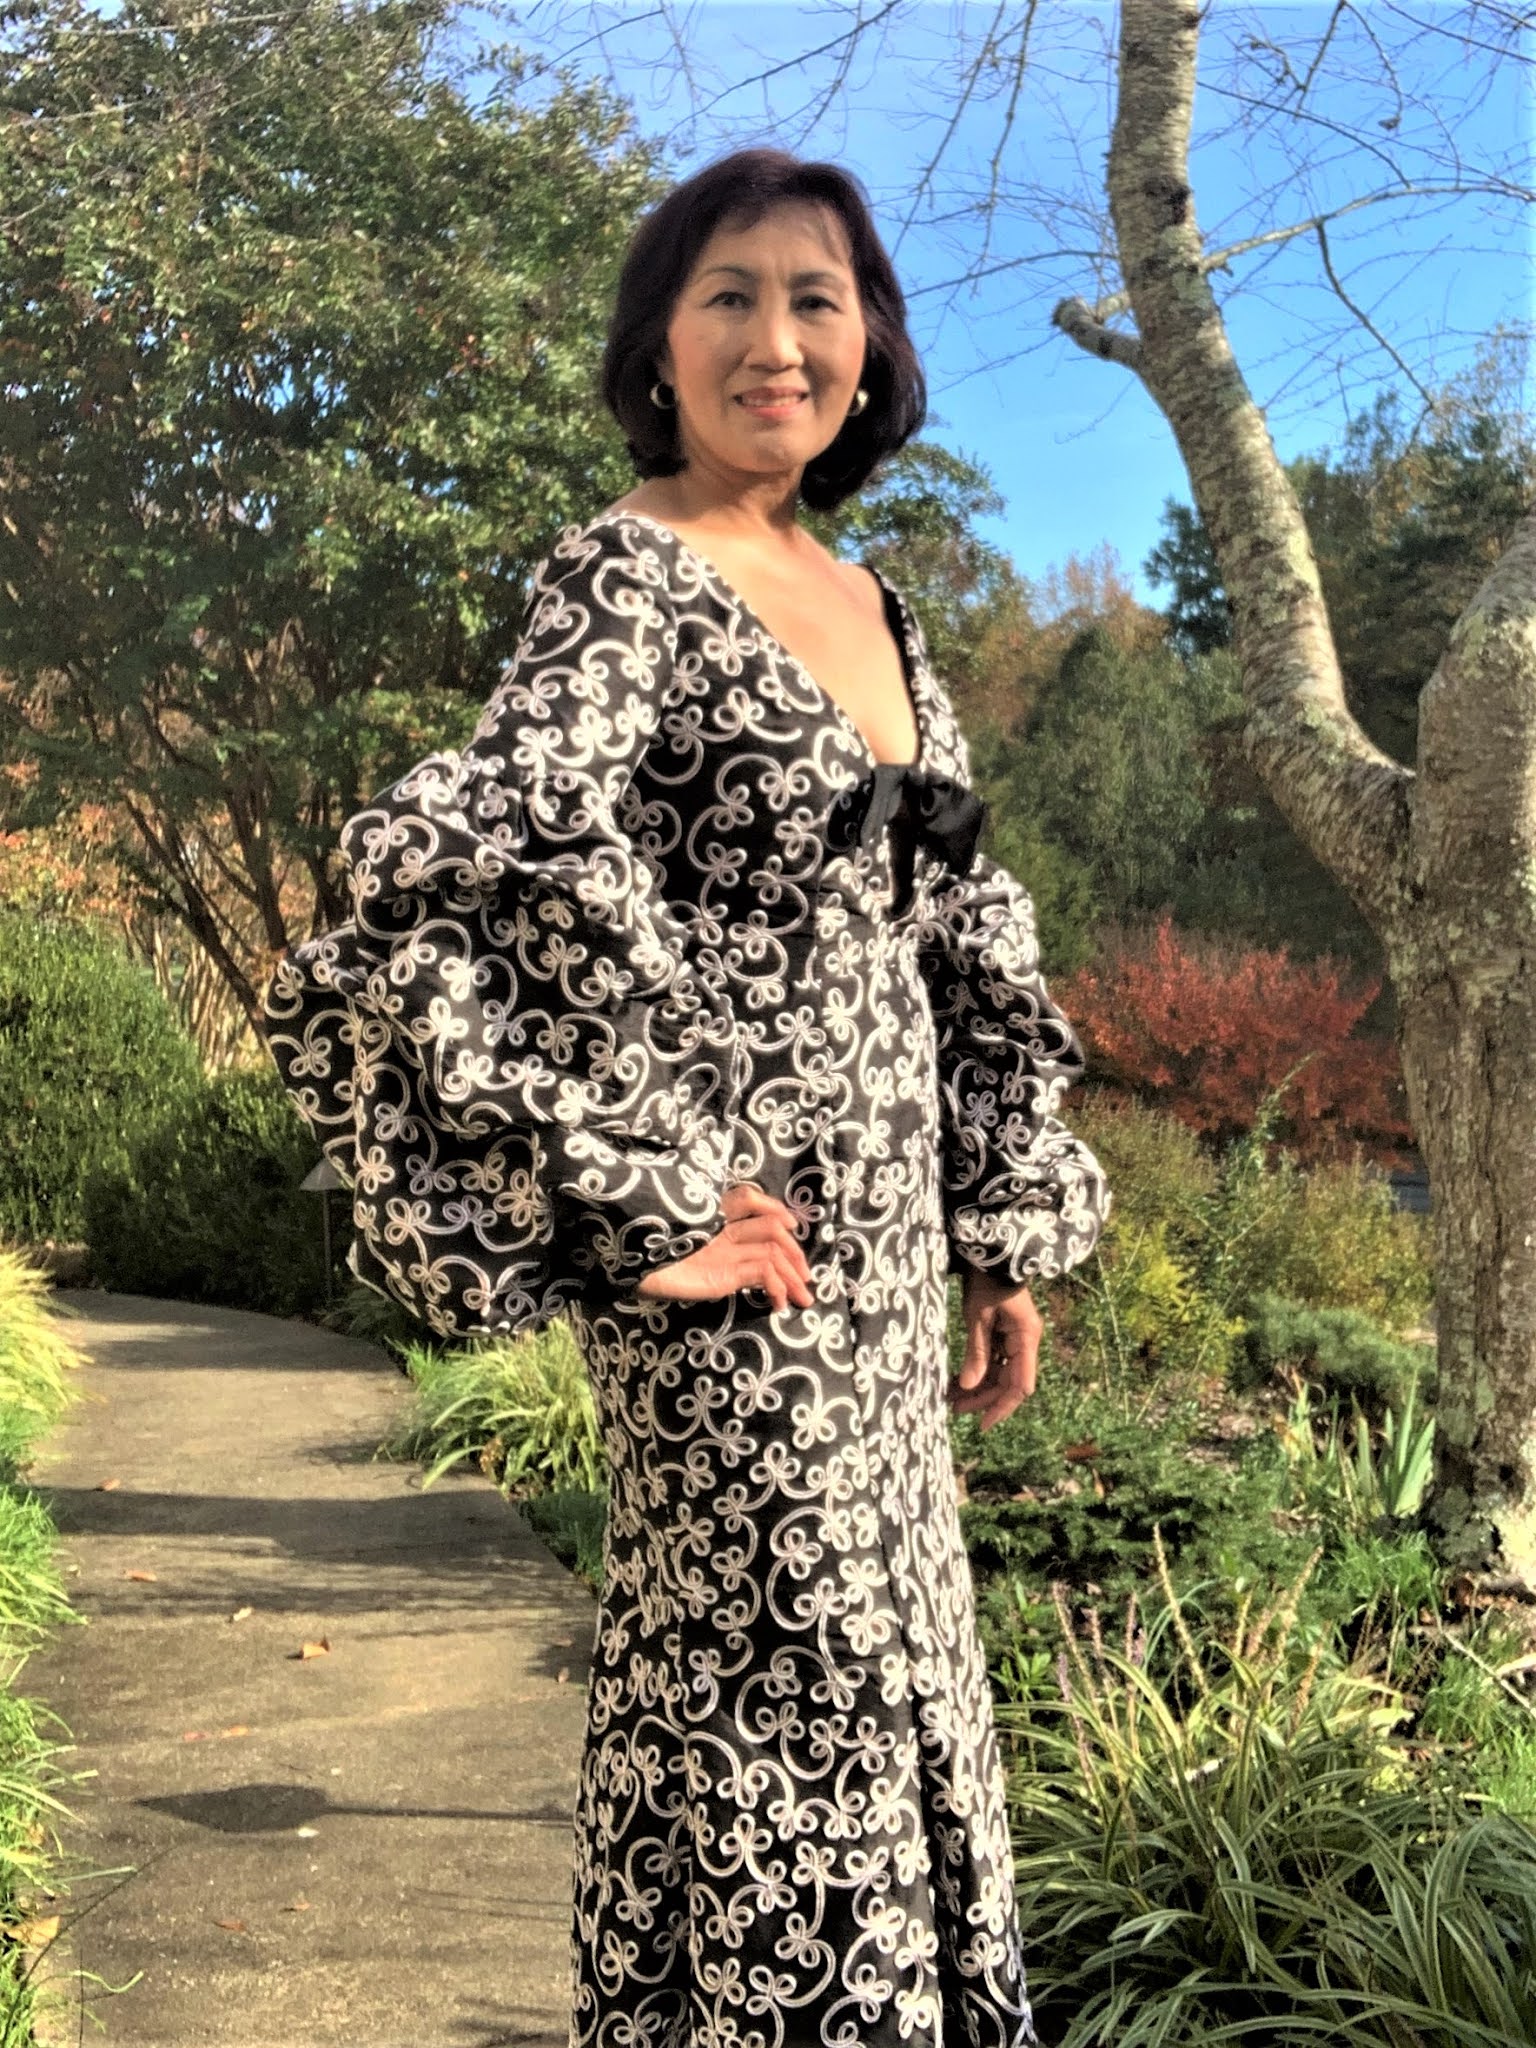
Because of its distinctive style, I highly recommend making a muslin first. The bodice has a princess seam and is lined. The deep plunge is all the way to the waistline, but I did not want that much exposure. To decrease it, I stitched the front bodice 2 inches up from the waistline and stitched the strap 6 inches up from the waistline. The bodice hangs by 1 ½ inch on each shoulder and attaches easily to the flared skirt and closes in the back with an invisible zipper. I cut in half the width of the hem band so that the skirt, which is longer in the longer in the back than the front, would not touch the floor. 

The sleeves are super dramatic. The upper sleeve is lined and attached to the gathered lower sleeve, which I lined with organza to make the bubble look standout. Each lower sleeve has 11 tucks stitched in different directions and 3 pleats on the inseam. Because the sleeves were too long, I added two 5/8’ tucks on the inseam of each sleeve and increased the size of the middle tucks by 5/8’ each. A sleeve band controlled the look.

Additional details: I doubled the size of the bow (black charmeuse lined with organza) attached to the front strap to make it more proportional to the dress. Hand stitching in the armhole binding, arm band, and hem band gave the inside of the dress a professional finish. 

Wow, I feel so fancy! The design of the dress and beautiful fabrics gave me a striking dress. I am dreaming of an unforgettable celebration already. 

Til next blog,

MARY ANN  @anasewperfect

Unfortunately Fabric Mart Fabrics sell out quickly!
You can find similar fabrics by shopping the following categories SILK & DUPIONI.

Comments

  1. Adorable make! Well done ❤️🧵🪡

    ReplyDelete
  2. This dress is amazing and you look fabulous in it! Thank you for the inspiration!

    ReplyDelete
  3. The dress is very dramatic and looks wonderful on you. You always give such great tips on ways to make fabric work for your creations. Thanks so much for sharing them with us here. May your holiday season be joyful and beautiful.

    ReplyDelete
  4. Oh my gosh your dress is beautiful! You wear it well! Happy holidays!

    ReplyDelete

Post a Comment

Thanks for leaving a comment! All comments are reviewed before posting to help us eliminate spam. Your comment will be posted within 24 hours.

Popular Posts You Might Like

Made By A Fabricista: Liberty Snow Day

Hi everyone! While we’ve been blanketed with snow out here in Southeastern PA, I decided to conquer my fear of button holes and make NewLook pattern N6749. I was able to snag a few yards of the Jess + Jean print Liberty of London Tana Lawn for it. It’s always exciting when Fabric Mart is able to get Liberty fabrics in! I always make sure to grab some.  Cutting into a beautiful piece of tana lawn is scary every time. The fabric is such good quality, I’m afraid to mess it up! I had to be extra careful as this is also the first directional pattern I’ve worked with. But one of my assistants made sure all of my pieces were laid correctly. Something I wanted to try out with this dress was finishing the inside seams using the overlock stitch on my domestic machine. Normally I would french seam, but it was nice to not have to worry about cutting seam allowance in half, sewing, trimming, flipping, and sewing again. Next time I would cut the seam allowance back before overlocking, but I thin...

Made By A Fabricista: Embracing Winter in Wool Boucle

As winter drags on, the cold weather is such a bummer to me and feeling uncomfortable and cold so often is rough. Meanwhile, I listened to a podcast all about how people in very northern countries deal better with the onset of dark, freezing winter with a radically different mindset of embracing the inevitable season by reframing the chill as refreshing and the opportunity to spend most time indoors as cozy. I can do that!  I found a gorgeous, quintessential wool boucle suiting in black and white to make myself a luxurious outer layer while I’m outside attempting to embrace the sting of dry winter air… It’s kind of working. So classic, so chic! Wearing boucle is always an uptown move and I certainly do feel sophisticated in it. This black and white houndstooth combination feels especially Old Hollywood, and what a treat to make something with this!  I sewed the Daphne Jacket from Vivian Shao Chen. There are no closures, and the shape is boxy and very easy to wear over multipl...

Made By A Fabricista: Ghostly School Uniform

When Fabric Mart asked me what fabric I wanted for my first project I knew EXACTLY what I wanted to make, Nene Yashiro from Toilet Bound Hanako kun (a weird but cute anime) but as cute as the design was, I knew I'd need to adjust the colors to a slightly warmer tones to better suit my complexion and undertones. For the main dress I was so happy to find an off white cotton/Lycra stretch twill that was opaque enough to not need a lining and stretched enough that I could continue avoiding my nemesis; zippers. I wanted to try out having a seamless center front panel, so I modified one of my existing go-to bodice patterns, and after figuring out what length I wanted for the skirt, was able to have the center front panel incorporated into the center front panel of the skirt. I then had the rest of the bodice as their normal waist length so that I could add an additional panel to the skirt to be able to have enough width to have volume and gather it down evenly around my waist. The hem h...