

I’m so impressed! Everyone in the “Summer of T-Shirts Event” has come up with some amazingly creative ways to change up that ol’ T-shirt pattern!
As a fashion designer and patternmaker, I’m always trying to come up with new and interesting designs while sticking to classic silhouettes. At the end of the day, when you are sewing something yourself, you are the designer because you are making the decisions for fit and fabric.
One of my favorite things to do is to take a simple, yet well-fitted T-Shirt pattern, (I love my mom’s Palmer/Pletsch Basic Knit Tee #M6964) and find really interesting, even unusual fabric to make it out of. I take the one T-shirt pattern and fit it slightly differently for each type of knit based on its weight and stiffness. I like to use border and large-scale prints or even plaids to play with interesting print placement. Sometimes the simplest pattern can be made so interesting if you place your print well.
I’m usually writing about fitting and alterations, so I’m really happy to change it up with some sewing and styling tips. I got a lot of my time-saving sewing tips from the Knits for Real People book by Sue Neall and Pati Palmer.
There are a few things I cannot live without when sewing knits that do affect fit:
SewkeysE Knit Stay tape (the yellow one) to stabilize necklines, shoulder seams, and even armholes, especially when there is rayon involved. 
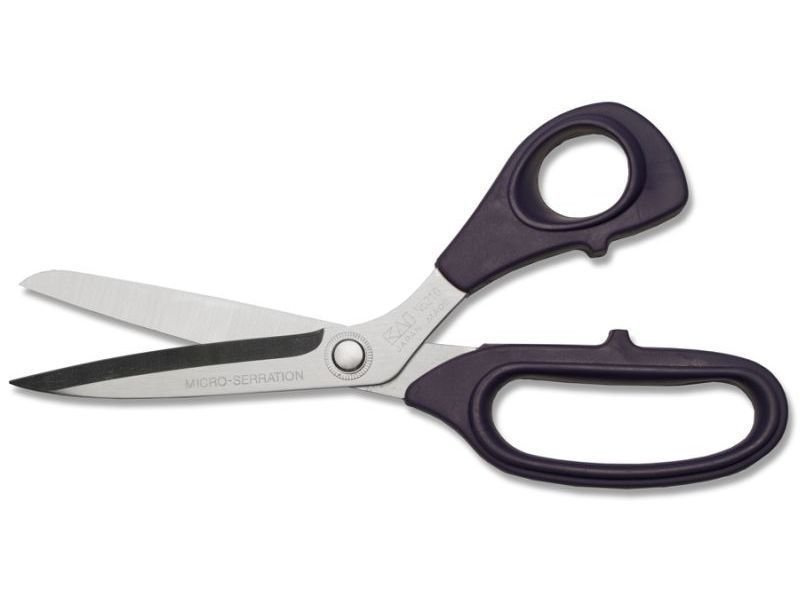
Micro serrated Kai scissors with angled handles. These work beautifully on slippery ITY’s (interlock twist yarn fabrics).
M6964 long sleeve version sweater knit — I’ve had so many people ask me about this top after I wore it in my “Fitting Fashion Knits” Craftsy Class. (BTW, that link is for $10 off!) Everyone thought it was seamed together that way! The fabric is a cotton intarsia (meaning the print is knitted in the fabric) sweater weight knit. The geometric vertical stripe pattern made it really great for a placement print. I used the stripe down the center of the sleeve, and the horizontal diamonds in between the stripes I placed down my center front and center back. I had the zig zag lines “zag” IN around my waistline to fake an hourglass shape! Lastly I made sure the diamonds weren’t directly over my stomach or breasts, cuz that just wouldn’t look good! Ha!

M6964 Palmer/Pletsch Cropped and M7415 Palmer/Pletsch No Side Seam Pant — I’m calling this my “knit suit” because I made both pieces out of this pretty stable mesh. I tweaked the Basic Tee M6964 with a side-seam detail, slightly longer in front and shorter in back, and the no side seam pant I lengthened in the crotch so they are high waisted. It looks like a jumpsuit and feels like pajamas and I looooove it!


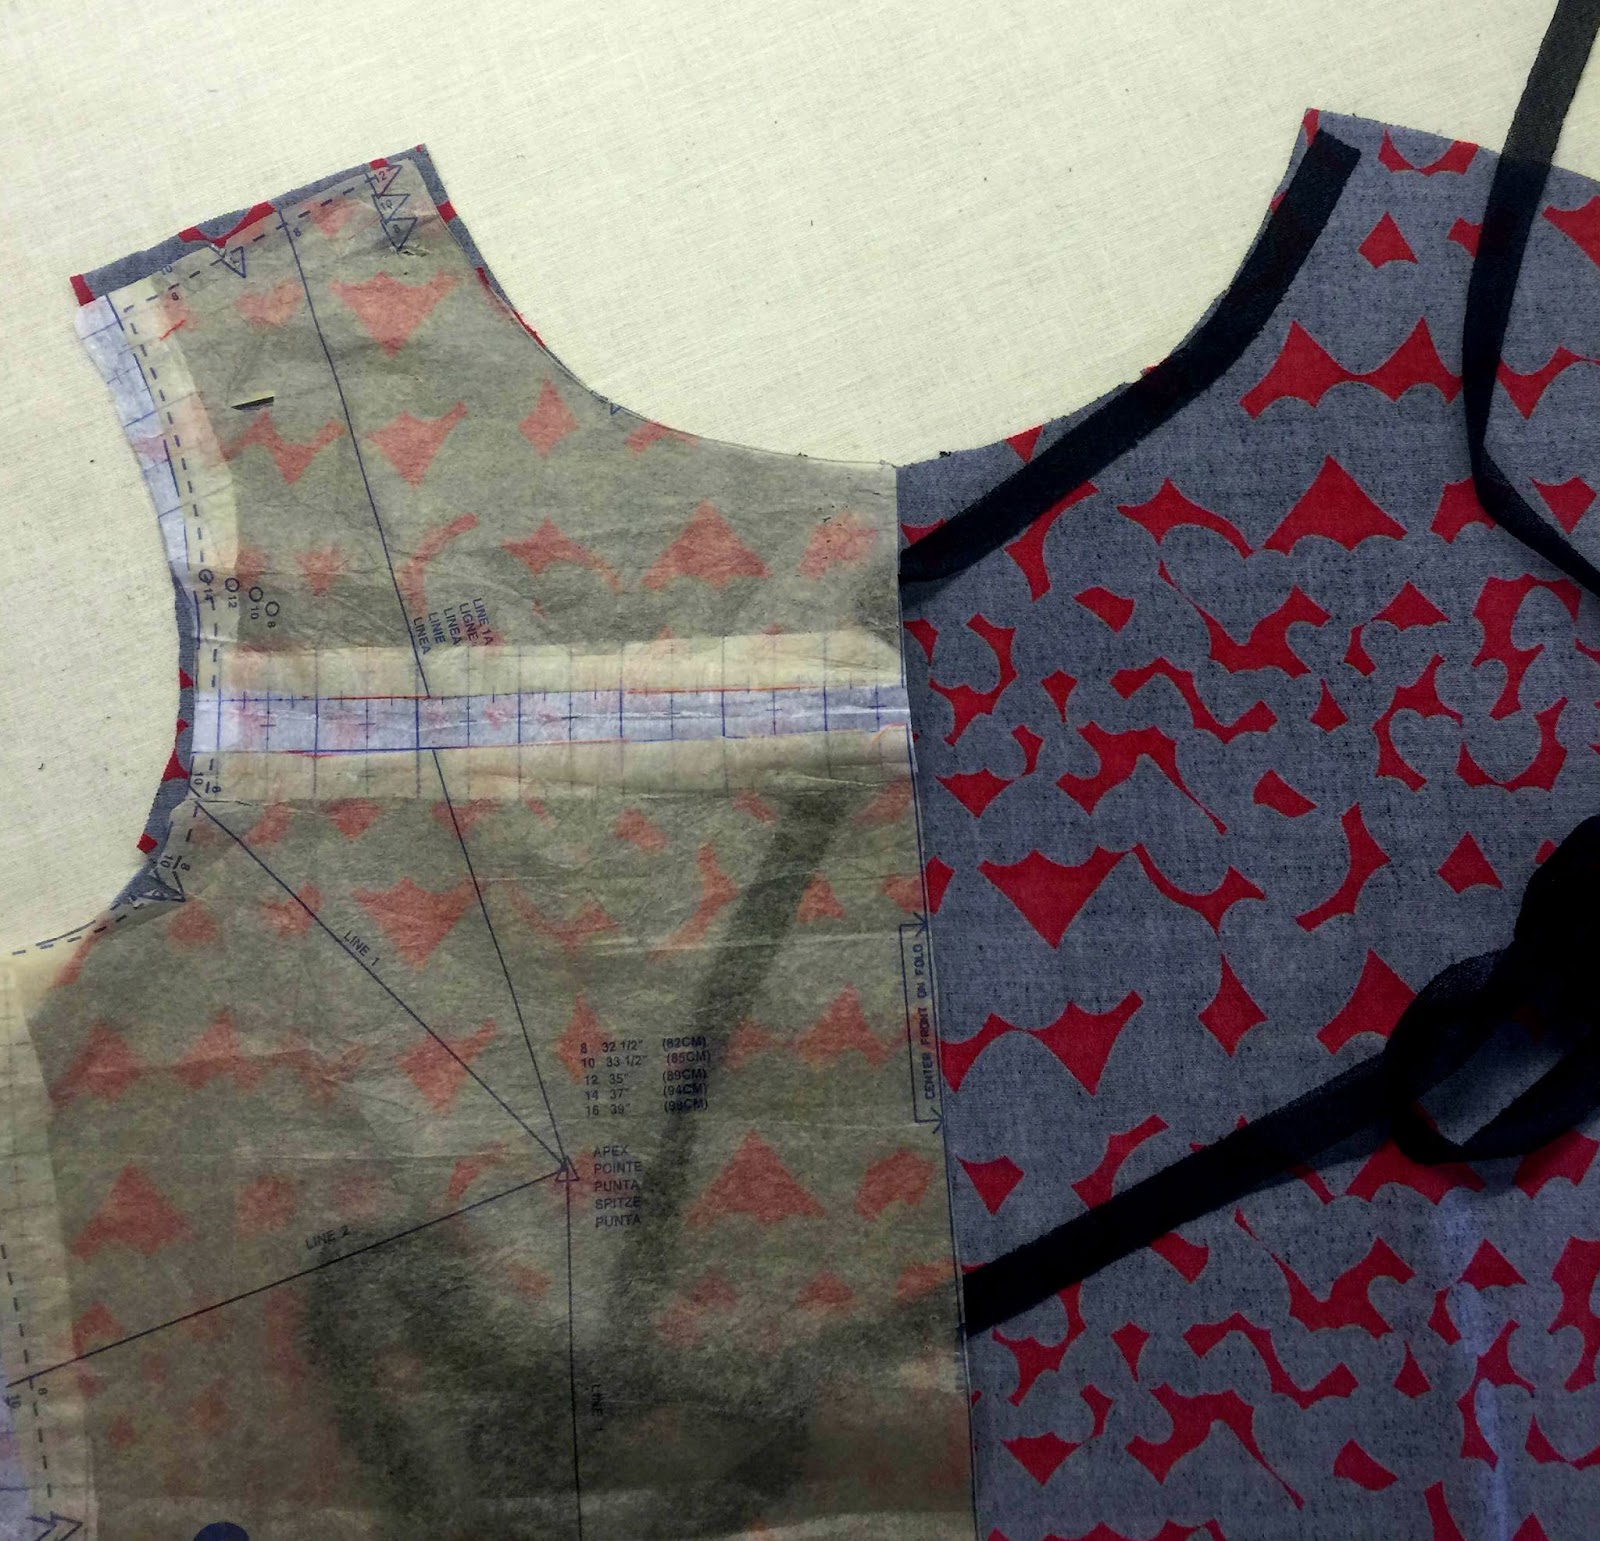
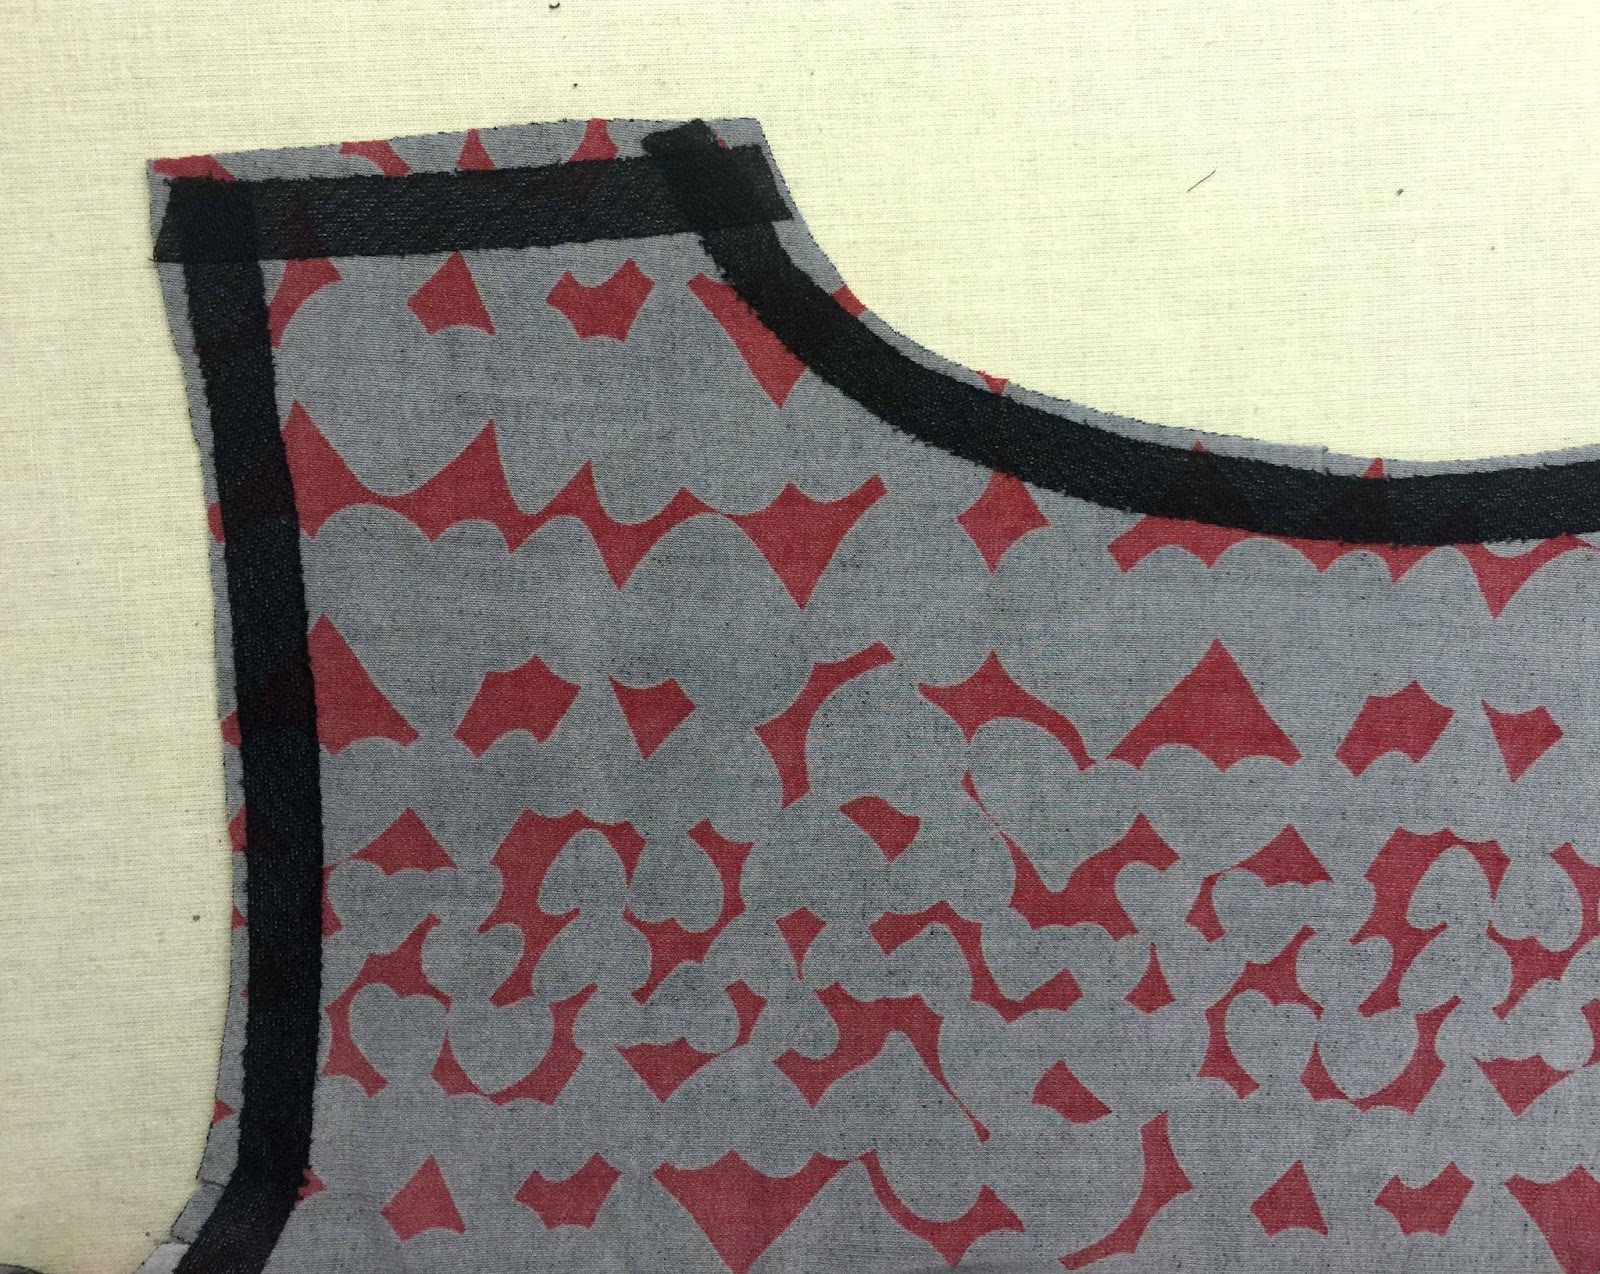
M6964 Palmer/Pletsch Heart crop ITY — Same T-shirt pattern, new look! This rayon spandex liked to grow everywhere so I used my SewkeysE Knit Stay tape a lot here…maybe went a little overboard, on the neck, armhole, and shoulder seams! I ALWAYS have my pattern out the whole time I’m sewing, and before fusing anything I lay the pattern back on the fabric and push the fabric back into shape. Moving the cut pieces around can distort the fabric, and I don’t want to fuse without checking and make my fabric permanently distorted! What I love about this print is the abstract heart shapes. This tee is less cropped than the scuba but just as wide, which in this fabric drapes a lot more.


M7407 Melissa Watson Swing Dress in Micro B+W dot ITY — OK I know this is not a T-shirt, but it is one of my new knit patterns and the micro dot poly ITY was the PERFECT fabric for this very swingy summer dress, so I just had to show you. You want a fabric with more weight and drape and less volume for this style. I don’t normally wear white, but I was drawn to the off white and all the tiny black dots, and I knew they would be slightly abstract within the ruffles of this circle dress.
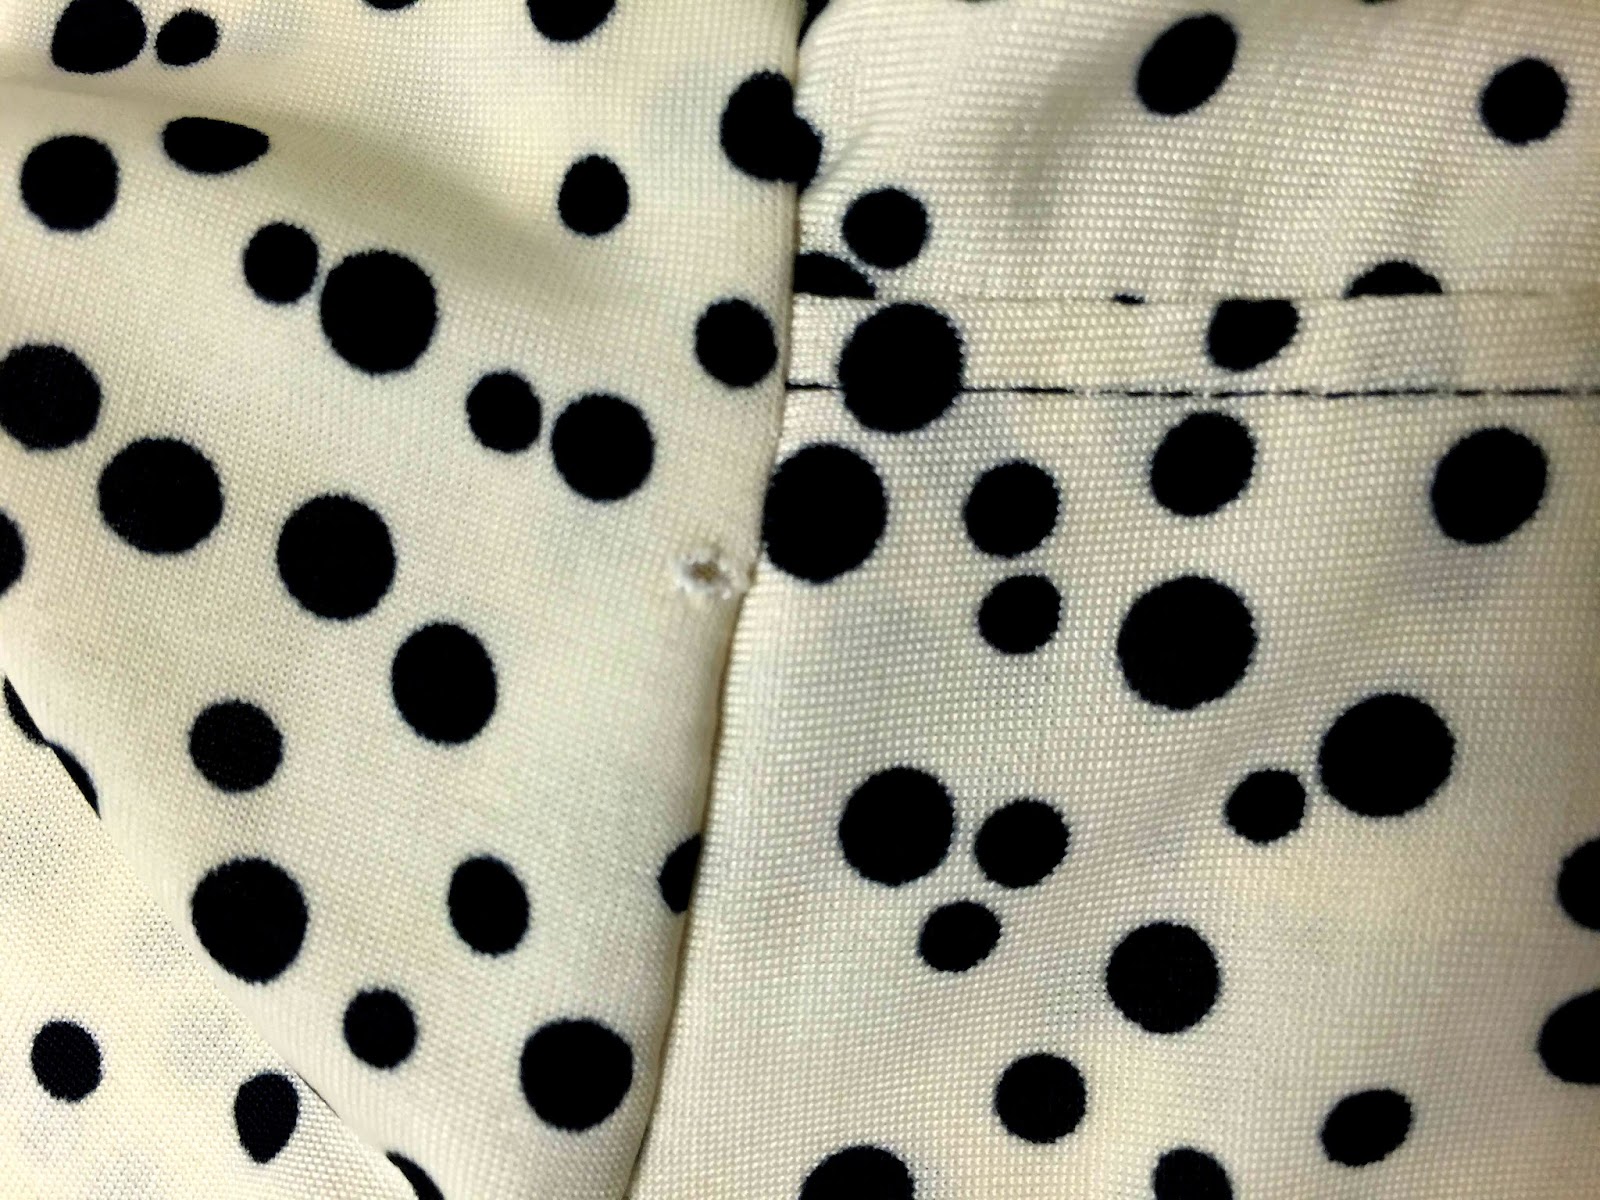


One major tip for this fabric, and I can hear my mom saying it now, CUT FLAT!! ITY’s are so slippery and this is what happens when you cut mid air!! I had to take the whole neckband off and start again!
Now since this is one of the final post on this subject, I’d like to sweeten the deal. I’d like to see how you get creative with your knits! Send Julie (fabricmartblog [@] gmail.com) your T-shirt makes with description and a picture of your make. Julie will pick a winner, who will receive 3 FREE Palmer/Pletsch or Melissa Watson knit sewing patterns of your choice! You can also post your photos on Facebook and Instagram using #FMSummerofTshirts. You will also be entered to win a $75 gift certificate! You have until August 31st to share you finished t-shirt projects, so get sewing and sharing!
Thanks for reading everyone!
XO Melissa
How did I miss all of these fabrics?? Seriously, these shirts are definitely above the norm!
ReplyDelete