

 |
| My Pulmu skirt (Named Patterns) in a wool/lurex pinstripe suiting |
Hi everybody! Fall has arrived and to kick off the season I played with some wool suiting, a fabric I haven't sewn with in a long time!
Fabric Mart's website is literally bursting with gorgeous fabrics these days, and while browsing the wool section I came across a wonderful pinstripe wool suiting, which I thought would be a great pairing with the Pulmu skirt (Named Patterns). You just can't go wrong with a wool pencil skirt for fall!
 |
| Pulmu skirt - side view |
 |
| Pulmu skirt - a view of the back, side panel and vent |
The pattern
 |
| Pulmu skirt by Named Patterns - tech drawing |
I've been having the Pulmu skirt in a corner of my mind for some time - it features details that speak to me, such as the long triangular side panels, the side vents, the belt loops and a belt that closes with D rings (I always love hardware on a garment), not to mention that this pencil skirt is lined, which makes for a neat finish on the inside.
I bought the PDF version of the pattern as the paper version wasn't in stock when I started my project, but you can check the Named patterns page here to see when it comes back in stock.
The fabric
I selected an Italian black pinstripe wool suiting for this project; the stripes are made of silver lurex but are very subtle, and they add something cool and fun to that fabric! I am so glad when the fabric I used is still available for you at the time of the post - grab some while it is still there!
I had forgotten how wool suiting is enjoyable to work with. It cuts and presses well, and details (corners, vents, the belt) come up sharp in that fabric. Make sure to visit FM wool pages, there are gorgeous wool suitings for inspiration (and some really nice striped ones!).
The instructions have you apply interfacing to the waist facings, the hem, the side slits and on the CB seam where the zipper will be inserted. At first I was a bit reluctant to interface all of this ('cause in my dreams the pattern would also provide pattern pieces for those details), but I'm so glad I did it as per the instructions - it gives a tailored look to the skirt and it's much easier later to sew and press the tricky bits like the side vents.

You'll also notice that I used faux leather for the side panels to add some more interest - an idea I stole after seeing the version of Lladybird on the internet! I think the faux leather and the wool suiting just look great paired together and add a modern touch to the skirt. (Thank you Lladybird for the inspiration!) Now just imagine that skirt in denim, with the side panels in a contrasting denim taken from an old pair of jeans...


 |
| The side panels are made from faux leather |
 |
| Pulmu skirt - close up of the side vent |
You'll also notice that I used faux leather for the side panels to add some more interest - an idea I stole after seeing the version of Lladybird on the internet! I think the faux leather and the wool suiting just look great paired together and add a modern touch to the skirt. (Thank you Lladybird for the inspiration!) Now just imagine that skirt in denim, with the side panels in a contrasting denim taken from an old pair of jeans...

Size, modifs and other details
I made a size 36 but sewed the front and back darts at half of their width as it was a bit tight at the waist - probably due to the fact that my fabric has no stretch, while the recommended fabrics are wovens with stretch? That did the trick perfectly. I strongly recommend making a muslin with that pattern: there are no side seams to add/substract width, and no horizontal line to shorten the skirt if needed (the length is as is on me, I'm a modest 5'5'').
The skirt is impeccably drafted, everythings lines up beautifully, and I'm so impressed with Named patterns (first time I'm using one of their patterns)!
I could perhaps clarify for you step 13: if you wonder if you have to catch the waist facings when you sew the belt loops to the skirt, the answer is no (sew them on the outer shell only).

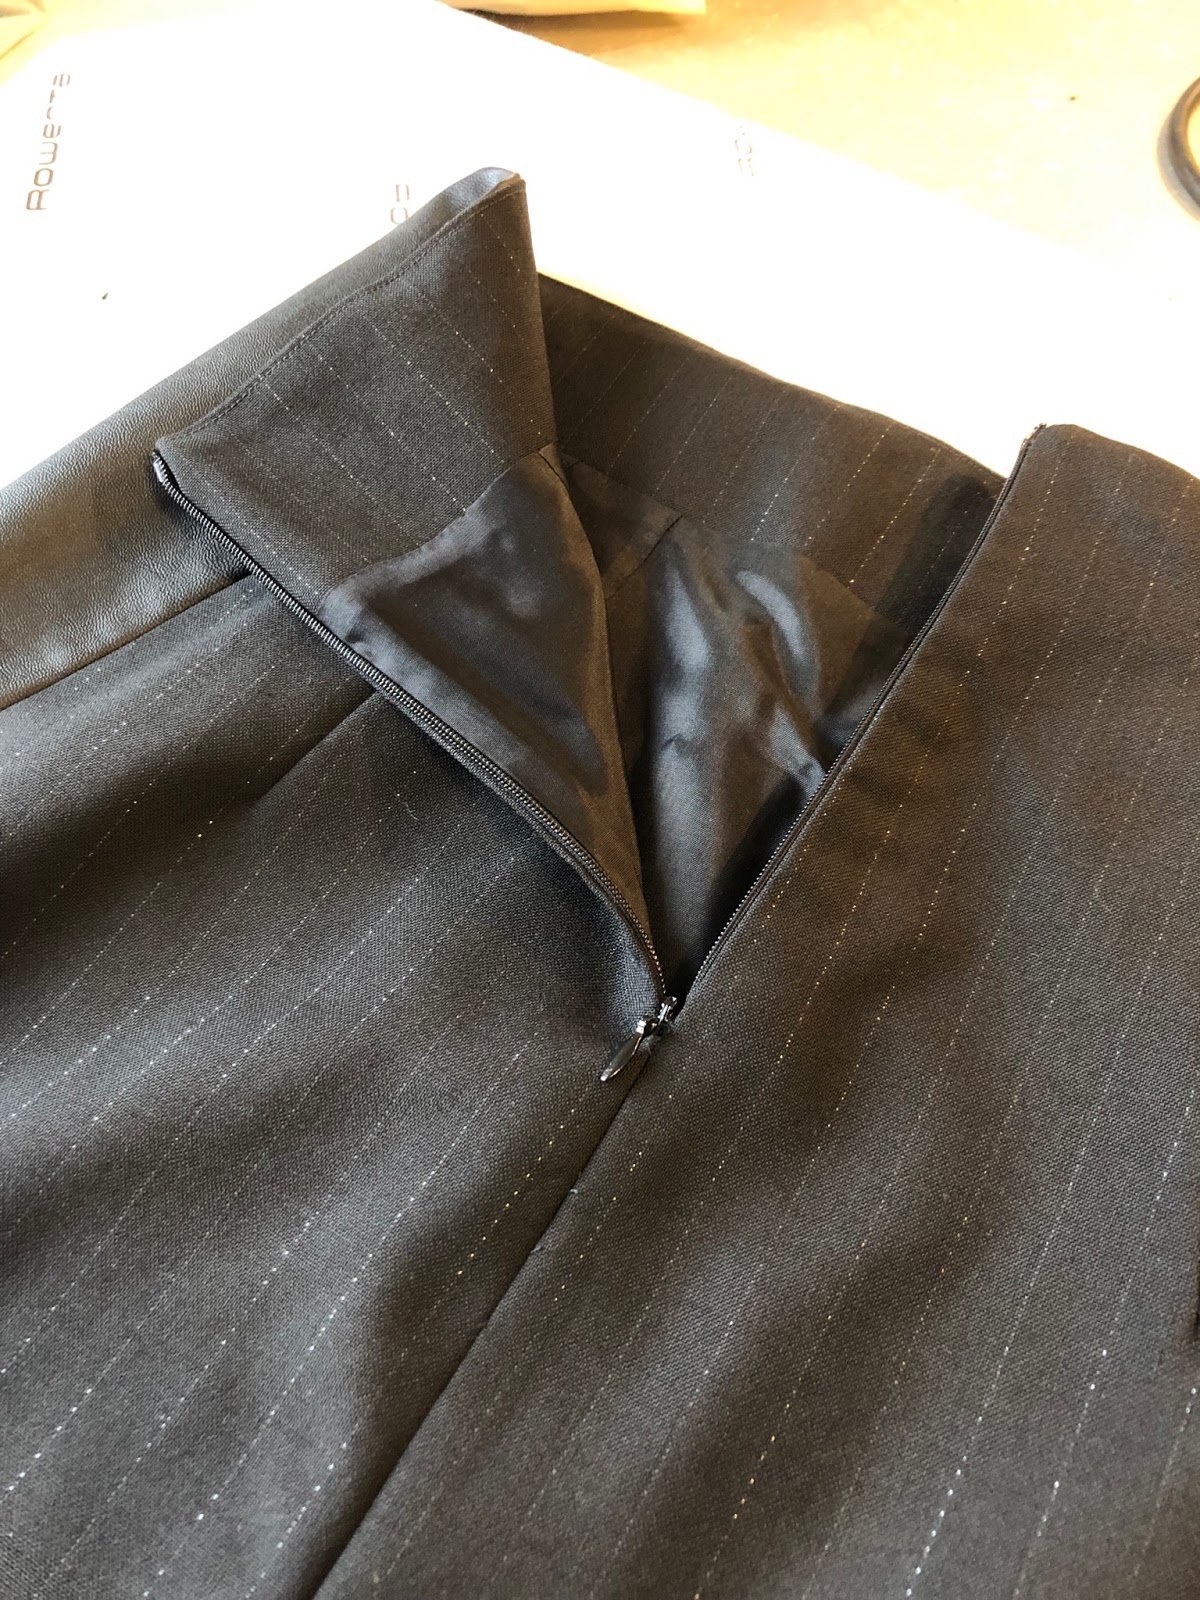
Another tip I could give you is to clip the top curve of the side panels seams - that will help a lot for your seams to lie flat in that area (see bottom picture).
Finally, make sure the left and right waist facings are perfectly aligned when you sew the lining to the zipper (step 19), otherwise you'll run into trouble when you will attach the bottom of the lining to the hem of the skirt.


The Pulmu skirt is very interesting and I had a lot of fun sewing it. It's not really a quick make, especially when you sew it for the first time, but it's not hard if you take your time and read the instructions with attention. I must admit I was puzzled when I looked at how to sew the bottom of the lining and the side vents the first time - the illustrations are not the best but when you're there and you have your hands on it it's not difficult to figure it out.
I'm very happy with how this project turned out, and it really uplifted my spirits in a time when I needed it! The Pulmu is a versatile pattern and this is a skirt that is good for work of for play, depending on your fabric choice. I can already envision a brocade version and a denim version!
Thanks for reading, and thank you again FM for such gorgeous fabric, you keep us inspired! Don't hesitate if you have any questions or comments regarding the skirt, and have fun with your fall sewing!
The skirt is impeccably drafted, everythings lines up beautifully, and I'm so impressed with Named patterns (first time I'm using one of their patterns)!
I could perhaps clarify for you step 13: if you wonder if you have to catch the waist facings when you sew the belt loops to the skirt, the answer is no (sew them on the outer shell only).

Another tip I could give you is to clip the top curve of the side panels seams - that will help a lot for your seams to lie flat in that area (see bottom picture).
 |
| I clipped the curve at the top of the side panel/front/back seam |
Finally, make sure the left and right waist facings are perfectly aligned when you sew the lining to the zipper (step 19), otherwise you'll run into trouble when you will attach the bottom of the lining to the hem of the skirt.


Final thoughts
The Pulmu skirt is very interesting and I had a lot of fun sewing it. It's not really a quick make, especially when you sew it for the first time, but it's not hard if you take your time and read the instructions with attention. I must admit I was puzzled when I looked at how to sew the bottom of the lining and the side vents the first time - the illustrations are not the best but when you're there and you have your hands on it it's not difficult to figure it out.
I'm very happy with how this project turned out, and it really uplifted my spirits in a time when I needed it! The Pulmu is a versatile pattern and this is a skirt that is good for work of for play, depending on your fabric choice. I can already envision a brocade version and a denim version!
Thanks for reading, and thank you again FM for such gorgeous fabric, you keep us inspired! Don't hesitate if you have any questions or comments regarding the skirt, and have fun with your fall sewing!
Virginie
from
This is gorgeous! Your sewing is stellar and it fits you beautifully. This skirt looks like it could do the office and show up to a black tie event without missing a beat.
ReplyDeleteLove this skirt! It looks great on you. The faux leather was a great idea. I also like the idea you have for the denim skirt. Thanks so much for all your info on your make.
ReplyDeleteThank you! :-)
DeleteIt looks so good! Perfect fit!
ReplyDeleteThank you! I'm happy with the fit indeed! :-)
DeleteLove this skirt! Great job!
ReplyDeleteThank you!
Delete