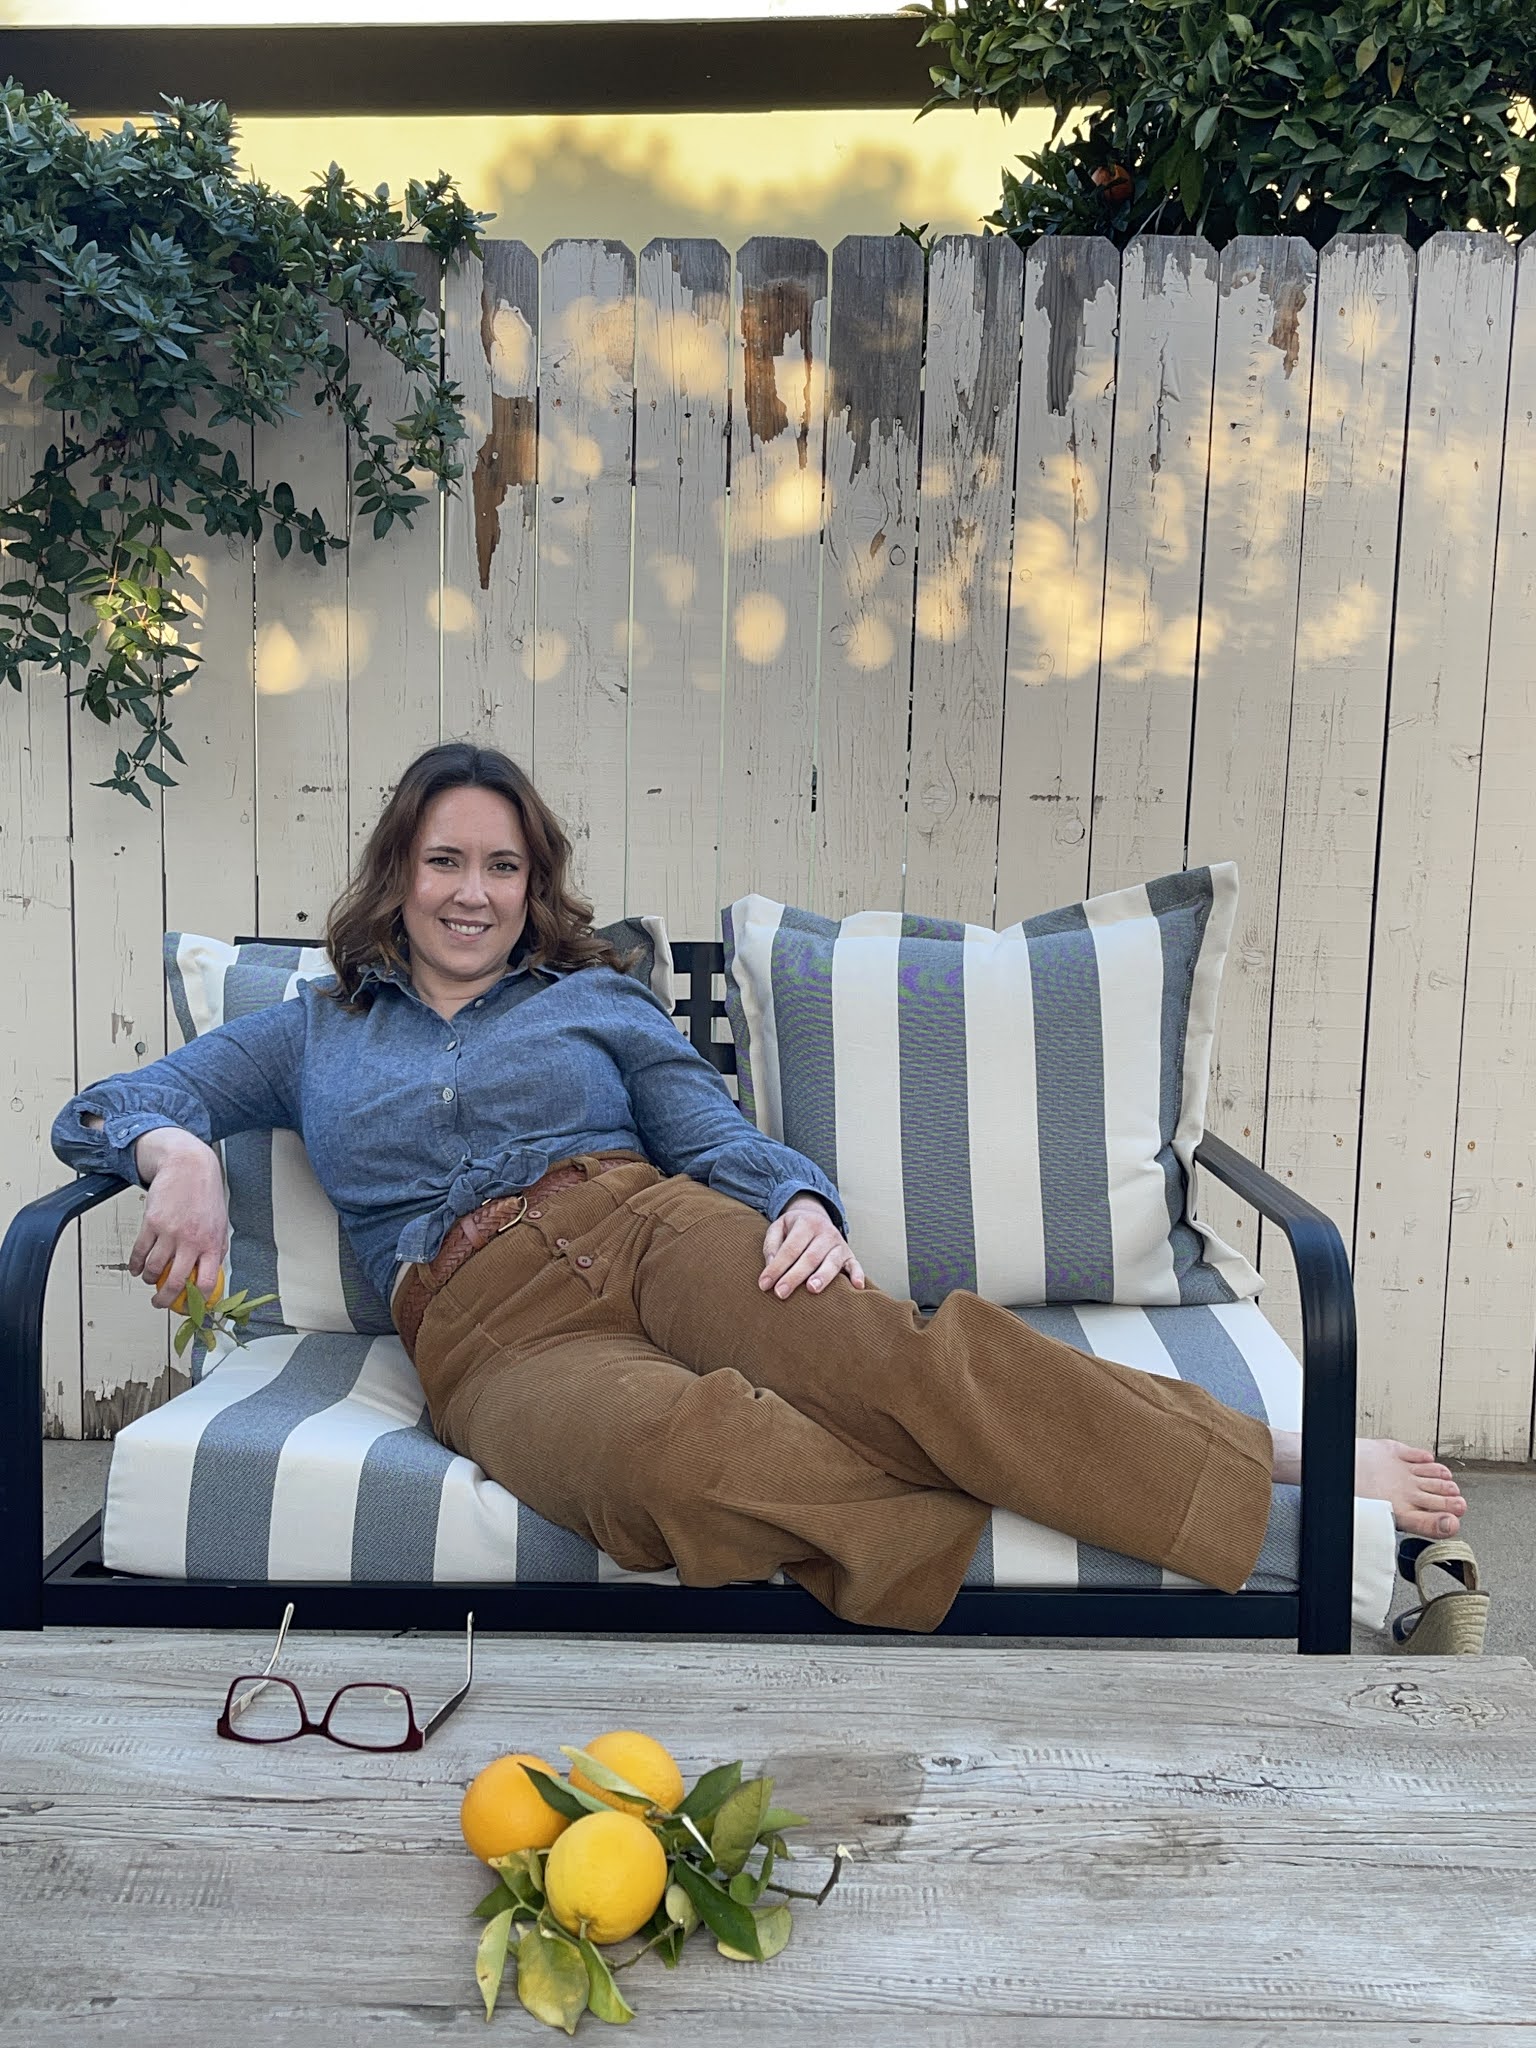
Hi my name is Hannah and I’m so excited to be joining Fabric Mart and the other Fabricistas to help inspire your sewing. Over the years I have made many items. Dresses are my favorite but I have made button down shirts with stand collars, jackets and even swimsuits with built in bras!! If I can make it I will try it! Also I love Indie patterns. They are truly my favorite go to patterns when I look for new ones to try. So you will be seeing a lot of indie patterns made by me here!
In 2020 sewing really was my therapy and I think I sewed every day since we went into lock down. I mostly sewed for others during this time. When I had down time from sewing for others I would jump right on to making something for myself. It really helped to keep me sane. As a certified sewing instructor it was hard to not be able to teach others but I was glad to use my time to still help provide items (masks, headbands and t-shirt hair towels) from my Etsy shop for other people. When Fabric Mart contacted me about writing blogs for them I was so excited to start something new!
I knew right away what I wanted to make, pants! Pants have been a hot topic over on Instagram Reels and Tiktok about skinny jeans vs. high waisted wide leg pants and who should wear them. That whole idea cracks me up. This is the beauty of sewing; if you can make your own clothes then you create your own style and can wear what you want. So because I love a good “retro” style I decided to go with the Lander Pants from True Bias. To give them a really retro look I went with corduroy as my fabric. It was my first time sewing with this type of fabric.
Something to keep in mind when sewing corduroy is “nap”. Nap can refer to the direction of the print on the fabric, if there is a stripe or due to pile. For corduroy nap is due to pile. This means if you brush it up or down with your hand the fabric will show a color difference. So when I prep my fabric for cutting I make sure my fabric is laying in the correct direction with the pile running down for all pieces needing to be cut. Another thing to keep in mind is how to press corduroy. If pressed directly with an iron you pile will be permanently flattened. So I use a pressing cloth, which for me really is any piece of cotton fabric I can place over the fabric that needs to be pressed. In some places I simply finger pressed the fabric down. Also another thing to keep in mind is fusible interfacing may not be the best option, as this may cause the pile to flatten when applying it. I decided to use a stable cotton as interfacing and simply sewed it in and then trimmed the seam allowance of the interfacing fabric only to reduce bulk. It worked well for me and I’m happy with the results.
These pants are pretty high waisted. If you have a short waist I do recommend stitching up a muslin first and then adjust the height of the waist to fit you best. In the end I really love this pattern. I plan on making all the views. This pattern comes in three variations, shorts with a 4” inseam, an ankle length pant and a boot length pant. I chose to make the boot length version. I will definitely be making an ankle length soon as I have seen that style trending lately. They will be perfect for taking me into spring.
Although this pattern has a higher difficulty level I do think a very adventurous beginner could tackle it. I recommend sewing a muslin to help you learn the button fly area. This pattern is a great start to taking your skill to a new level! If you have questions about how to sew this pattern up please feel free to ask in the comment section or you can find me on Instagram at Modistra.Sews or on Tiktok at ModistraSews.
HANNAH | @modistrasews
Unfortunately Fabric Mart Fabrics sell out quickly!
You can find similar fabrics by shopping the following categories...
Or by searching our site for BOTTOM WEIGHT Fabrics.
You can also shop our stock of True Bias Patterns HERE.


Love your pants. Great tips on watching for the nap direction and pressing this great fabric.
ReplyDeletecongratulations on a lovely garment. it will give you lots of outfits in at least 2 seasons every year. great job!--anne
ReplyDelete