

Welcome to my April post, friends!
I work a corporate job; however we are in a flexible work environment (yay!) and when we are in office, we have a very relaxed dress code, which is one of my favorite perks out my job. When I started with this company about three years ago, I packed away what few dressy clothing items I kept for work occasions and donated the rest of my business clothes to a local women’s shelter since I knew I wouldn’t be needing them much anymore. However, while getting ready to start some work travel again after a couple years off, I realized I don’t have a simple black blazer that I can take with me on these trips. I typically take a few cardigans but wished I had a cleaner and dressier option for a jacket when needed for meetings, so I decided that’s what I’d make for my April post.
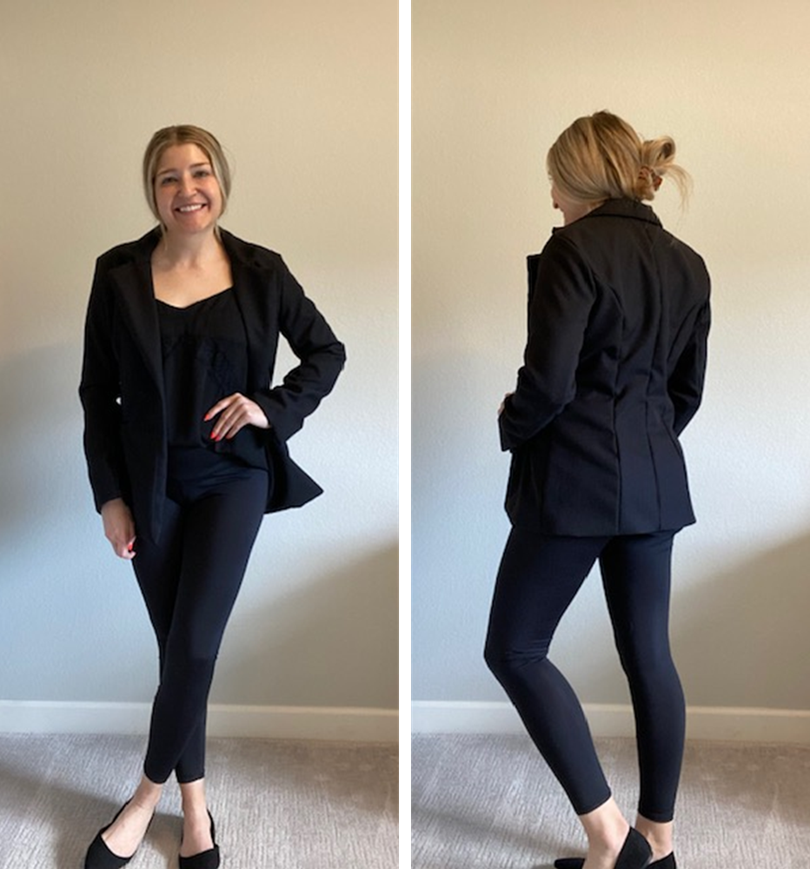
I knew I wanted something that had shape and a little something extra since I want to be able to wear it multiple ways outside of work options. I chose Vogue Patterns #1870, view A.

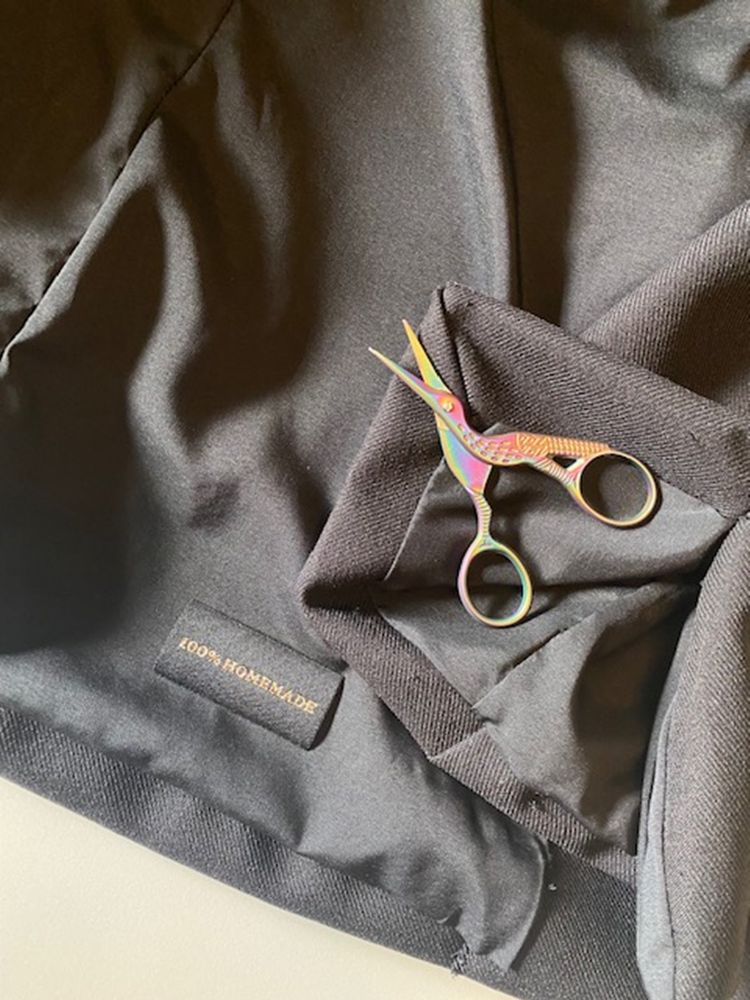
For my fabric, I knew I needed something with structure but not too much rigidity, so I selected this 100% polyester twill jacketing. I also really like that this fabric seems like it will wear well in “high rub” areas – think under the arms, or on the back when carrying a backpack or the sides of the jacket with a purse. Knowing this will be worn in many different settings, having a fabric that I don’t have to be especially careful with or worry about ripping easily gives me some extra confidence in the lasting quality.
I really like how the pattern came together at the finished edges, the lining looks really sharp the way the pattern was drafted to bag the sleeves and lining. It took me multiple times to get the sleeves right, but in the end they turned out great.
The princess seaming along the back and the darts in the front really give this blazer great shape as well as visual interest, although I am considering re-opening the lining and topstitching the back seam lines to make them extra crisp and have them lay flatter.
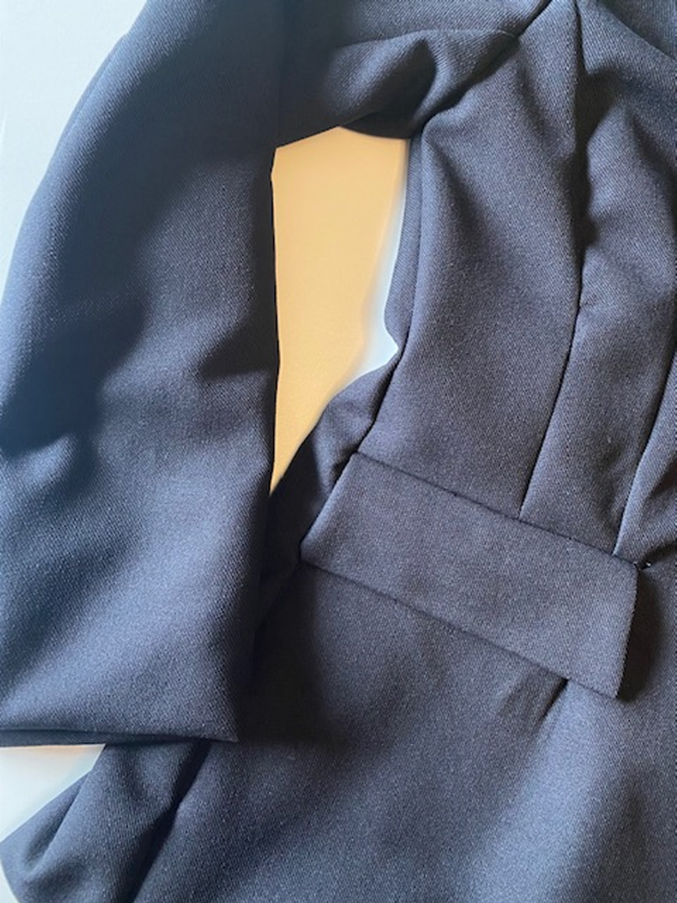
I purposely didn’t finish the sleeves off with the three buttons as called for in the pattern because I wanted the sleeve to have that open (but clean finished edge) look. I also did not do the front closure button and I’m still undecided if I will add that or not to this piece.
I know we’re all supposed to press and understitch as we work, especially on a structured garment like this. Against my better judgement I did not do that throughout the construction, and I paid dearly for it towards the end when things weren’t laying quite right. I had to do a lot of back tracking and seam ripping to get my way back into the jacket to do these things and get a clean finish. Don’t make my mistake… always press and understitch exactly when the pattern says to!

Another thing I like about this jacket is that I can wear it for more occasions, like happy hour or to a gathering where I want to feel put together. I grabbed my favorite RTW jeans and bodysuit and I feel polished, but not uncomfortable.
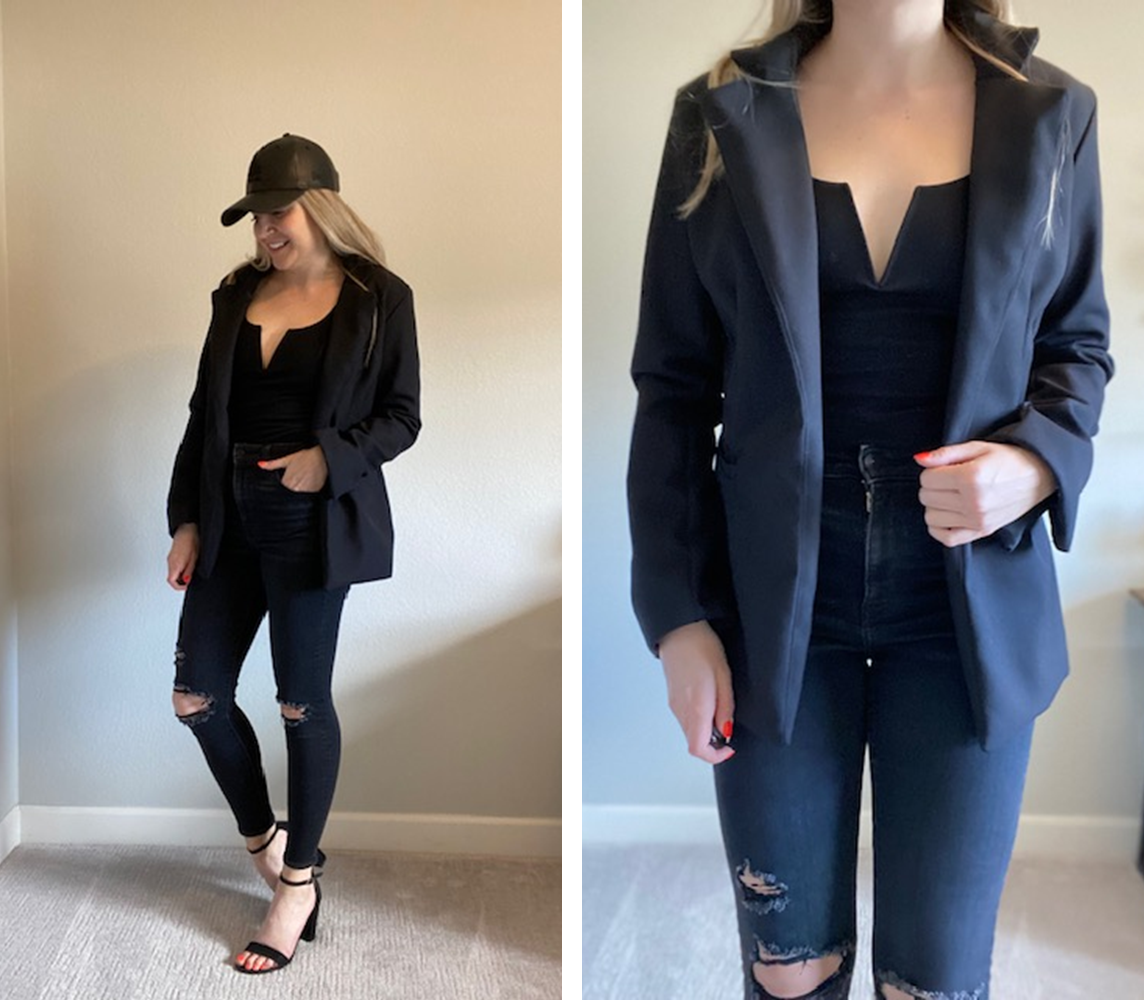
I also opted for this leather LA hat to bring in some texture, but also to extend the time between hair washing. If you know, you know! These platform Vans are my favorites right now, and I think they bring a great casual element to this jacket.

Thanks again for reading about my latest make! Happy sewing, and don’t forget to press your seams!
Unfortunately Fabric Mart Fabrics sell out quickly!
You can find similar fabrics by shopping the following categories: JACKETING.
Love your jacket and your looks to show it to your best advantage. This is a super addition to your closet but I bet it is out more often than in the closet. Enjoy!
ReplyDelete