
Made By A Fabricista: Nursing-friendly Tops

Hi! This is my first post since becoming a mom! These past weeks have been a rollercoaster, but I am happy to report we are all healthy and doing well.

I made two tops for this post, but let me give you some context first. When I gave birth to my daughter, I suddenly lost all sense of modesty in favor of practicality. In simpler words, my boobs have been out more often than not in the last few weeks. Some women may be able to keep some sense of glamour in postpartum, but I can't count myself among those yet.

Fast forward to today. My baby and I have proudly overcome these challenging weeks, and I am finally allowing myself to believe we can go a long way in our breastfeeding journey. I am not planning on staying topless, so I have started to invest in a nursing-friendly wardrobe. In part, I feel it is wishful thinking: you know the saying "dress for the job you want"? I want to keep breastfeeding for a long time, so I better find ways to dress the part!

There are multiple nursing outfits in the market, but I don't want all my clothes to scream, "These boobs are made for feeding!" 

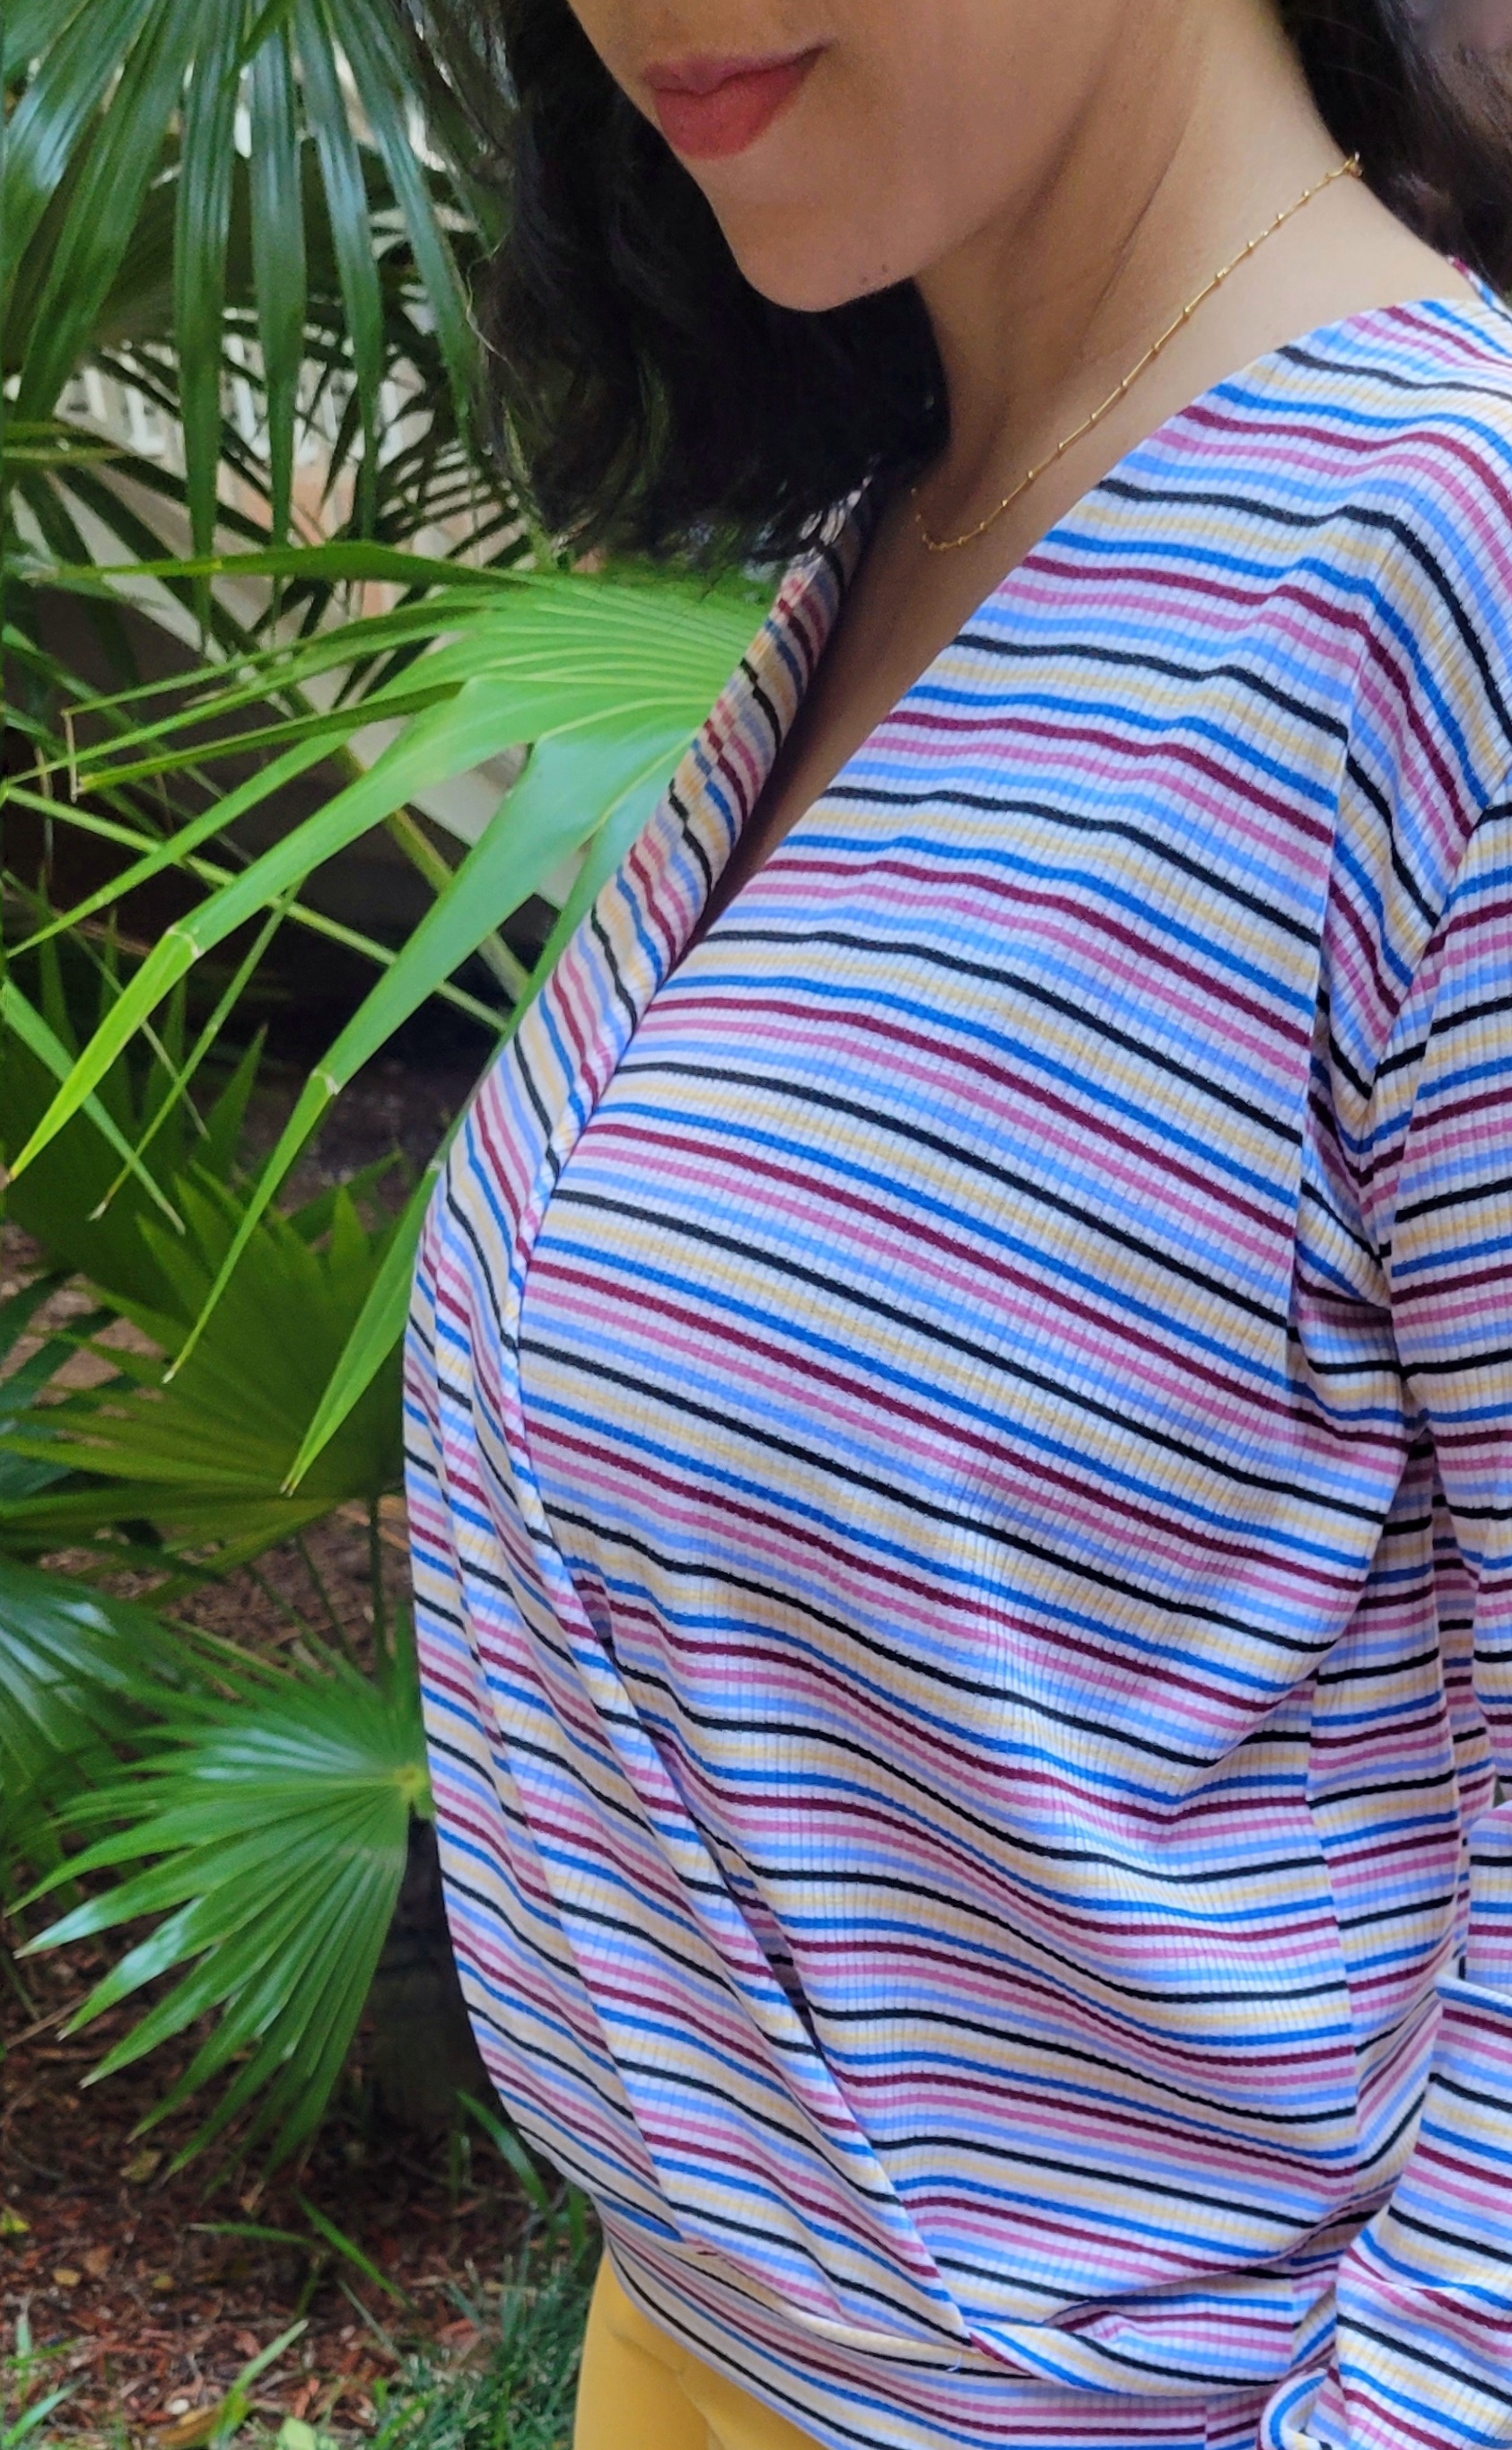
Enter this t-shirt pattern. It is nursing-friendly thanks to the cross front, but it is still versatile enough to be worn even when not breastfeeding. 

I made the first version with a ribbed knit, which is very soft and light. I intended to make a lounge set with it, thinking that this texture and colorful pattern fit a pajama. Unfortunately, I didn't have enough fabric for the set, so I thought about making some coordinating pants with another fabric, using remnants of this one for accents such as pockets or piping. Nevertheless, once I finished and tried the top, I decided it was a shame to keep it behind closed doors! It is very wearable, easy to coordinate with any pants or leggings, and a good light layer for Florida winters.
The project is very easy to put together: it has only four pieces (one back, two front, and the waistband). I was able to cut it and sew it in several 10 or 20 minutes sessions, advancing two or three steps at a time while my daughter napped. She even accompanied me sleeping in the carrier while I was sewing the last stretch! I loved this moment and asked my father to take a picture. Who knows, maybe she'll want to sew one day, and I will tell her this was her first lesson!

I finished it faster than I anticipated, and since I already had the pattern on hand, I decided to sew another t-shirt with the heathered knit fabric left out from my October post. 


This fabric is a little heavier and stretchy, so I could have gone for a smaller size. It is something I will take into account on future occasions. I realized this too late when trying the unfinished top and saw that the sleeves were too long and clingy. So instead of finishing them with a simple hem, I cut them and improvised some cuffs, adding a slightly elegant touch. I can wear this top a lot, dressing it up or down depending on the occasion. 

I am glad to add these two pieces to my nursing-friendly wardrobe, knowing I can use them for months beyond breastfeeding!

INES  | @bynunis


Unfortunately Fabric Mart Fabrics sell out quickly!
You can find similar fabrics by shopping the following categories: KNITS, RIB KNITS, & SWEATER KNITS.

Comments

  1. I want to make this top for my daughter-in-law. What pattern is it? thanks

    ReplyDelete
    Replies
    1. Hi! It is from Lulu Ferris! It is a subscription website but there are lots of patterns and tutorials. This one is called "Camiseta de lactancia"

      Delete
  2. Excelente. Explicación sencilla y muy linda de como afrontas esta nueva etapa de tu vida, sin abandonar lo que te gusta hacer. Espero disfrutar las creaciones de Vera en el futuro (ojalá salga a Mami y no a abuela) ☺

    ReplyDelete

Post a Comment

Thanks for leaving a comment! All comments are reviewed before posting to help us eliminate spam. Your comment will be posted within 24 hours.

Recent Posts You Might Like

Return to work wardrobe in ITY – which is your favorite?

In June of this year, after spending nearly 11 years at my place of employment and after restructuring and cost cutting, I took a separation package. I was so fortunate to be able to take a few months off, and also to very quickly find a position with a new company. I start my new job on September 14th and I’m super excited!  This new position is also different for me in that it is local to my area (whereas before I worked remotely and traveled to the office every few weeks) – so I’ll be going into the office three times a week. So of course I needed to sew up some new outfits! I’m a huge fan of ITY knit fabric ; ITY stands for interlock twist yarn, which describes the way the yarn is knitted together. I love it for tops, dresses, skirts, and even pants: it’s comfortable, easy care, low wrinkle, and comes in so many beautiful prints. I sewed up three new outfits over the last two weeks and I’m excited to share them with you today! Oh, and also – I need help choosing what to wear fi...

Sometimes The Fabric Chooses The Pattern

Have you ever fallen in love with a fabric and immediately envisioned exactly what you wanted to make, only to realize halfway through the planning process that the fabric had other ideas? That’s exactly what happened with this project. I used Fabric Mart’s Black/Dark Cobalt/Smoky White Poly Foliage Print Chiffon , and while I initially had plans for a detailed dress, the fabric ultimately led me in a completely different direction—and I’m so glad it did. When I first saw this gorgeous chiffon print, I was immediately drawn to the rich color palette and beautiful movement. The dark background paired with the cobalt and smoky white foliage creates a striking look that feels both dramatic and versatile. My original plan was to make a dress with princess seams, buttons, and more structured design elements. However, after spending time with the fabric, I realized that all of those seam lines and construction details would compete with what makes this chiffon so beautiful: its drape, moveme...

Sewing With Intention: New Look 6106 and a More Coordinated Wardrobe

Sometimes a sewing project begins with a beautiful piece of fabric or a pattern you just have to make. This one began with my closet. Recently, I did a major closet purge. I took a good look at what I actually wear, what I kept reaching for, and—maybe more importantly—what was missing. Once the pieces I no longer loved or wore were gone, something became very clear: I want to be more intentional about what I sew next. Instead of sewing individual pieces that I love but don't necessarily wear together, I want to build a wardrobe where my handmade garments coordinate with the clothes I already own—and with the pieces I'm planning to sew next. For this month's Fabricista project, this beautiful lightweight shirting from Fabric Mart turned out to be a wonderful place to start. The Fabric That Started It All Fabric Mart provided this beautiful oatmeal and black heathered shirting , along with the matching thread for my project. One of the things I love most about this fabric is ...

Hillhouse Nap Dress Dupe with Fabric Mart Fabric!

I have been wanting a Hill House Home Nap Dress for the longest time, but when I saw the reviews that the fabric was too sheer and the price tag—often well over $200—I decided it would be much more fun to make my own! I found this gorgeous abstract navy and white cotton voile from Fabric Mart and knew it would be perfect for the light, floaty dupe I had in mind. Cotton voile is soft, lightweight, and beautifully suited for a shirred dress like the infamous Nap dress. This abstract print gives the finished dress a more modern feel. I love a floral fabric, but I was excited to find this abstract print in my favorite color of navy.  Rather than using an entire dress pattern, I followed Just Lauren Johnson’s YouTube tutorial on how to create a Nap Dress from rectangles. Lauren walks you through how to use your own measurements to calculate the dimensions of the bodice, skirt tiers, and other pieces. I loved this approach because I could create the dress specifically for my measurement...