
Made By A Fabricista: Rayon Challis Separates for Me!

This month I decided to take a minute to sew something for myself! Knowing that I was about to move house (I'm excited to be getting a nice big sewing room!), I opted to use some tried-and-true patterns that I knew would be quick and easy to sew: Jalie Michelle and Jalie Geneviève.

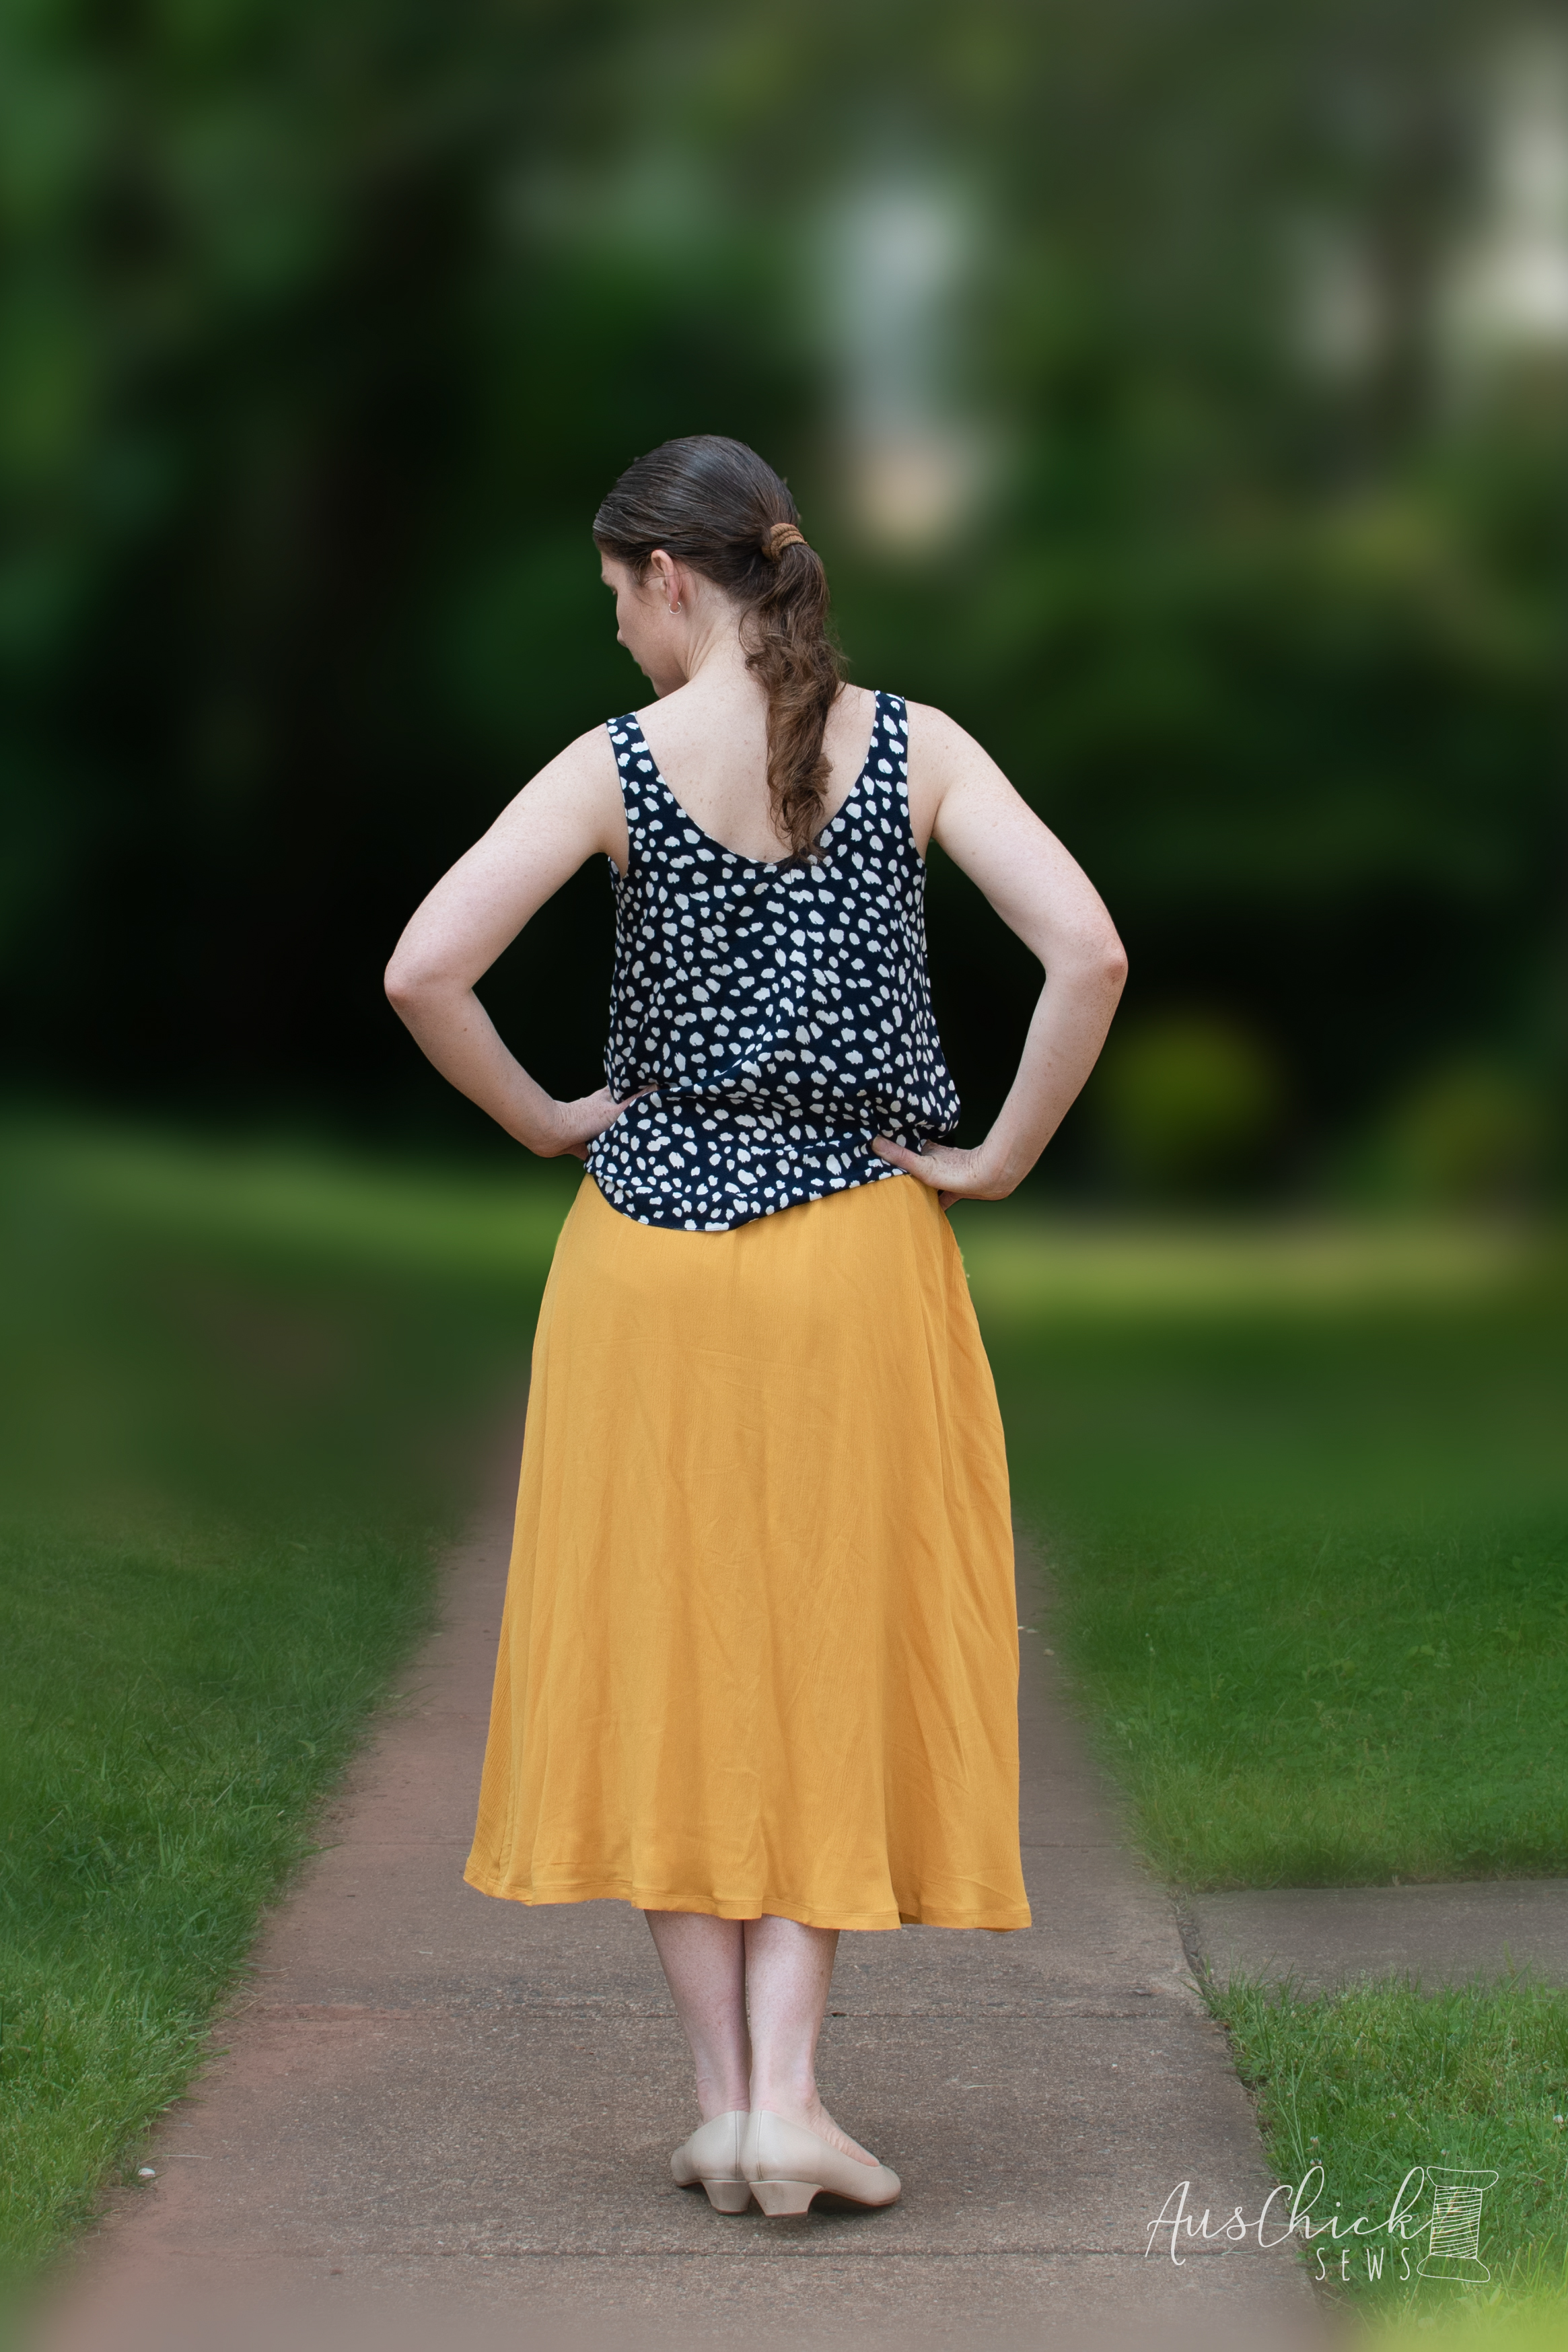
I've really loved seeing garments made in crinkle challis lately, so I selected a solid mustard yellow crinkle challis with a plan for either pants or a skirt ( Geneviève is a skirt, but there's also a culotte option available for it), and two sateen challis prints for a top (Michelle can be made either as a top or a dress). I considered making a reversible top with both fabric prints, but upon playing with them in real life, opted for two separate tops with a facing.

Given that challis tends to be a bit shifty, it's best to starch it before you begin cutting out your project. It's also best to cut it out on a large surface with a rotary cutter so the fabric doesn't get distorted. Unfortunately my table and cutting mat were too small to easily cut the skirt pieces out, so I cut it out with scissors on my floor instead. You will also need a sharp/microtex needle to successfully sew challis.

The Geneviève skirt pattern has a center front and back seam, but I decided to omit this and cut the pieces on the fold. With such a narrow seam allowance (1/4") and a very forgiving garment style, I didn't bother removing the allowance from the pattern piece before cutting it out. As the fabric was a little bit sheer, I cut a second skirt for the lining.

After initially hemming the skirt, I noticed the hemline had become quite distorted (this is normal with anything cut on the bias, and rayons (especially crinkle rayons) are notorious), so I let it hang for a bit before recutting the hemline and restitching it. I didn't worry about doing a narrow hem on the lining - I cut that skirt shorter and simply serged the edge.

Oh! And it has pockets! They are optional, but in my book, they're required!

With just two pattern pieces, Jalie Michelle is a super easy to sew top, and perfect for warm weather! The pattern includes options for making it fully reversible or having just a facing on the inside. I'm eager to make the dress version at some point too!


I love my new clothes, and I know I'll get lots of wear from them as it gets warmer!

NATASHA  @auschicksews

Unfortunately Fabric Mart Fabrics sell out quickly!
You can find similar items by shopping the following categories CHALLIS, JALIE PATTERNS, & NOTIONS.

Comments

  1. Great tips on working with challis. The skirt looks very comfortable.

    ReplyDelete
  2. How very nice, looks cool and comfortable.

    ReplyDelete
  3. Really impressed with your fabric and pattern selections, color, and manipulation of tricky rayon. Looks like high end RTW!

    ReplyDelete

Post a Comment

Thanks for leaving a comment! All comments are reviewed before posting to help us eliminate spam. Your comment will be posted within 24 hours.

Popular Posts You Might Like

Made By A Fabricista: A matching set and a happy error.

 Hi sewing friends! Today I’m sharing a new outfit I made inspired by looks I’ve been seeing pop up in my Facebook and IG feeds a LOT this year. I’m talking about those monochromatic matching top and bottom outfits, sometimes in linen, sometimes in a flowy knit - the ones that advertise they go effortlessly from loungewear to office wear to going out wear. So I decided to “sew the look” using Fabric Mart fabric and a few patterns I already in my massive pattern library. First, let me share that I have very few solid color pieces in my closet. I’m so taken in by whimsy and geometric prints that this is still a gaping hole in my wardrobe -  a matching solid color set was actually a practical addition for me.  So let me walk you through how I created this look, and also tip you off to an error I made while cutting that worked out pretty well after all. Can you spot the error? Hint - it’s somewhere in the top: Here’s how I went about building my matchy match outfit. And here’...

Made By A Fabricista: Birthday Dress

May is my absolute favorite month, we get to enjoy spring weather and it is my birth month.  The birthstone for May is Emerald. I think emerald is such a gorgeous color so when I saw this beautiful ombre charmeuse I thought it would be the perfect fabric to make for my birthday dress.  To be honest it took me a while to narrow down on a design.  After a lot of back and forth I ended up going back to my first sketch that I created. I love to sketch out my ideas to figure out the patterning and materials. To create the design I used the method of draping on my dressform.  I used the lightweight muslin that Fabric Mart offers.  It is always best to use a muslin or material similar to your final fabric.  I started first by marking my style lines with some draping tape on my dress form.  I tore out pieces of muslin to fit within those lines making sure I am always marking my grainline. I also used the muslin to determine how I will create the rosettes onto...

Made By A Fabricista: 3D Florals Meet Polka Dot Charm: A Look That Transitions With Style

When I saw a sleek pink mini skirt adorned with a dramatic 3D flower on Pinterest, I was immediately inspired. It had that perfect balance of playfulness and polish—something I knew I wanted to recreate with my own spin. Rather than replicate the exact look, I adapted the silhouette into something more wearable for my lifestyle using a vibrant stretch tweed fabric from Fabric Mart. The Skirt: From Pinterest to Personalized For my version, I used Butterick 5446—a tried-and-true pencil skirt pattern—as the base. I swapped out the smooth fabric from the inspiration for a neon stretch tweed, which adds structure and visual texture while still being comfortable to wear. The oversized flower detail is what makes this piece stand out, and it was surprisingly simple to make. I found a quick and easy tutorial on Instagram for how to create petal shapes and build a dimensional flower. There are also plenty of resources on YouTube that break the process down step by step. Once you’ve got the tec...