

Sometimes you just bite off more than you can chew and that happened to me with The Jasika Blazer from Closet Core Patterns. What I would like to write is that The Jasika Blazer is a classic and versatile jacket that can be dressed up or down depending on the occasion. But I can’t because it is still in pieces!! It happens and that’s is ok. Sometimes we don’t have as much time to sew as we would like. I did get to one of the key design features of this blazer, welt pockets, which can seem daunting for those new to sewing. In this blog post, I will give a brief break down of the process of sewing welt pockets and also provide tips on how to iron velvety no wale corduroy fabric courtesy of Fabric Mart Fabrics.

Price of the Project
First I do want to be up front on the cost of this project. It is not a cheap. The total cost of the materials for the Jasika Blazer project would be $144.95. The outer fabric was $24.99 per yard, and three yards were purchased, bringing the total cost to $74.97. The lining fabric was $14.99 per yard, and two yards were purchased, making the total cost $29.98. Finally, the interfacing kit was $40.00. It's worth noting that the cost of the materials may vary depending on where they were purchased and if any sales or discounts were applied. Additionally, other expenses such as thread, buttons, and other notions should also be considered when calculating the total cost of the project. With all that said I do consider this project a wearable muslin, wearable when it will be totally finished. I did start out with cheaper fabric because I sew a lot of Closet Core Patterns and the sizing is very consistent for me. I’m saying it is a muslin because I would like to improve some of the techniques that are applied to this pattern. They include hand stitching and the welt pockets.
Ironing interfacing

Sewing Welt Pockets
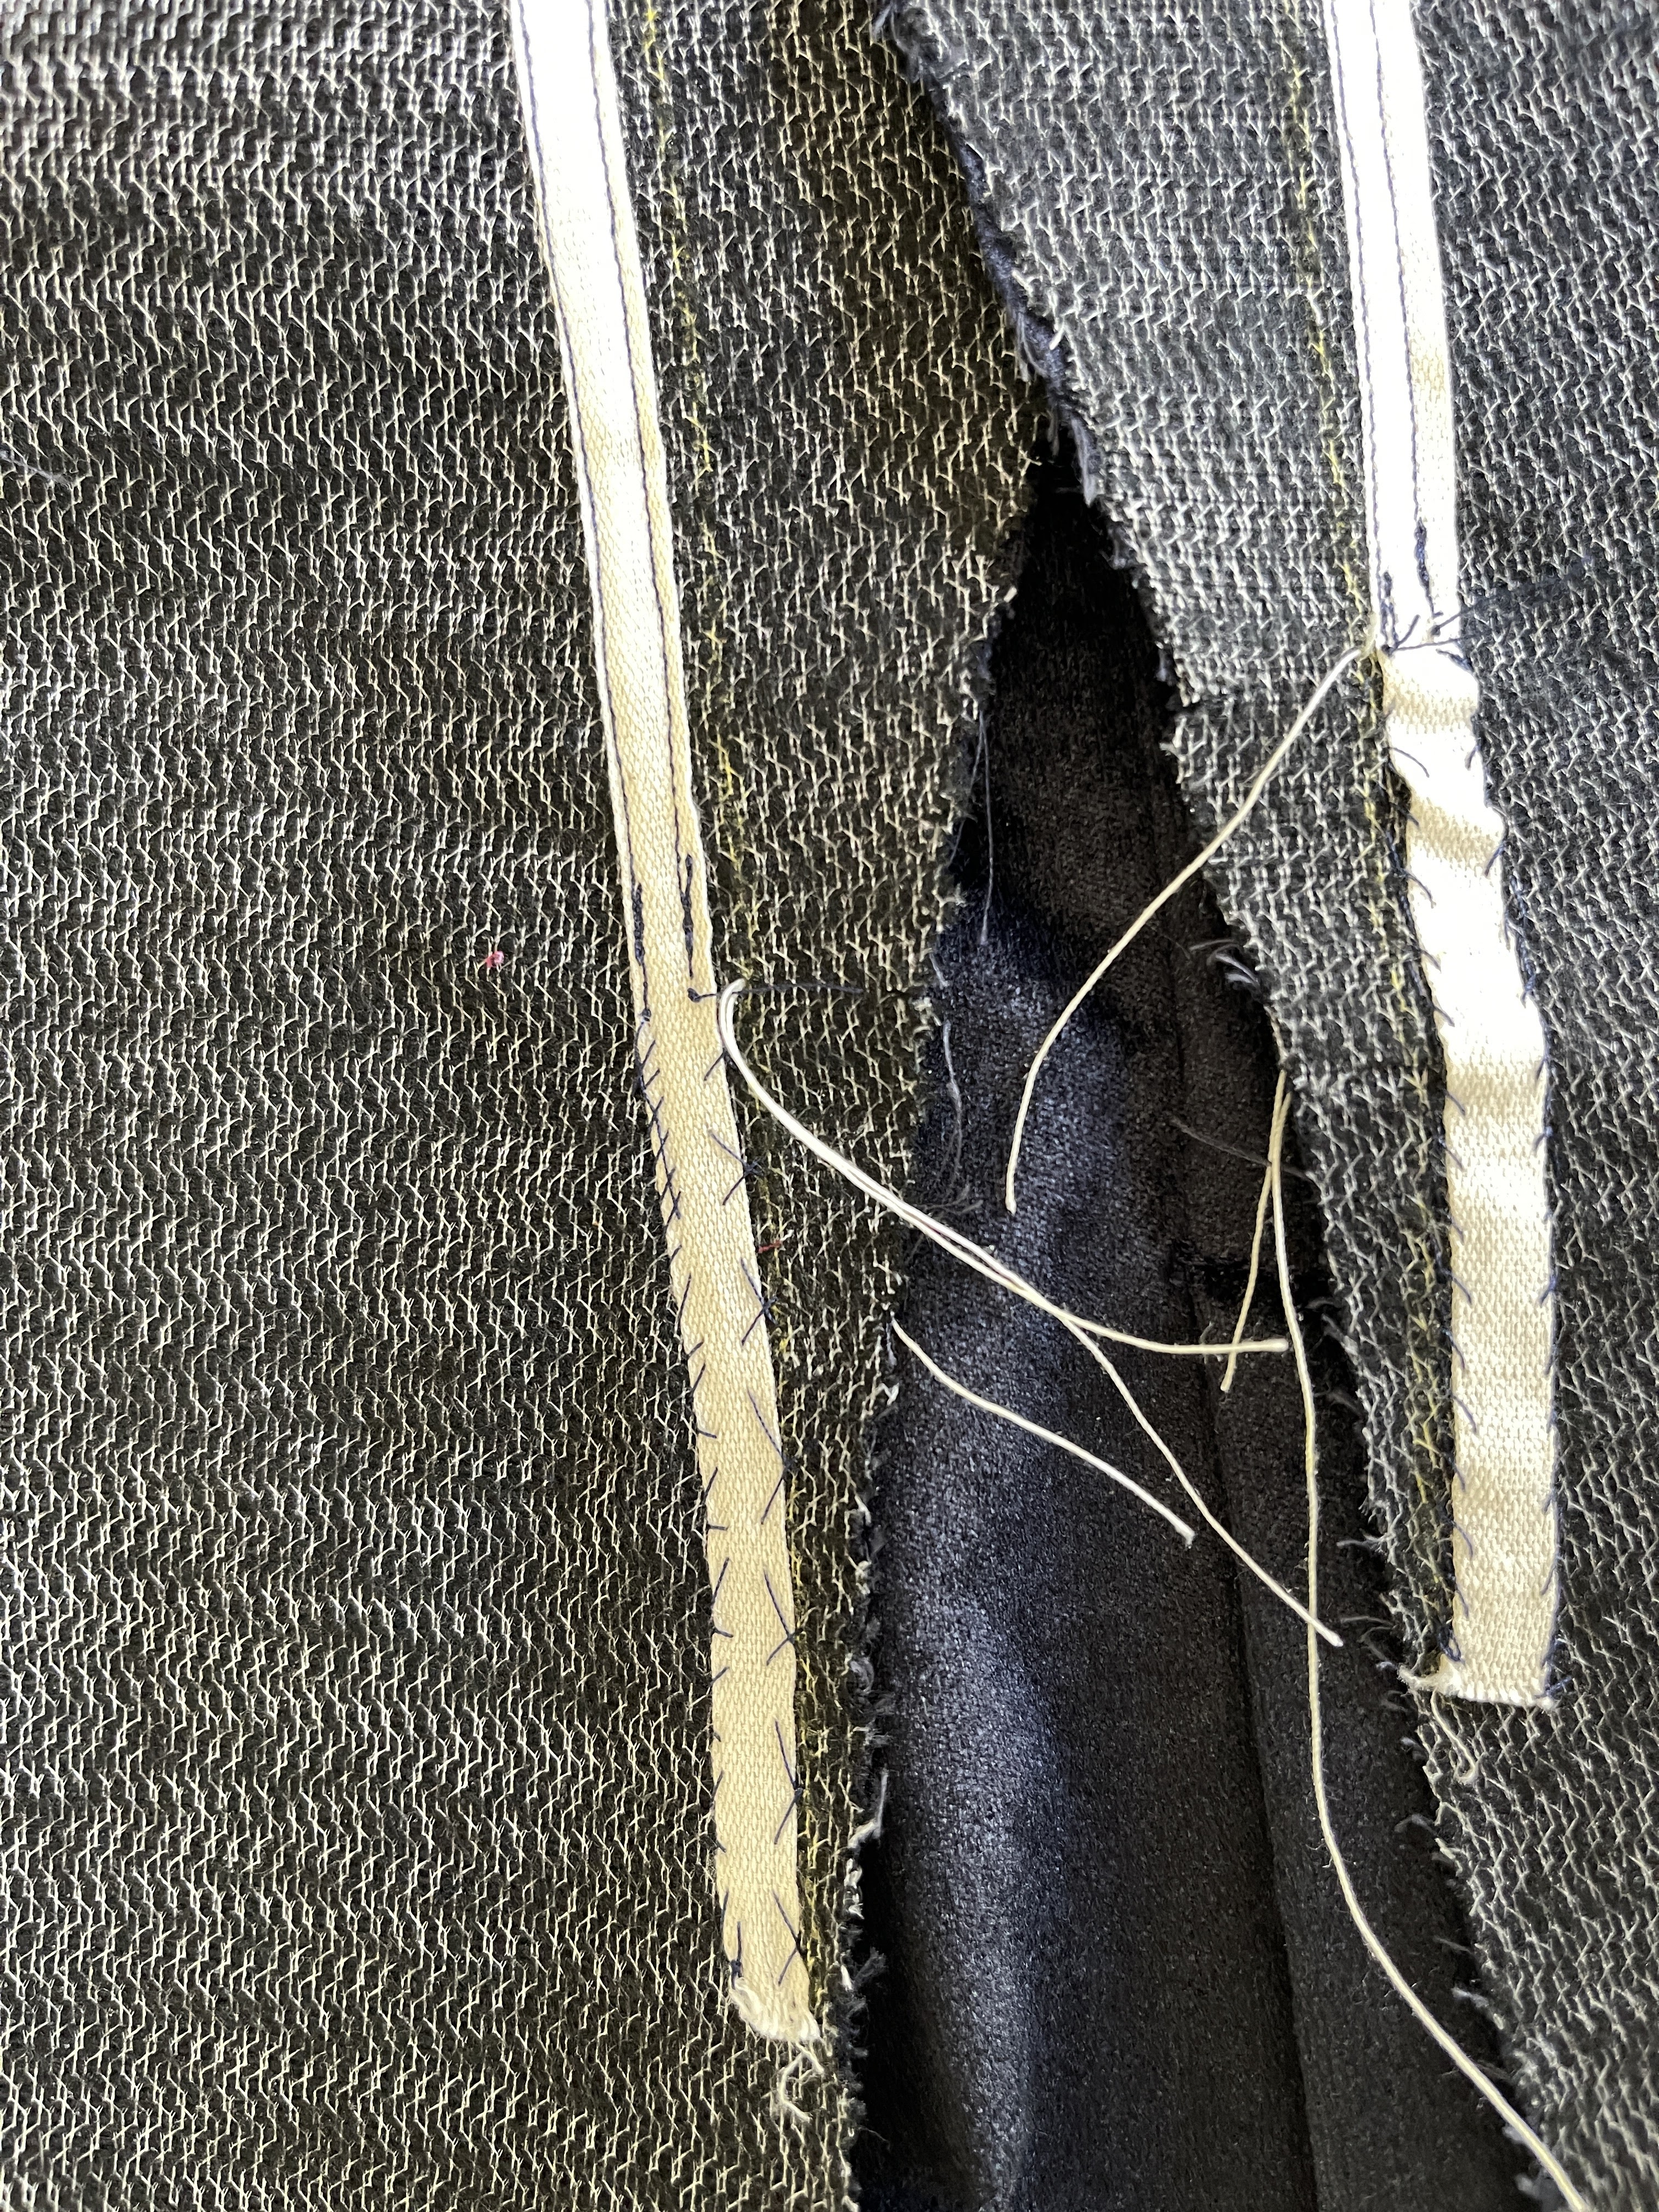
Welt pockets are a type of pocket that lies flat against the garment and is finished with a strip of fabric called a welt. They are a sophisticated and professional-looking pocket that is commonly found in men's tailoring but can also be incorporated into women's garments such as blazers, jackets, and trousers.

To sew welt pockets, you will need to follow the pattern instructions carefully and mark out the pocket placement using tailors tacks on your fabric. The Jasika Blazer pattern provides detailed instructions on how to sew welt pockets, including diagrams and photos to help guide you through the process. It also goes into great detail about speed tailoring and hand stitching.
Here is a general overview of the steps involved in sewing welt pockets:
1. Cut out the pocket bag and welt pieces according to the pattern instructions.
2. Interface the pocket bag pieces to add stability and structure.
3. Sew the welt to the garment front, using the markings provided in the pattern as a guide.
4. Cut through the garment front between the two welt seams and carefully clip the corners (this part can feel so scary).
5. Fold the welt back and press it flat.
6. Attach the pocket bag to the welt and stitch around the edges to secure it in place.
7. Fold the pocket bag up and press it flat.
8. Topstitch around the welt to finish.
Sewing welt pockets can be challenging, but with practice and patience, you can achieve a professional-looking result that will elevate your garment. I have sewn welt pockets before but it has been a long time, I will be trying them again when I make another blazer.
Ironing Velvety Fabric

1. Set your iron to a low heat and turn off the steam function.
2. Place a pressing cloth over the velvet fabric to protect it from direct heat or place the velvet on another piece of velvet, face to face and press.
3. Gently press the iron onto the fabric, moving it back and forth in a sweeping motion.
4. Do not press down too hard or leave the iron in one place for too long, as this can crush the pile.
5. If the velvet fabric has become crushed or flattened, you can try steaming it with a garment steamer to restore the pile.
6. Hang the velvet blazer or jacket on a sturdy hanger to prevent the fabric from becoming crushed.
By following these tips, you can iron velvet fabric without damaging it and keep your Jasika Blazer looking its best.
In conclusion, the Jasika Blazer sewing pattern from Closet Core Patterns is a great project for those looking to improve their sewing skills and create a classic and versatile garment. Sewing welt pockets can seem intimidating at first, but with practice and patience, you can achieve a professional-looking result. Additionally, knowing how to iron velvet fabric properly can help you maintain the luxurious look and feel of your blazer or jacket. And remember to take your time. This pattern is not a speedy sewing project. So in the next week or two I do hope to complete it fully and post the finally photos to my Instagram account! Follow me there at ModistraSews, happy sewing!
HANNAH | @modistrasews
Comments
Post a Comment
Thanks for leaving a comment! All comments are reviewed before posting to help us eliminate spam. Your comment will be posted within 24 hours.