

The cozy sewing season seems like it came early this year! Temperatures in Pennsylvania have been in the freezing range for weeks, so it is time to break out the flannel, sweater knits, sherpa, wool, and other warm fabrics. Fabric Mart's website is stocked with gorgeous cozy fabric perfect for sewists living in cold climates.

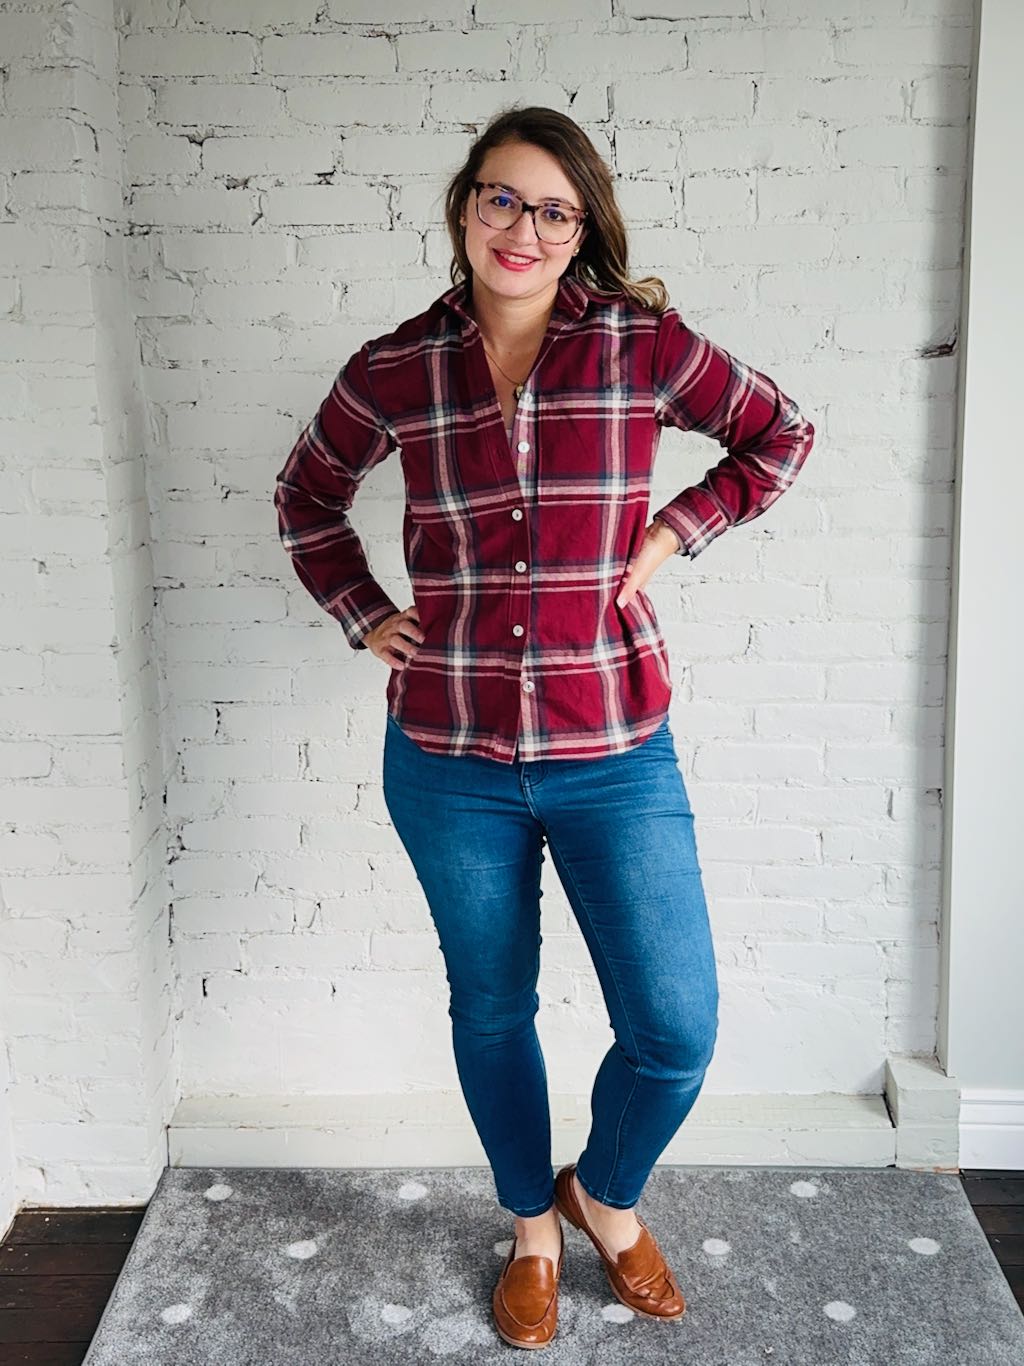
While searching for fabric for my first cozy sew of the season, a Cranberry Plaid 100% Cotton Flannel fabric caught my eye. I loved the colors and the plaid pattern. I ordered 3.5 yards to make a button-up flannel shirt for myself, and a little extra fabric to make a button-up shirt for my son. I also ordered two packs of 10 Soft Pearl Plastic Shirt Buttons and "My Mama Made It" sewing labels from Kylie and the Machine. I envisioned one of these labels being added to the side seam of my son's shirt for a bespoke detail.

Once my order arrived, I washed my fabric and reached for my Grainline Studio Archer Button-Up paper pattern. I used this pattern for a previous Fabricista blog in 2021. Back then, I sewed view B and made a pink silk button-up with a gathered lower back and straight sleeve cuffs. For this Fabricista sew, I wanted a classic button-up flannel shirt which is view A of the Archer pattern. View A is a loosely fitted button-up with a back pleat at the yoke and long sleeves with angled cuffs.

I needed to customize the fit (grading out in the waist and hips) so I took the extra time to trace this pattern onto pattern paper. I haven't traced a pattern in ages so it was a nice change of pace. Once my pattern was ready, I cut everything out slowly to ensure the plaid pattern lined up on each pattern piece.

Besides customizing the fit, I didn't make changes to the pattern. When assembling the back yoke, I diverged from the instructions and used the burrito method from memory because it is my preferred construction method for yokes. Everything else about the assembly was very straightforward. If you’ve never made a button-up shirt before, this pattern will walk you through each step in an easy-to-understand way. I would recommend it to adventurous sewists of all skill levels. After assembling the rest of the shirt, I made button holes and used the soft pearl buttons from my order as closures.

Now that my shirt was finished, I moved on to my little buddy’s shirt. I used the Little Lizard King Bayfield shirt pattern, which I love. The pattern includes projector files, the instructions are easy to follow, and the finished shirts are always so cute! I’m constantly amazed at how quickly I can make a button-up shirt with this pattern. If you’re looking for a classic button-up shirt for babies and kids, I highly recommend it.

The longest part of the assembly of this Bayfield shirt was the cutting. I wanted to make sure the plaid pattern matched on his shirt so this added some extra time. After the cutting, the rest of the assembly was very straightforward and quick. While stitching, I added a “Mama Made” label to the left (as worn) side seam. It adds a nice one-of-a-kind touch to the outside of the shirt. The buttons are the same soft pearl buttons used on my shirt. My son’s Bayfield shirt is a 2T to give him room to grow into it. The shirt is roomy and long enough that he should be able to wear it for a while.
.jpeg)

I love how both shirts turned out. We'll be able to wear these cozy flannels through the end of fall, into winter, and on the cold spring days. It is also fun to have the option to wear mother-son matching outfits if we so desire! I hope our flannels inspire you to stock up on warm fabrics and start your cozy sewing season projects.


SHAINA | @shaina_sews
I love these matching flannels! Great color! And adorable pictures.
ReplyDeleteThese are soooo adorable! You did a great job on both.
ReplyDeleteYour shirts are just wonderful and the photos are too cute for words!!! The colors of that plaid are so pretty!
ReplyDeleteYou are very talented. Love the way you explain and complete your project.
ReplyDeleteVery informative and interesting article. Thank you for sharing your insight, which will inspire me for my next project.
ReplyDelete