

For those last minute Christmas shoppers or gift makers, here is a clever idea for the crochet lovers in your life. You can make this Crochet Hook Case in less than an hour with scraps of cotton fabric!

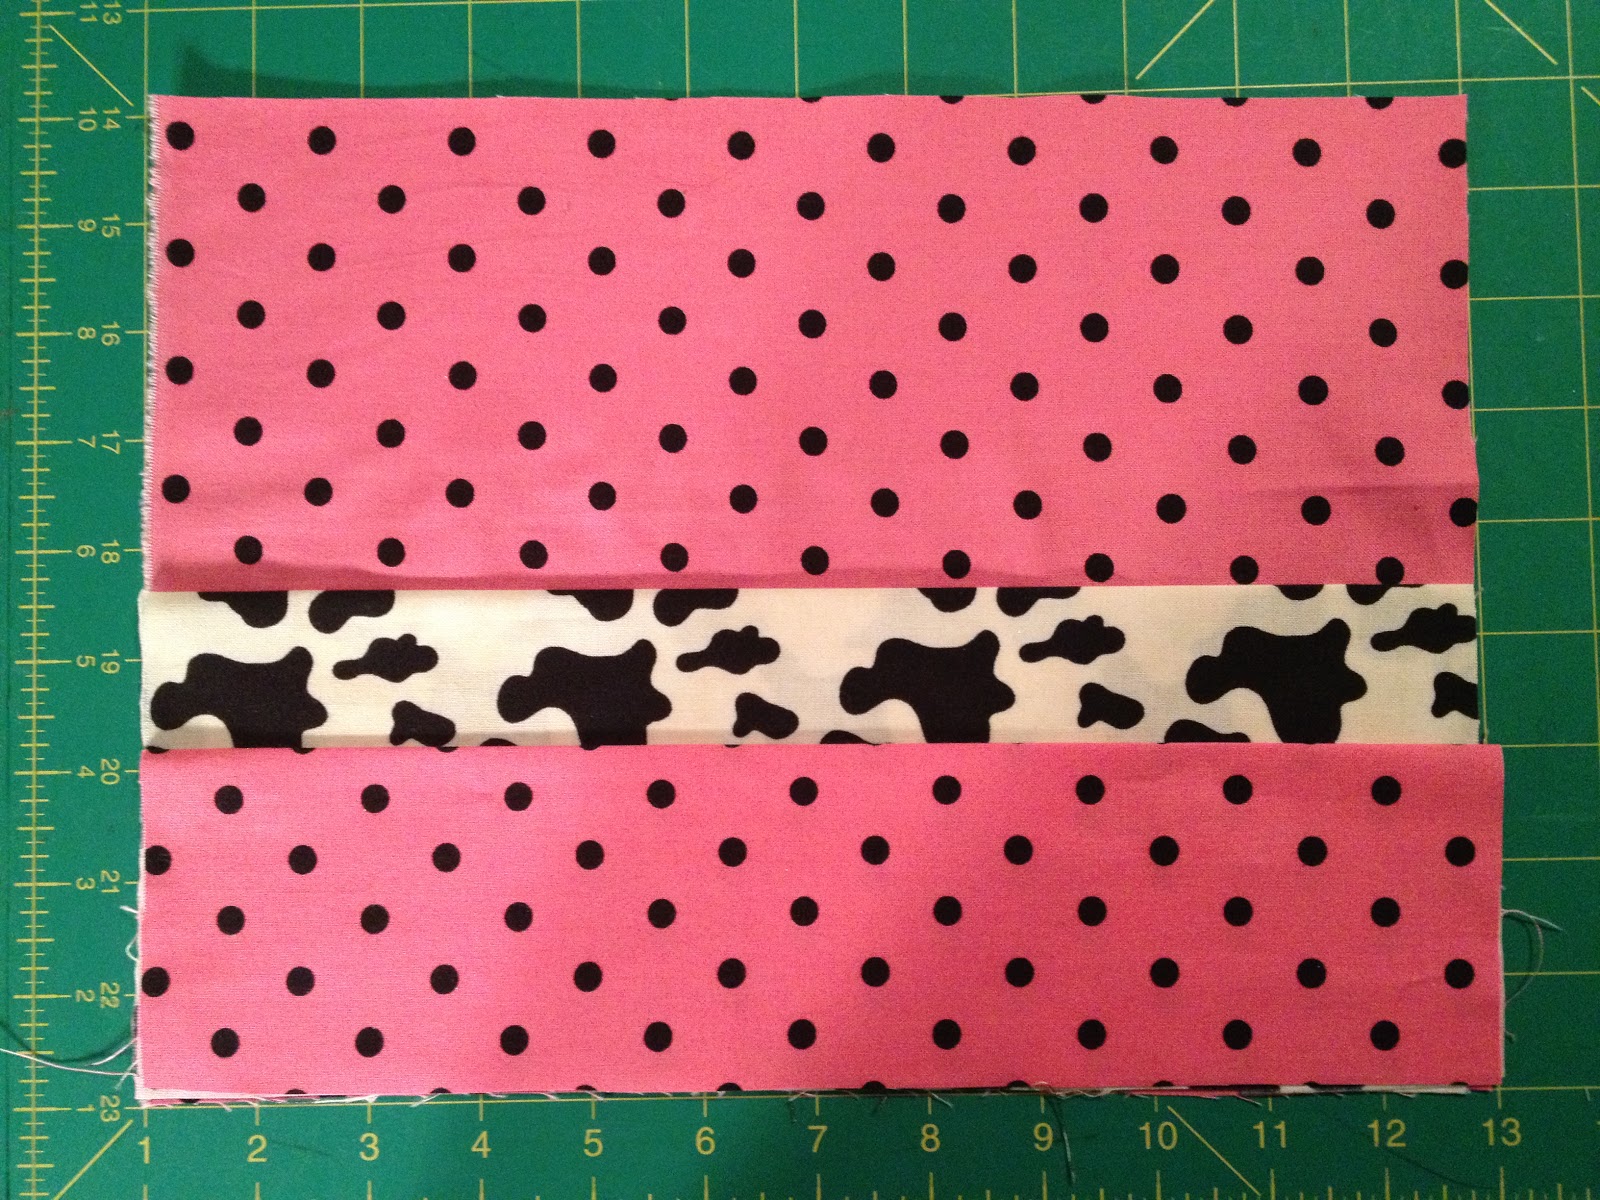
2) Fold the two pocket pieces in half the 12" way. One will be 3" tall, the other 4.5" tall. These will create the pockets of your case. Now you will be making the case "sandwich." Right sides up, lay the "inside" 9x12 piece first, then place the larger pocket down on the bottom half, then the smaller pocket. It should look like this when you are finished:

3) Fold the two ribbons in half and place them at 2" and 5" from the bottom. Pin in place. (Tip: I tie the ribbons together in a loose knot so that I do not sew over them later.) You can cut the ribbons shorter once the case is full of hooks. I always make them extra long in case of bulky hooks.


10) Clip all the loose threads and Voila! You are finished!

You will need:
- 4 - 9x12" scraps of cotton fabric (coordinating)
- Thread to match
- 9x12" piece of batting
- Sewing machine
- 2 - 24" piece of ribbon
- Point turner
- Crochet hook(s)
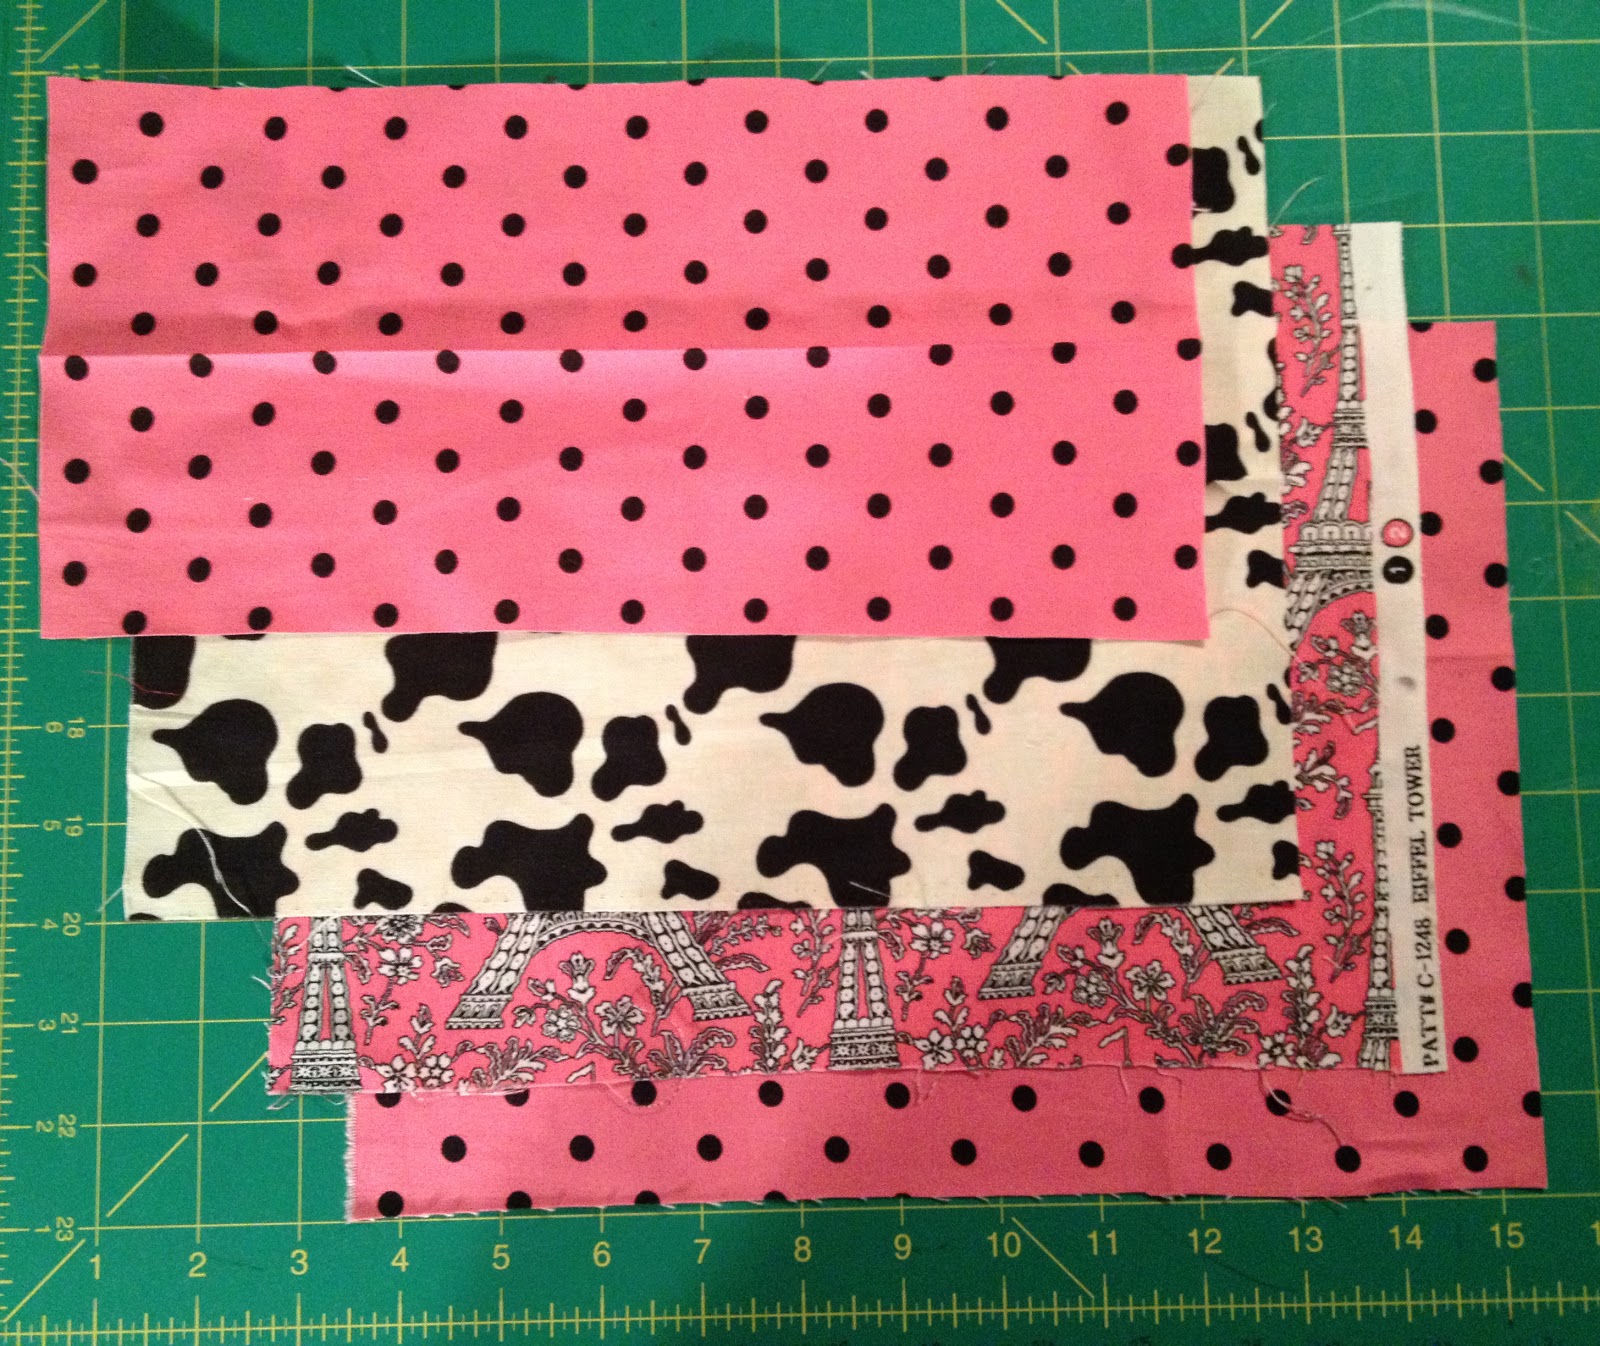
1) Cut out three 9x12 rectangles.This will create a front, inside and a large pocket. Cut out a 6x12" rectangle. This will be the small pocket.
2) Fold the two pocket pieces in half the 12" way. One will be 3" tall, the other 4.5" tall. These will create the pockets of your case. Now you will be making the case "sandwich." Right sides up, lay the "inside" 9x12 piece first, then place the larger pocket down on the bottom half, then the smaller pocket. It should look like this when you are finished:
3) Fold the two ribbons in half and place them at 2" and 5" from the bottom. Pin in place. (Tip: I tie the ribbons together in a loose knot so that I do not sew over them later.) You can cut the ribbons shorter once the case is full of hooks. I always make them extra long in case of bulky hooks.

4) Next lay the front 9x12 section right side down, then place the piece of batting on top. You have now created a fabric sandwich. Pin all sides.
 |
| Please note that ribbons are not shown in this picture. |

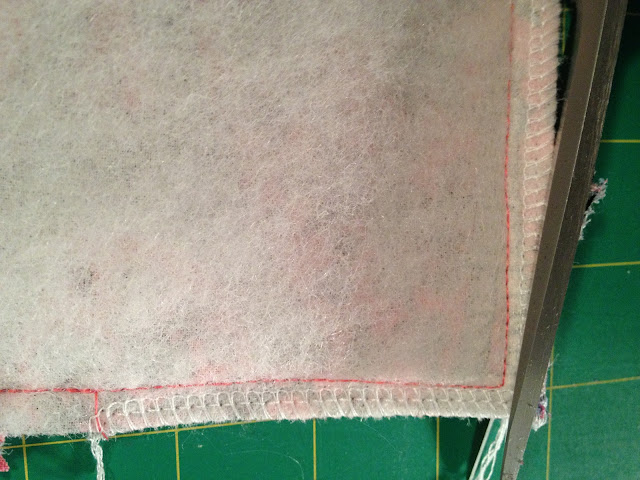
5) Using a 3/8" seam allowance, sew around all edges, leaving a 3" opening on the bottom edge. Trim seams/serge. Cut the excess seam at the corners to reduce the bulkiness.

6) Turn the case right sides out. Use a point turner to push out all corners. Be careful not to push too hard! Press.

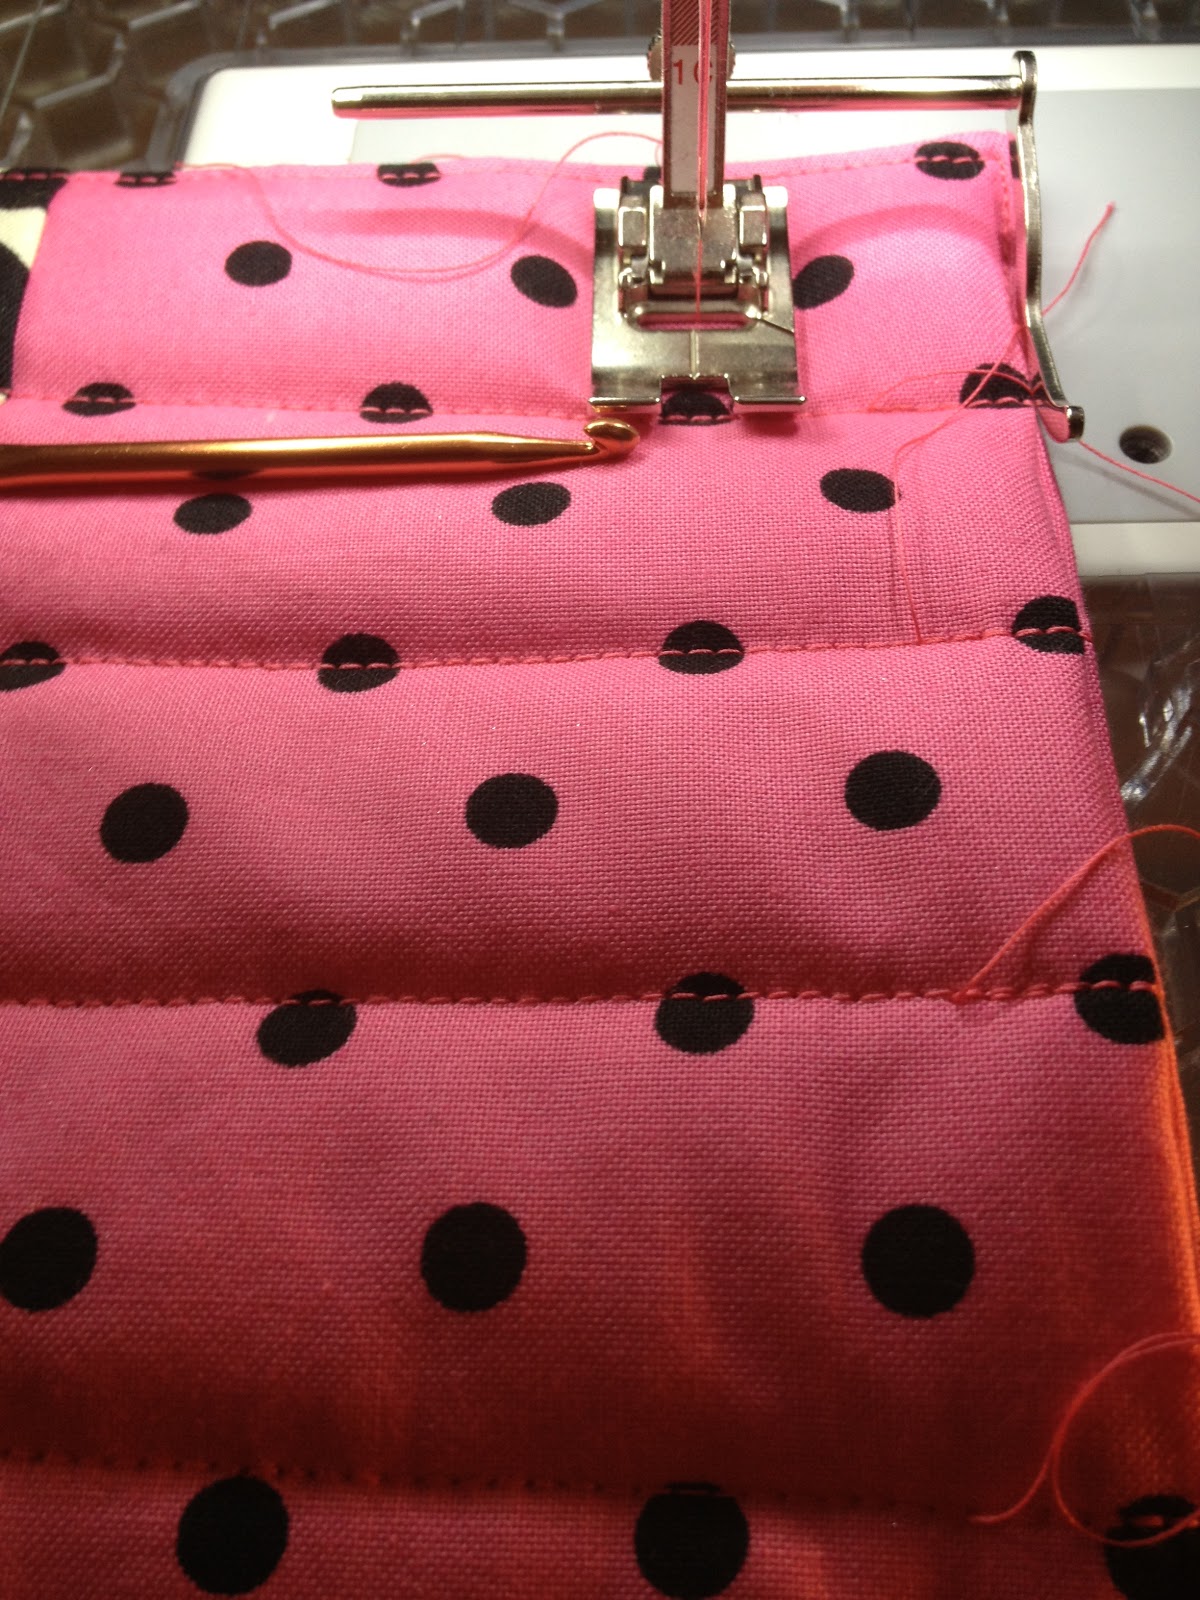
7) Topstitch around all four sides. To make pockets for the crochet hooks, Stitch lines 1-1 1/2 inches apart. If you have extra thick (or thin) hooks, make the opening the size you need.

8) Now you need to create a "cap" to the case. This will keep the hooks in place when traveling. (Then they won't slide out the top of the case.) Normally it is a 1-1 1/2" stitch line.
9) Press down the "cap" you just created and sew it in place on both sides.
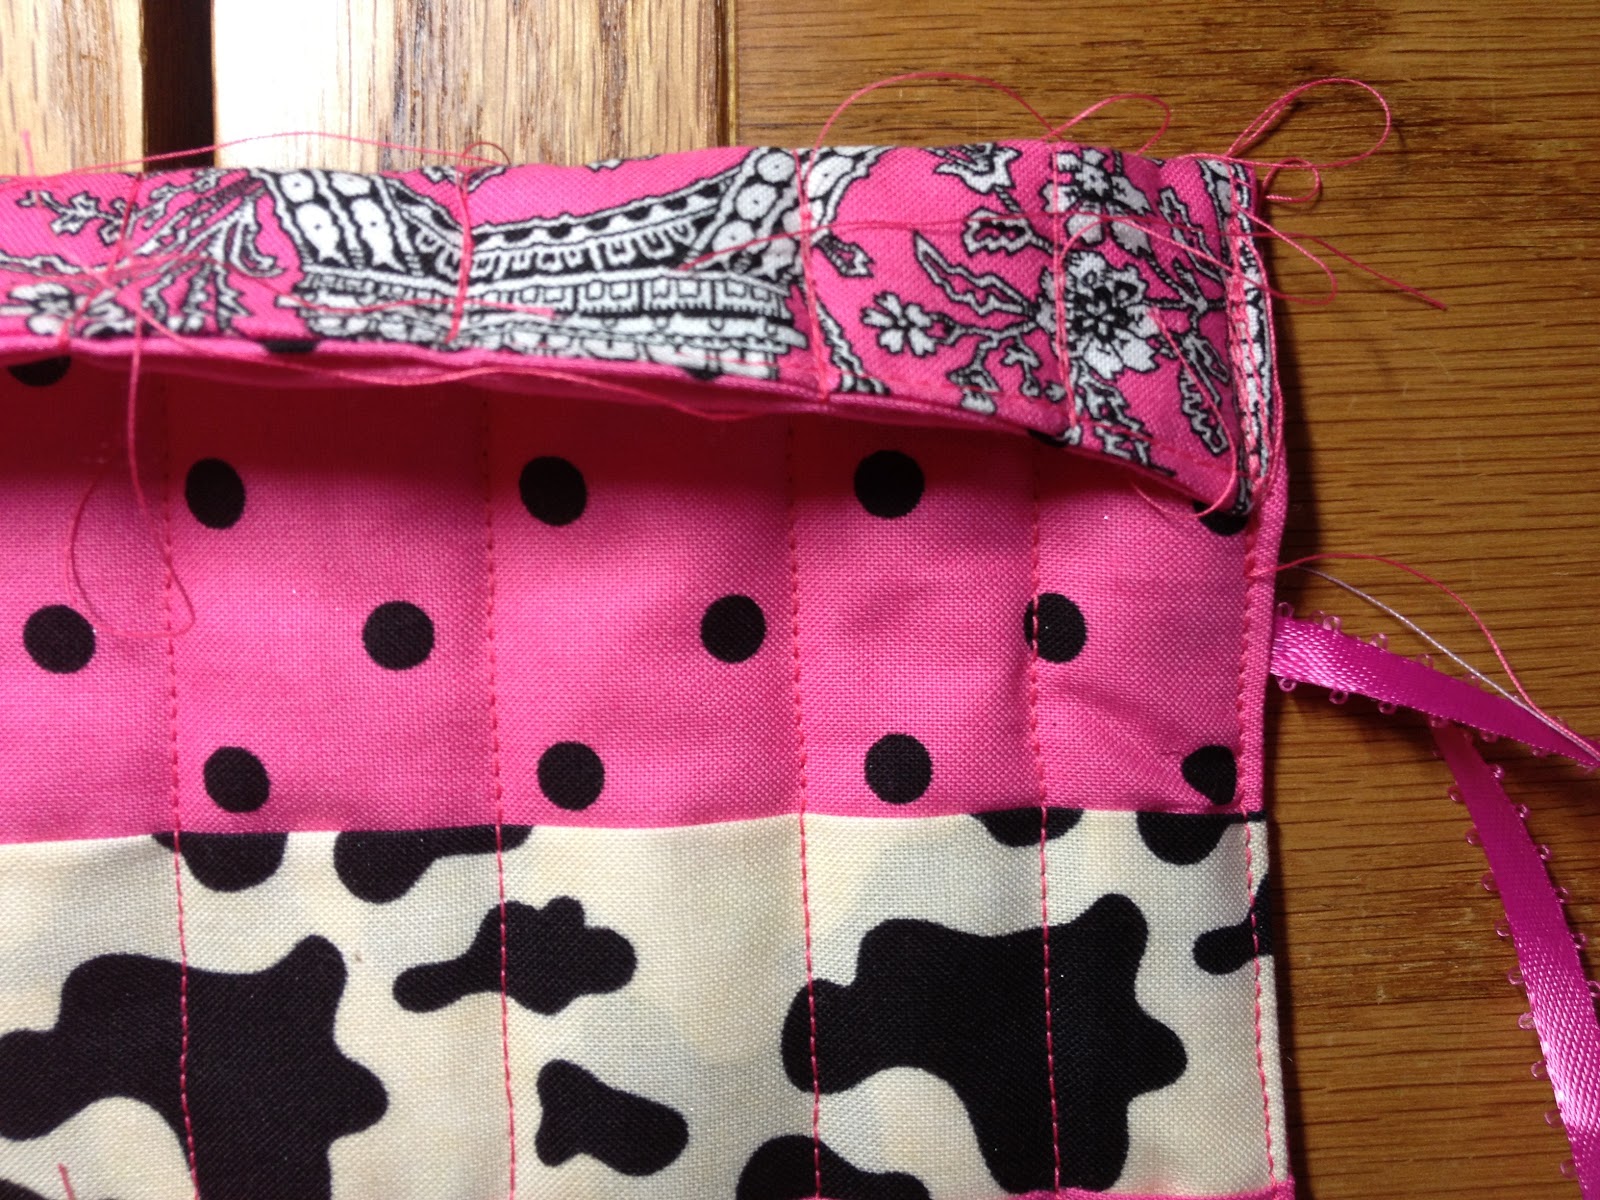
10) Clip all the loose threads and Voila! You are finished!

But wait! You can use this for more than crochet hooks! Why not roll up artist pencils, markers, makeup brushes and more! This is a pattern I created myself. It can also be adapted to knitting needles and long paintbrushes.
Happy Holidays! ~ Julie
Thank you Julie. I need one these.
ReplyDeleteThanks Julie - exactly what I needed and great instructions!
ReplyDeleteThis is AMAZING! Thank you for such a detailed tutorial. I am just getting in to sewing and I could use one of those things you have that kept your spacing even. What is that called? The thing that is or, looks like it is attached to the back of the foot.
ReplyDeleteIt's actually a piece that came with my sewing machine. It inserts into a hole in the pressed foot. Glad we can help!
DeleteHi and thankyou for such a simply explained make! I am however confused by 1 thing. You put only 2 ties on.. How did you manage to male them into 2 seperate bows?
ReplyDelete